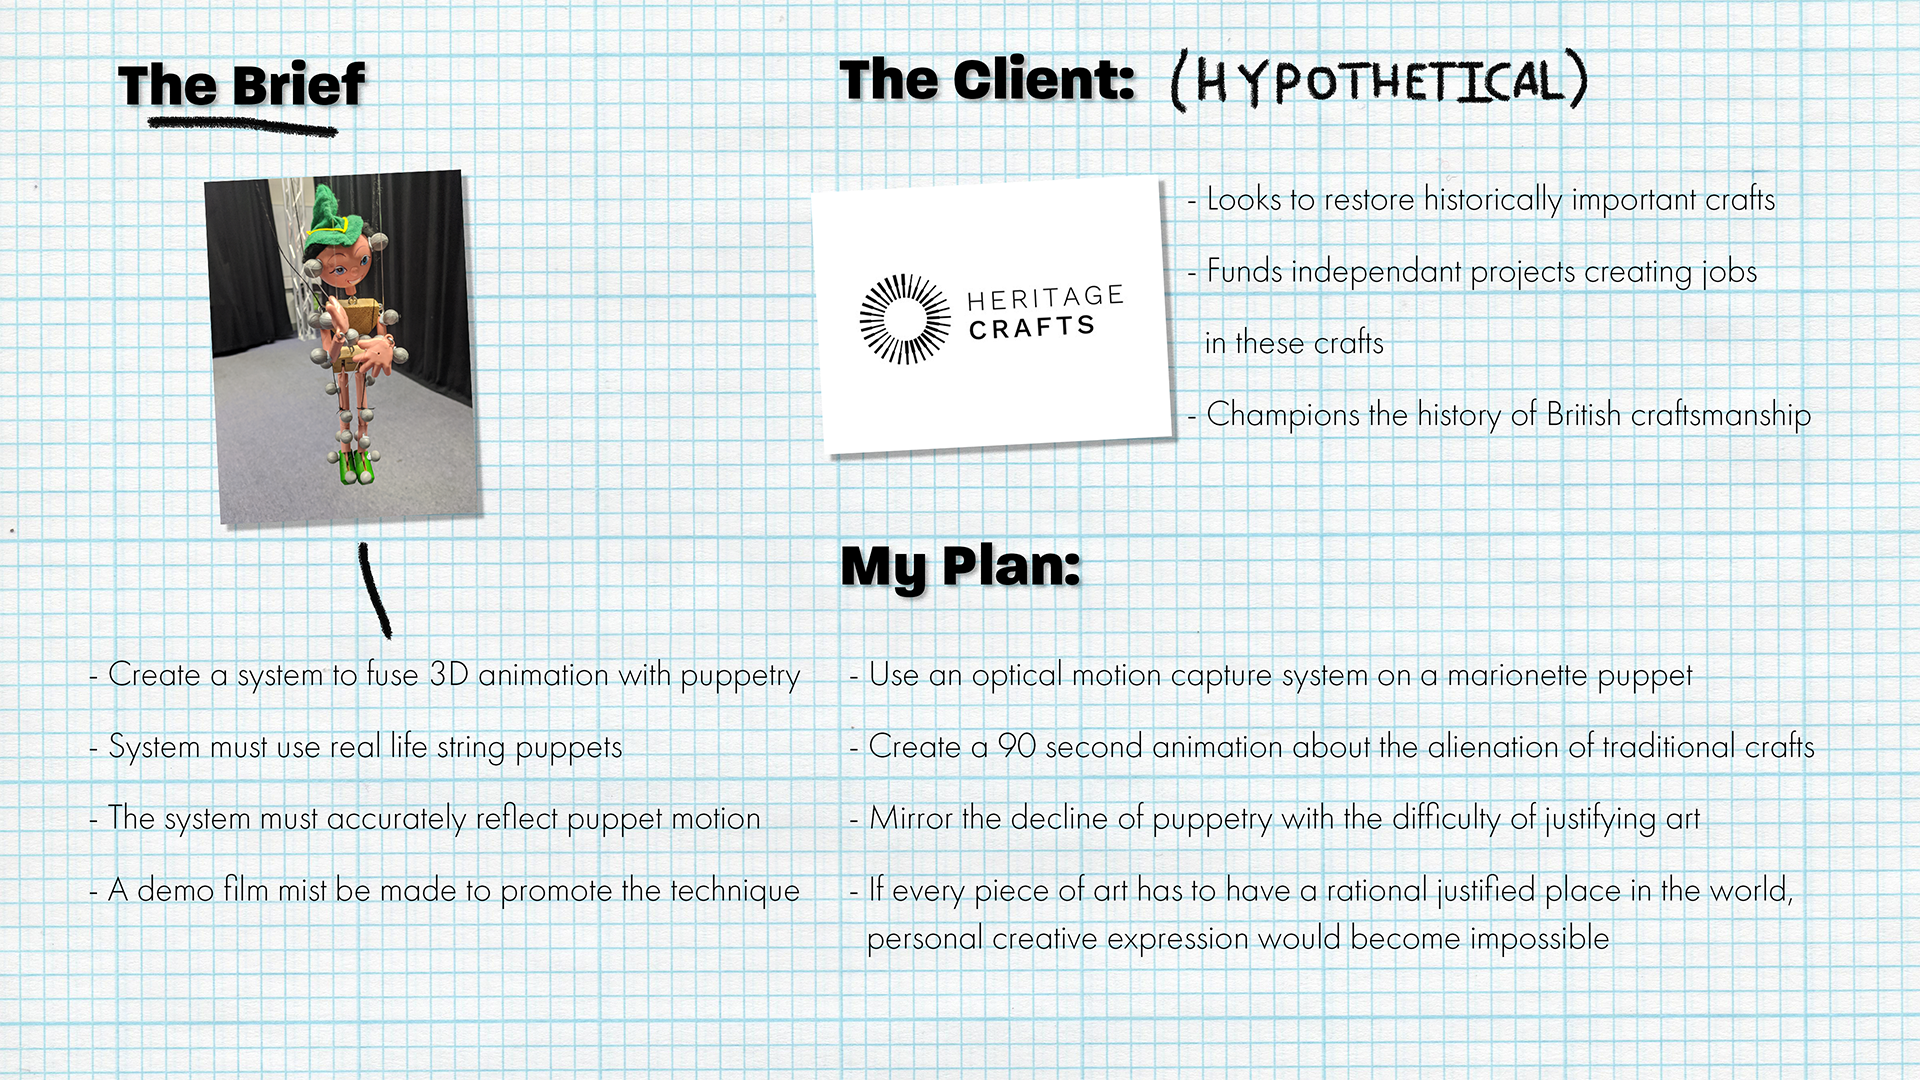
The Brief
Here is a breakdown video of how I created this film from motion capture to character design to 3D modelling and rendering.
I Storyboarded the film using 3D software to better plan out the spacing and cinematography in relation to the characters.
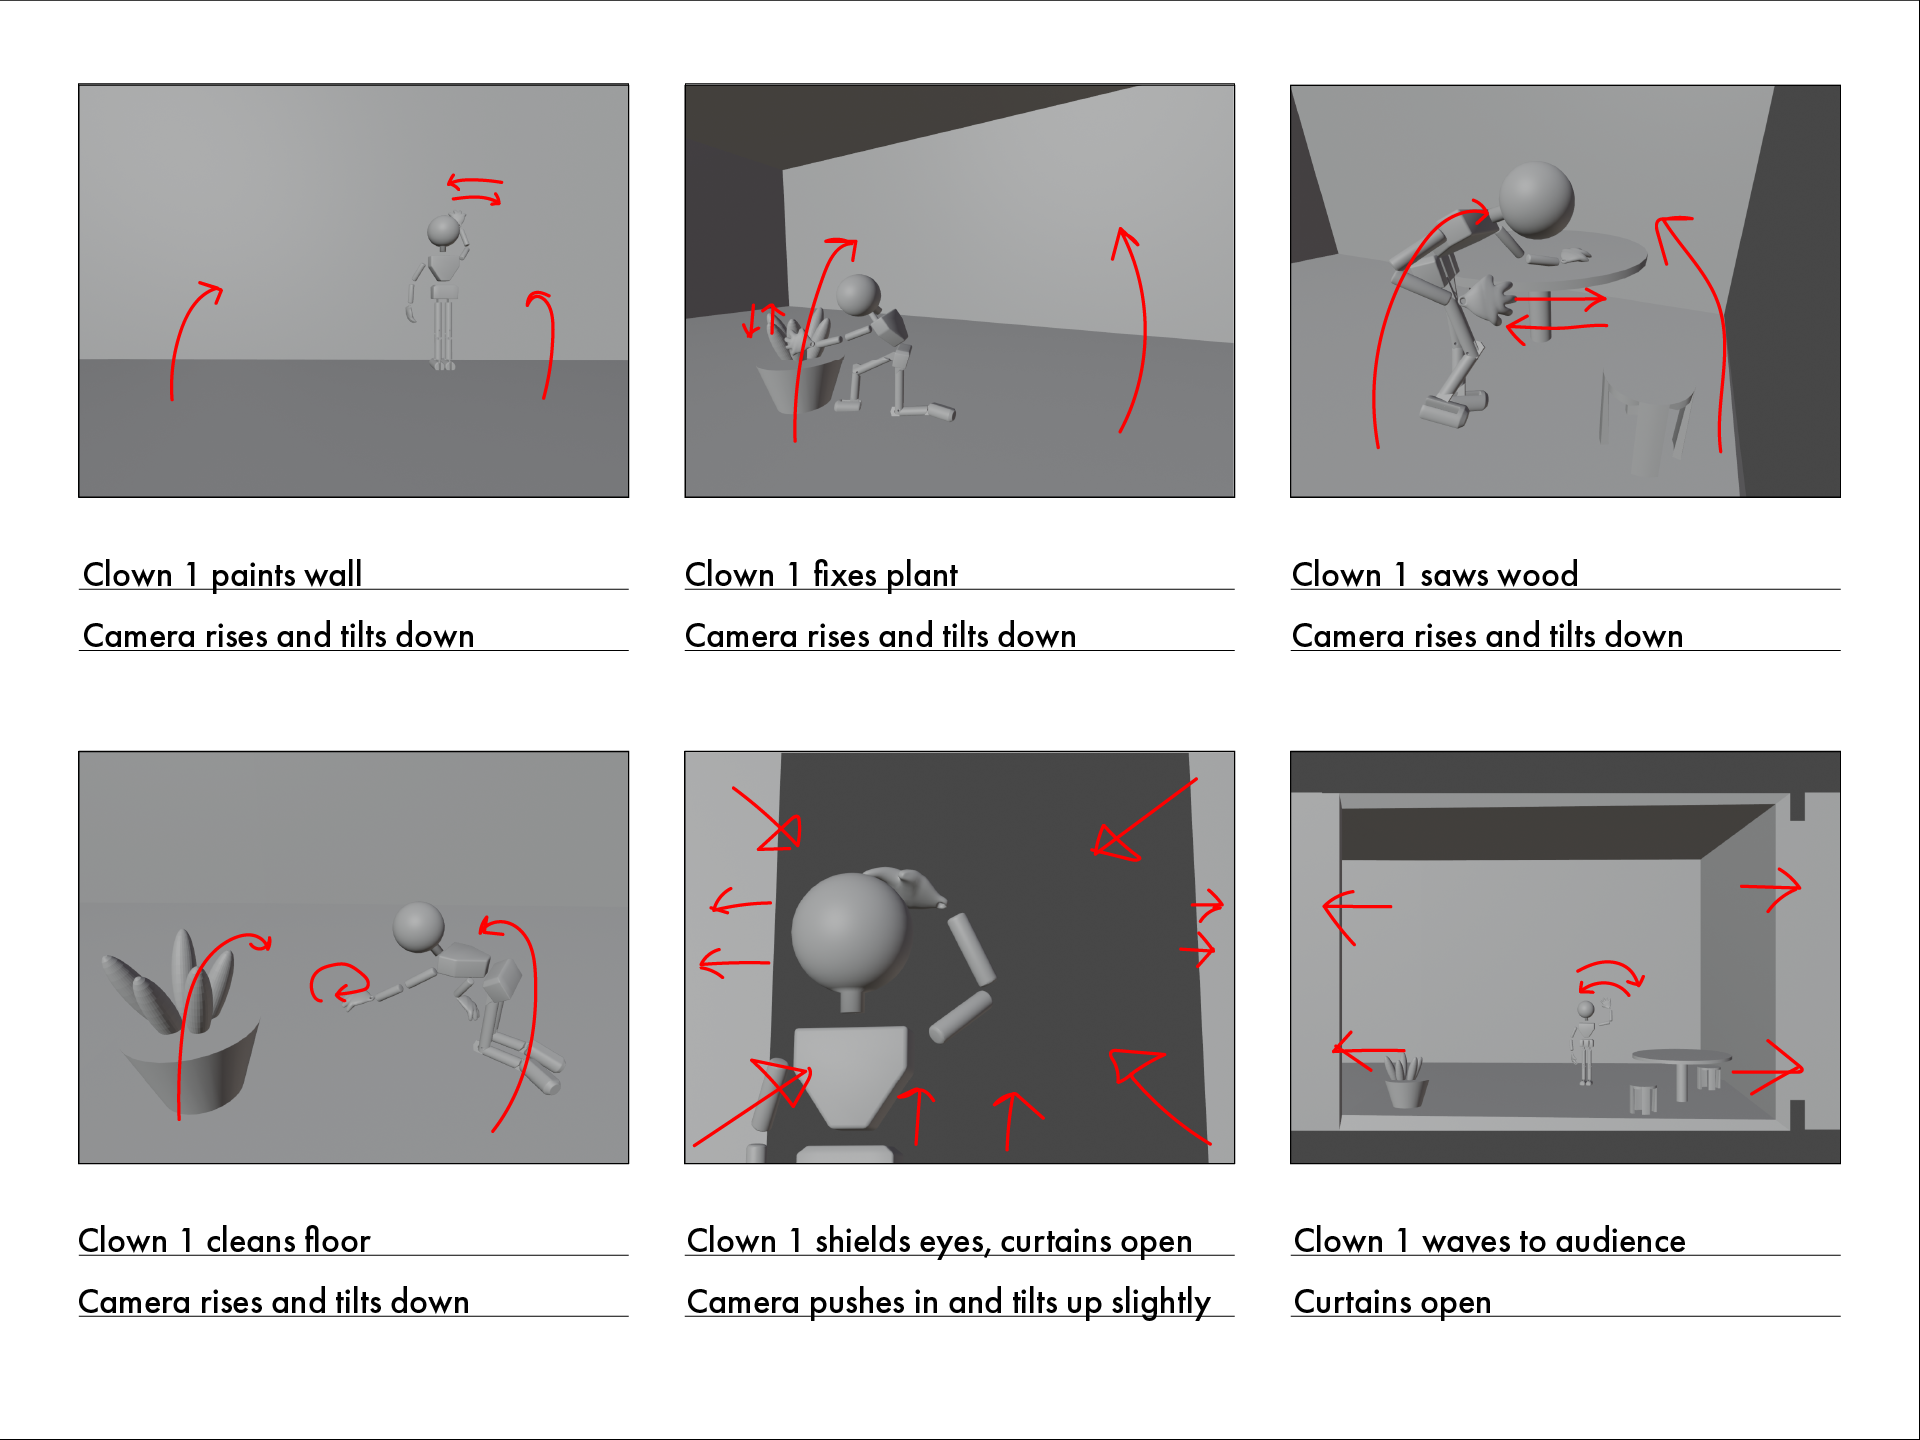
Storyboard 1
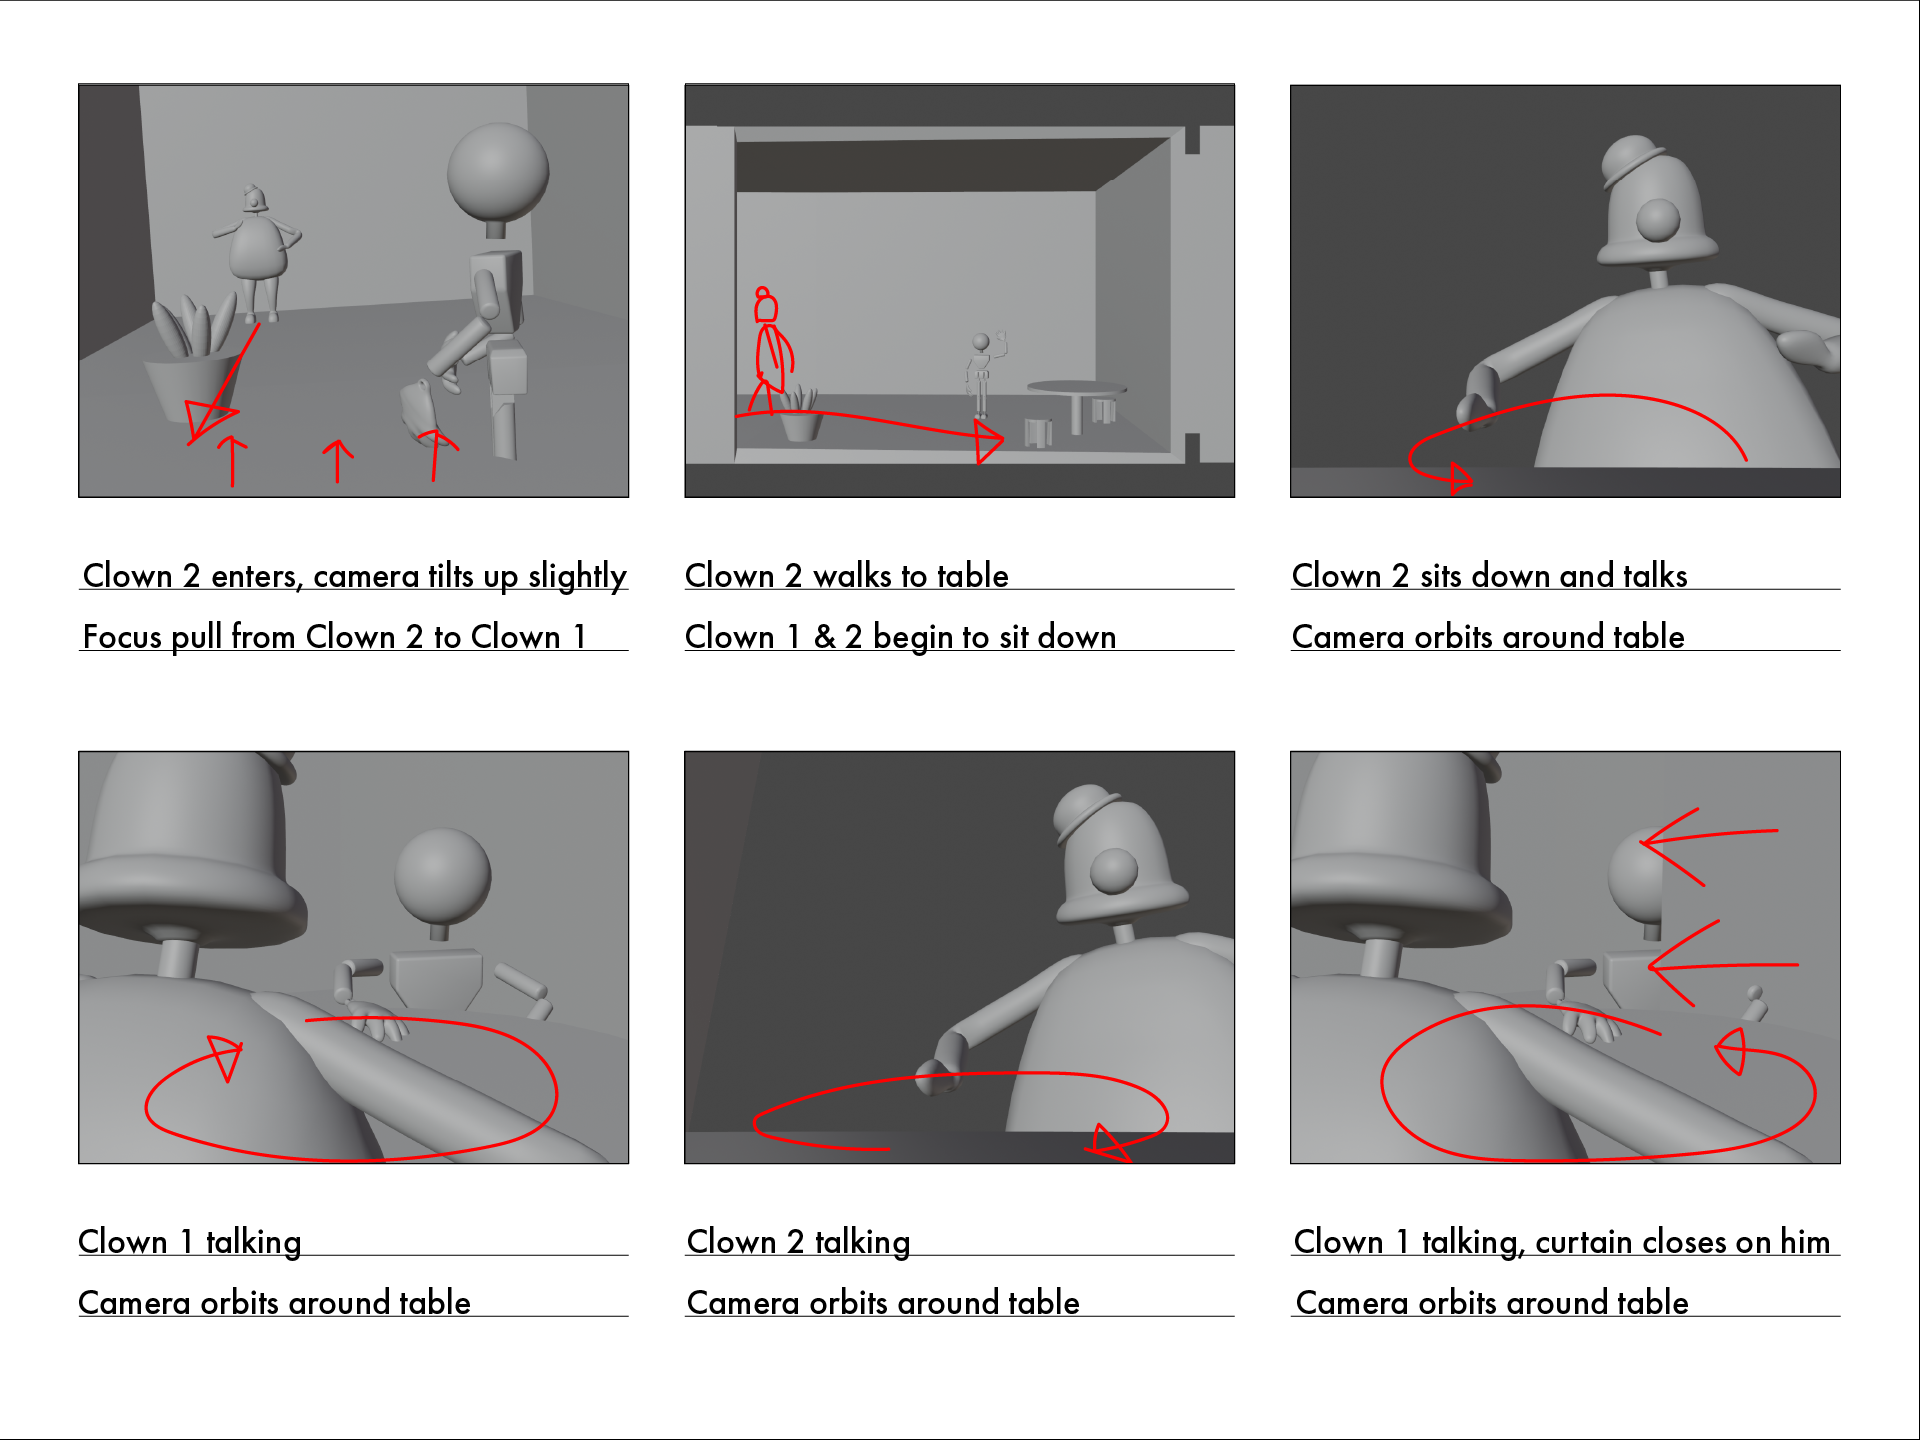
Storyboard 2
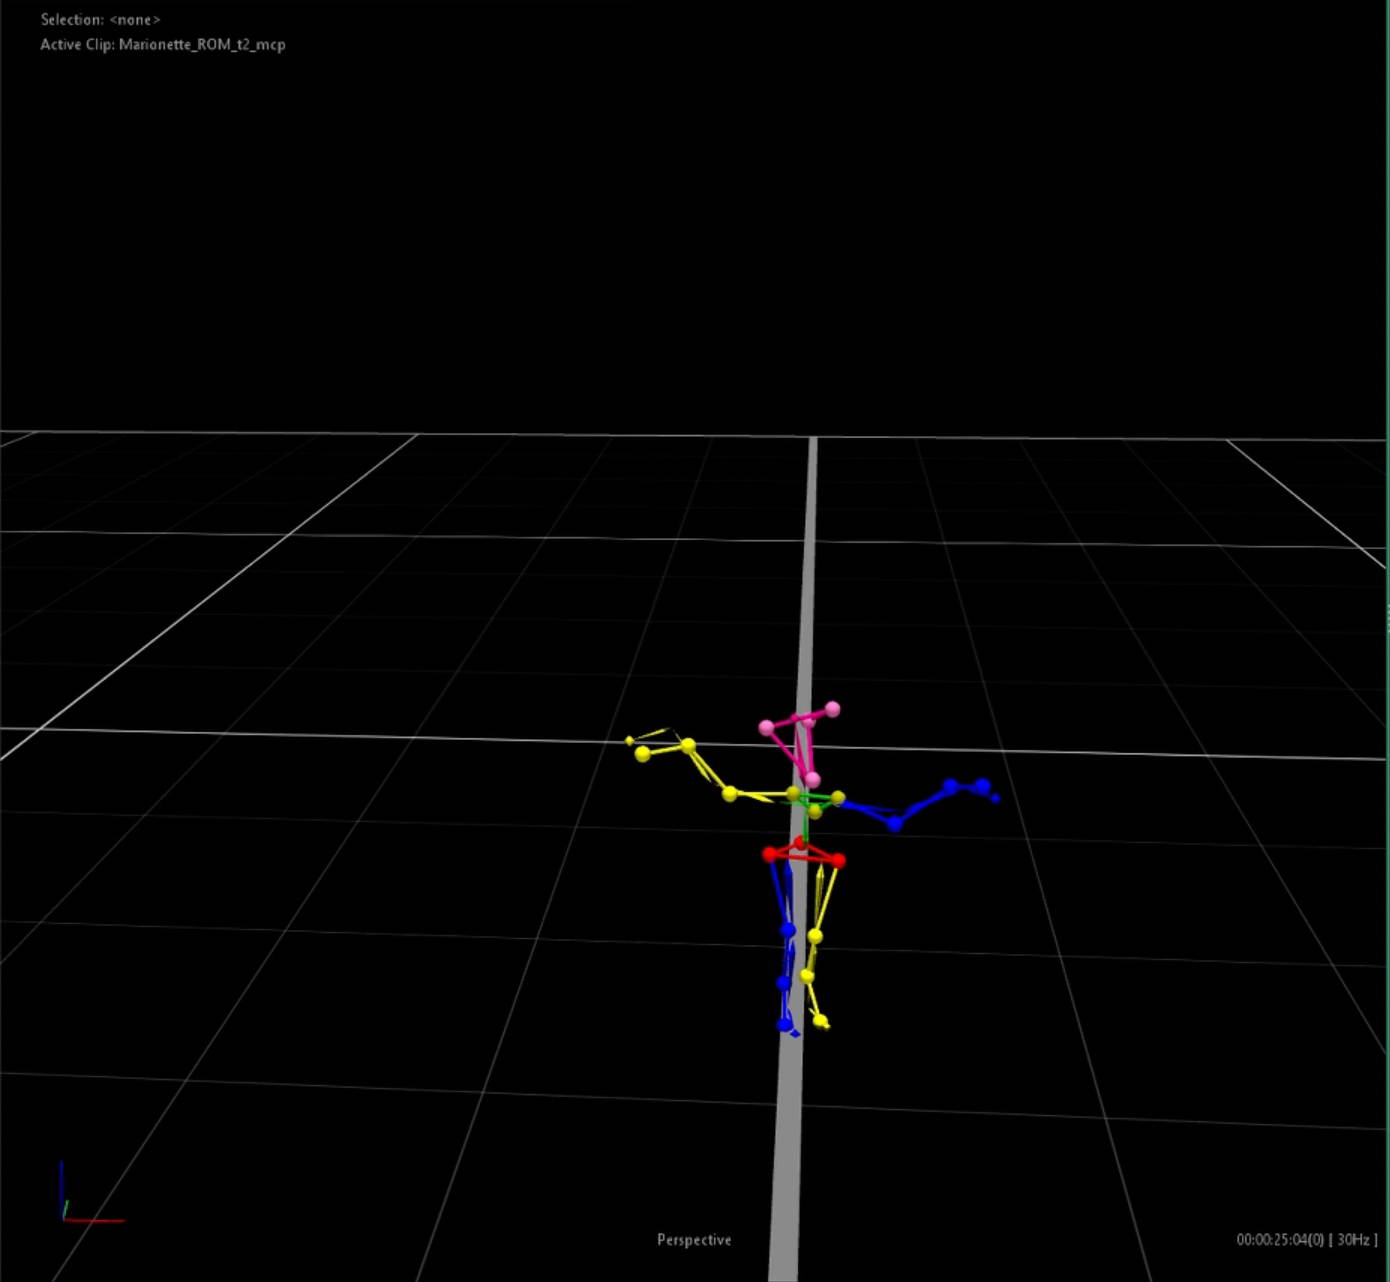
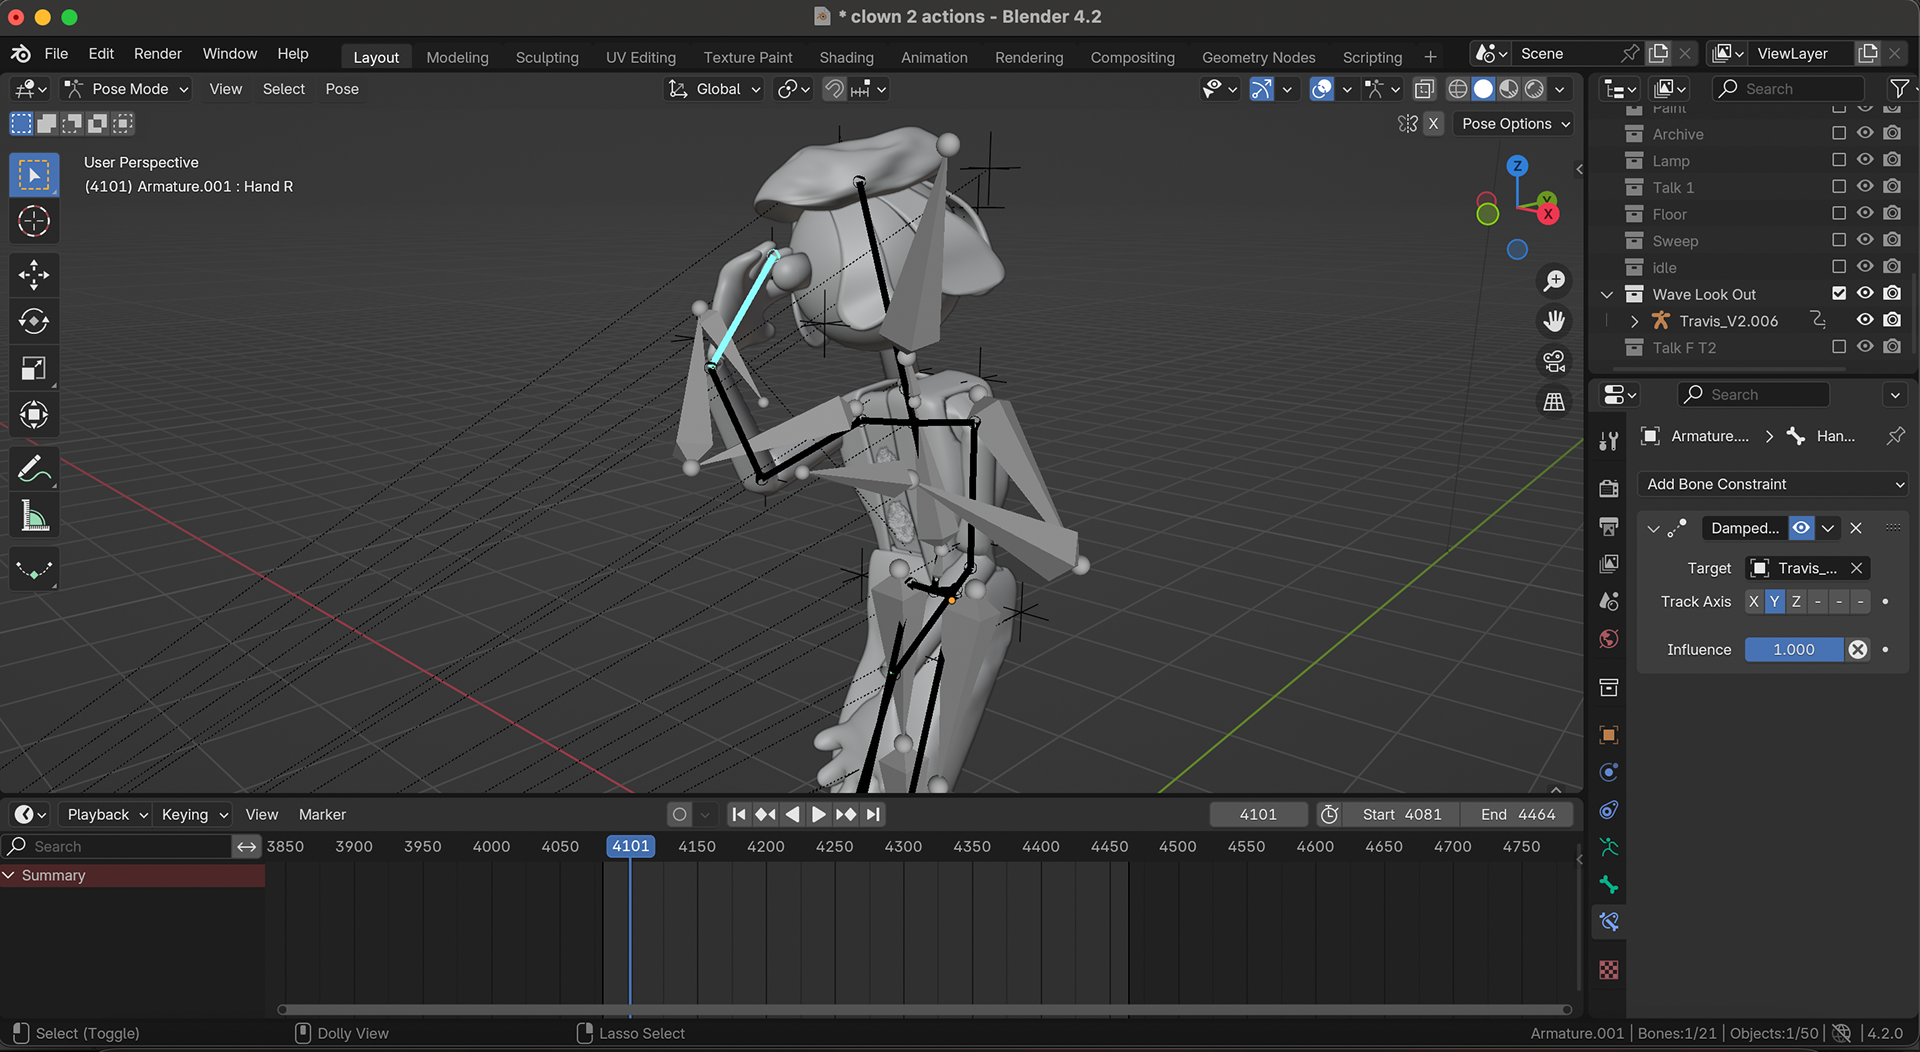
I completed my motion capture in Shogun Post, creating a custom skeleton for the puppet and using gap filling and bad data detection to smooth the motion.
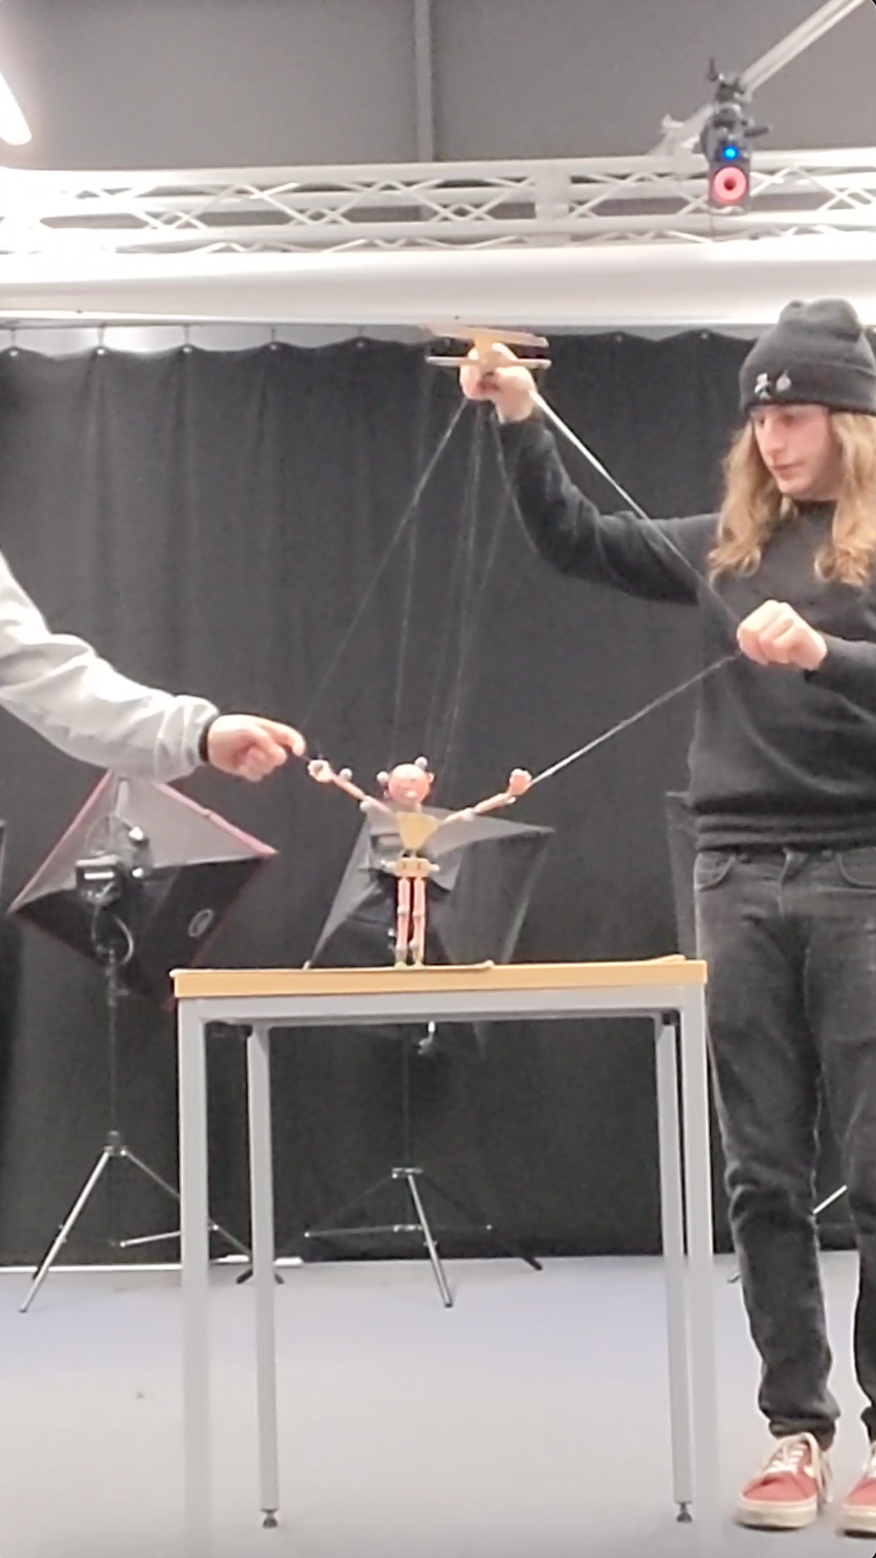
Motion Capture
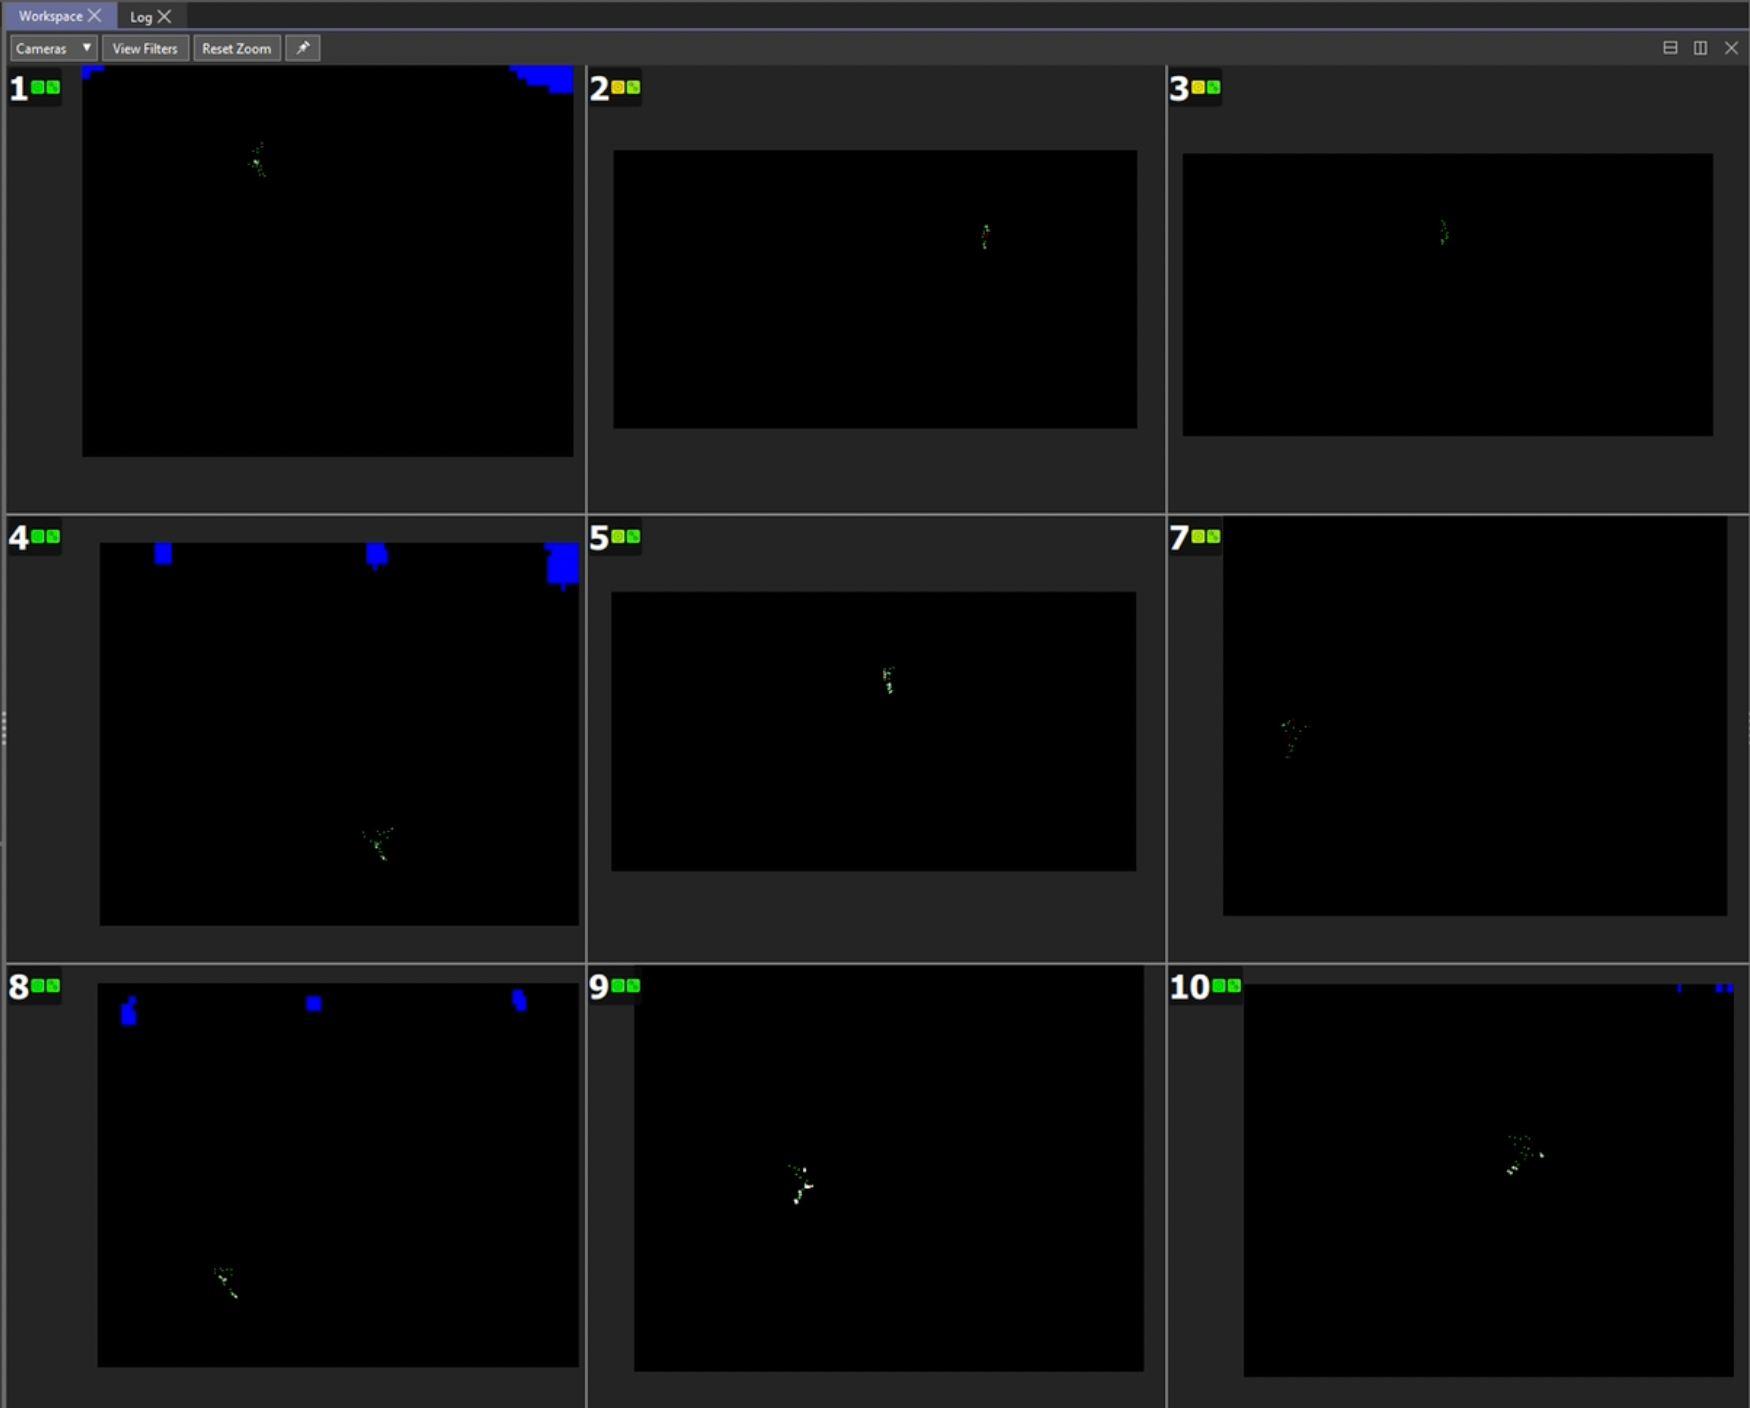
Mocap Camera View

Mocap 3D Scene View
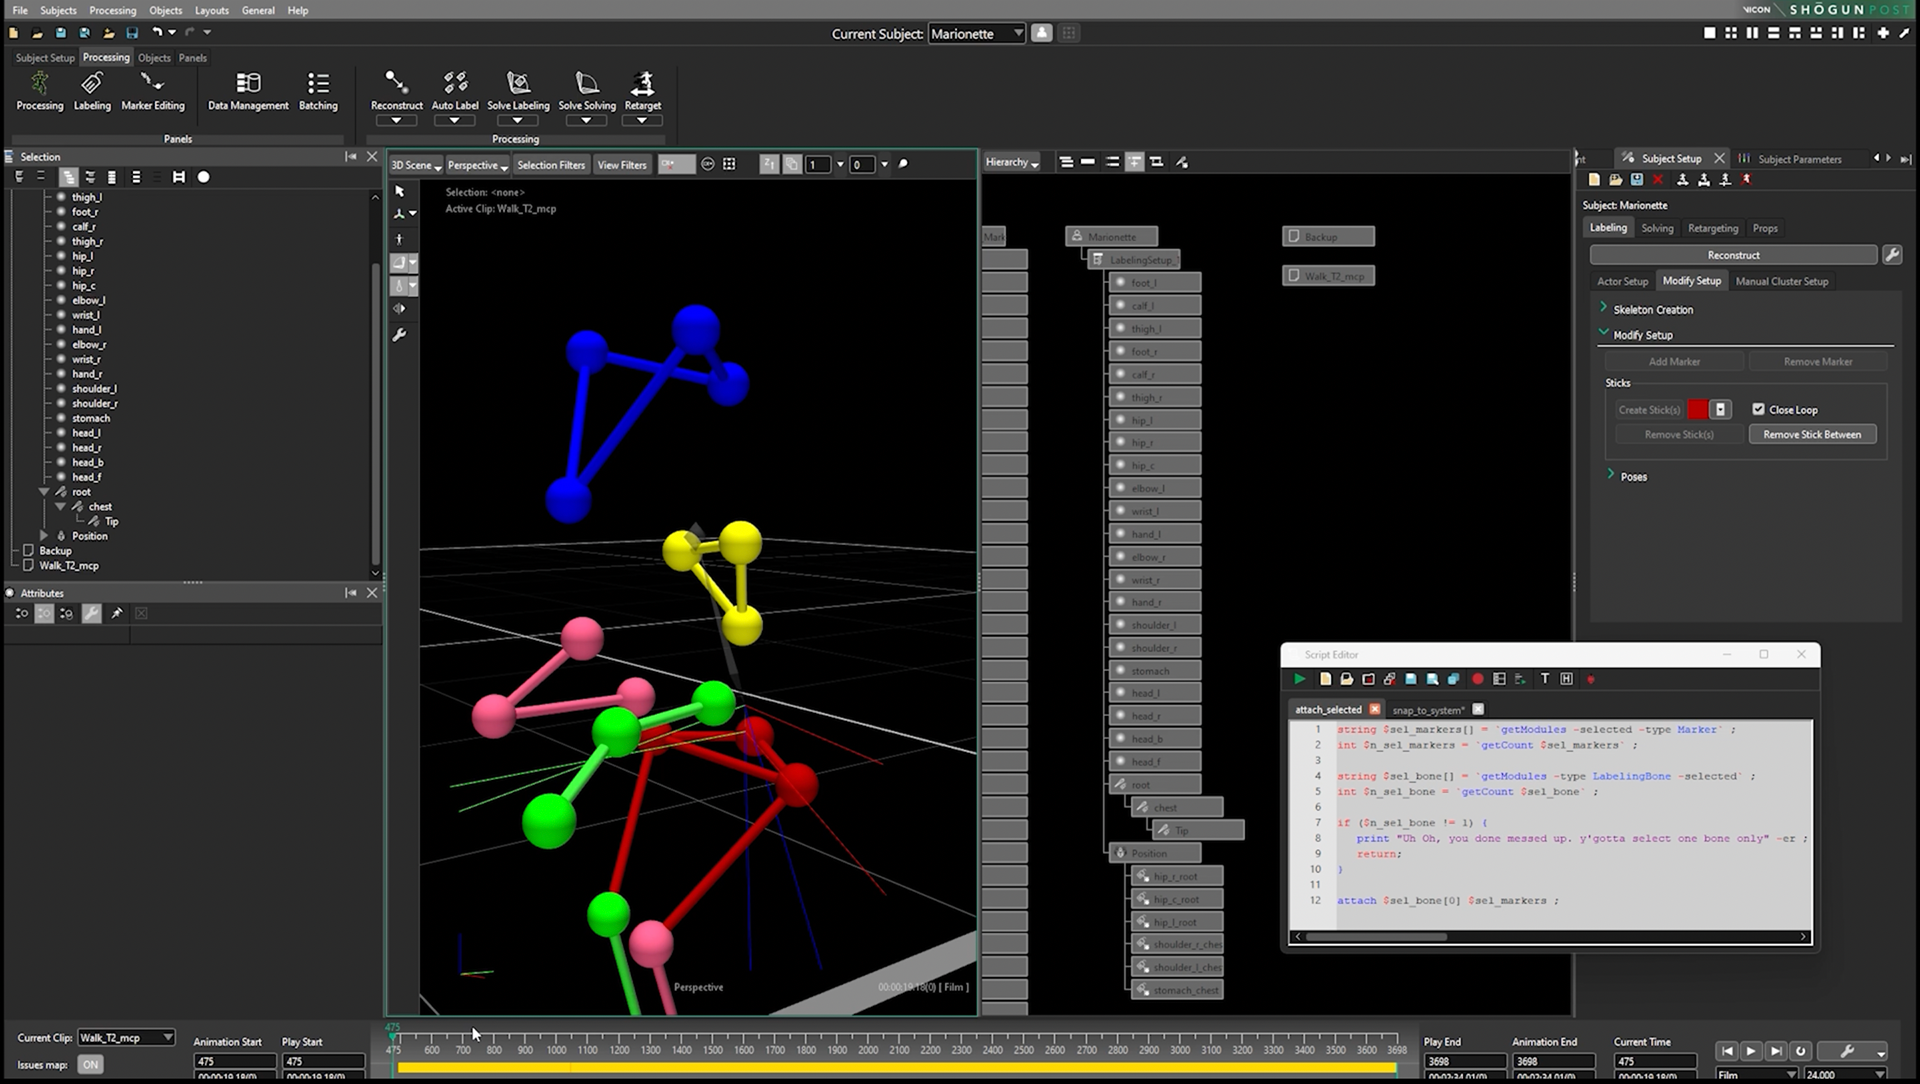
Custom Skeleton
Processed Skeleton
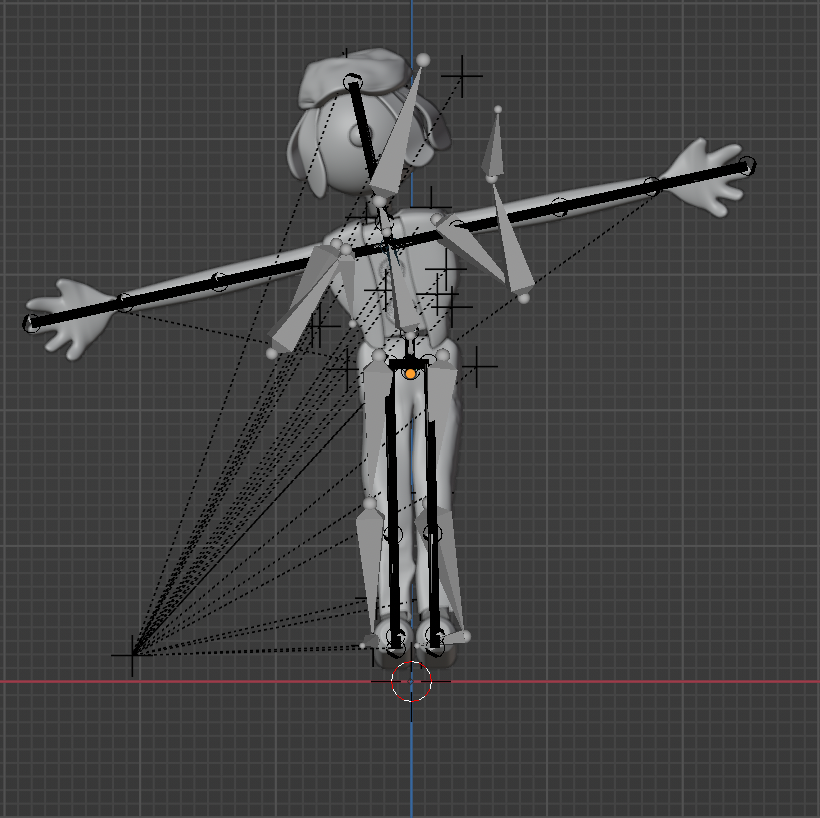
Pose Matching 1
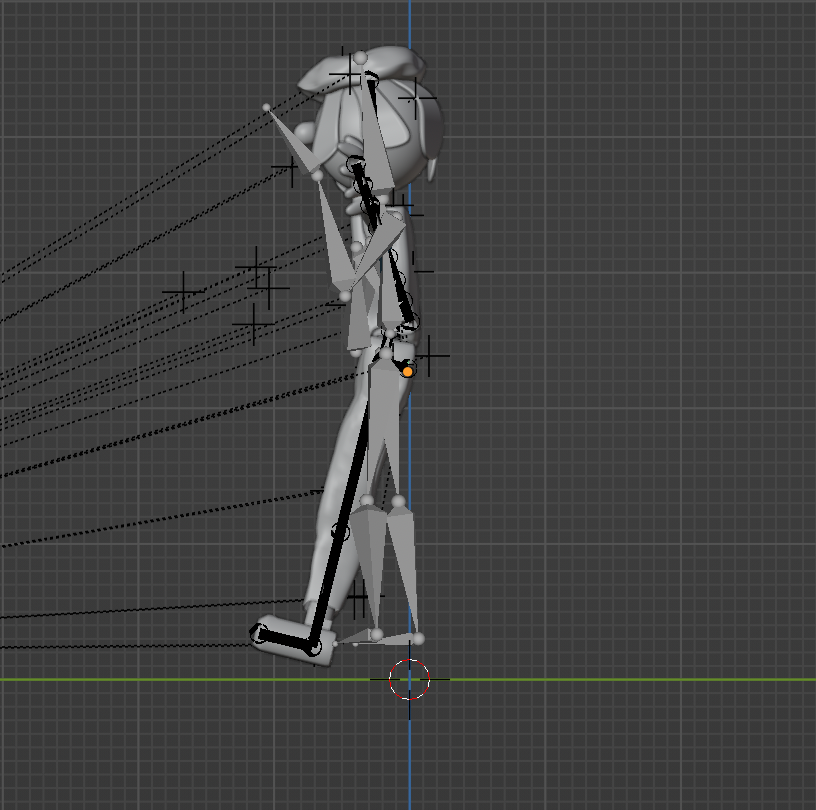
Pose Matching 2
Pose Matching 3
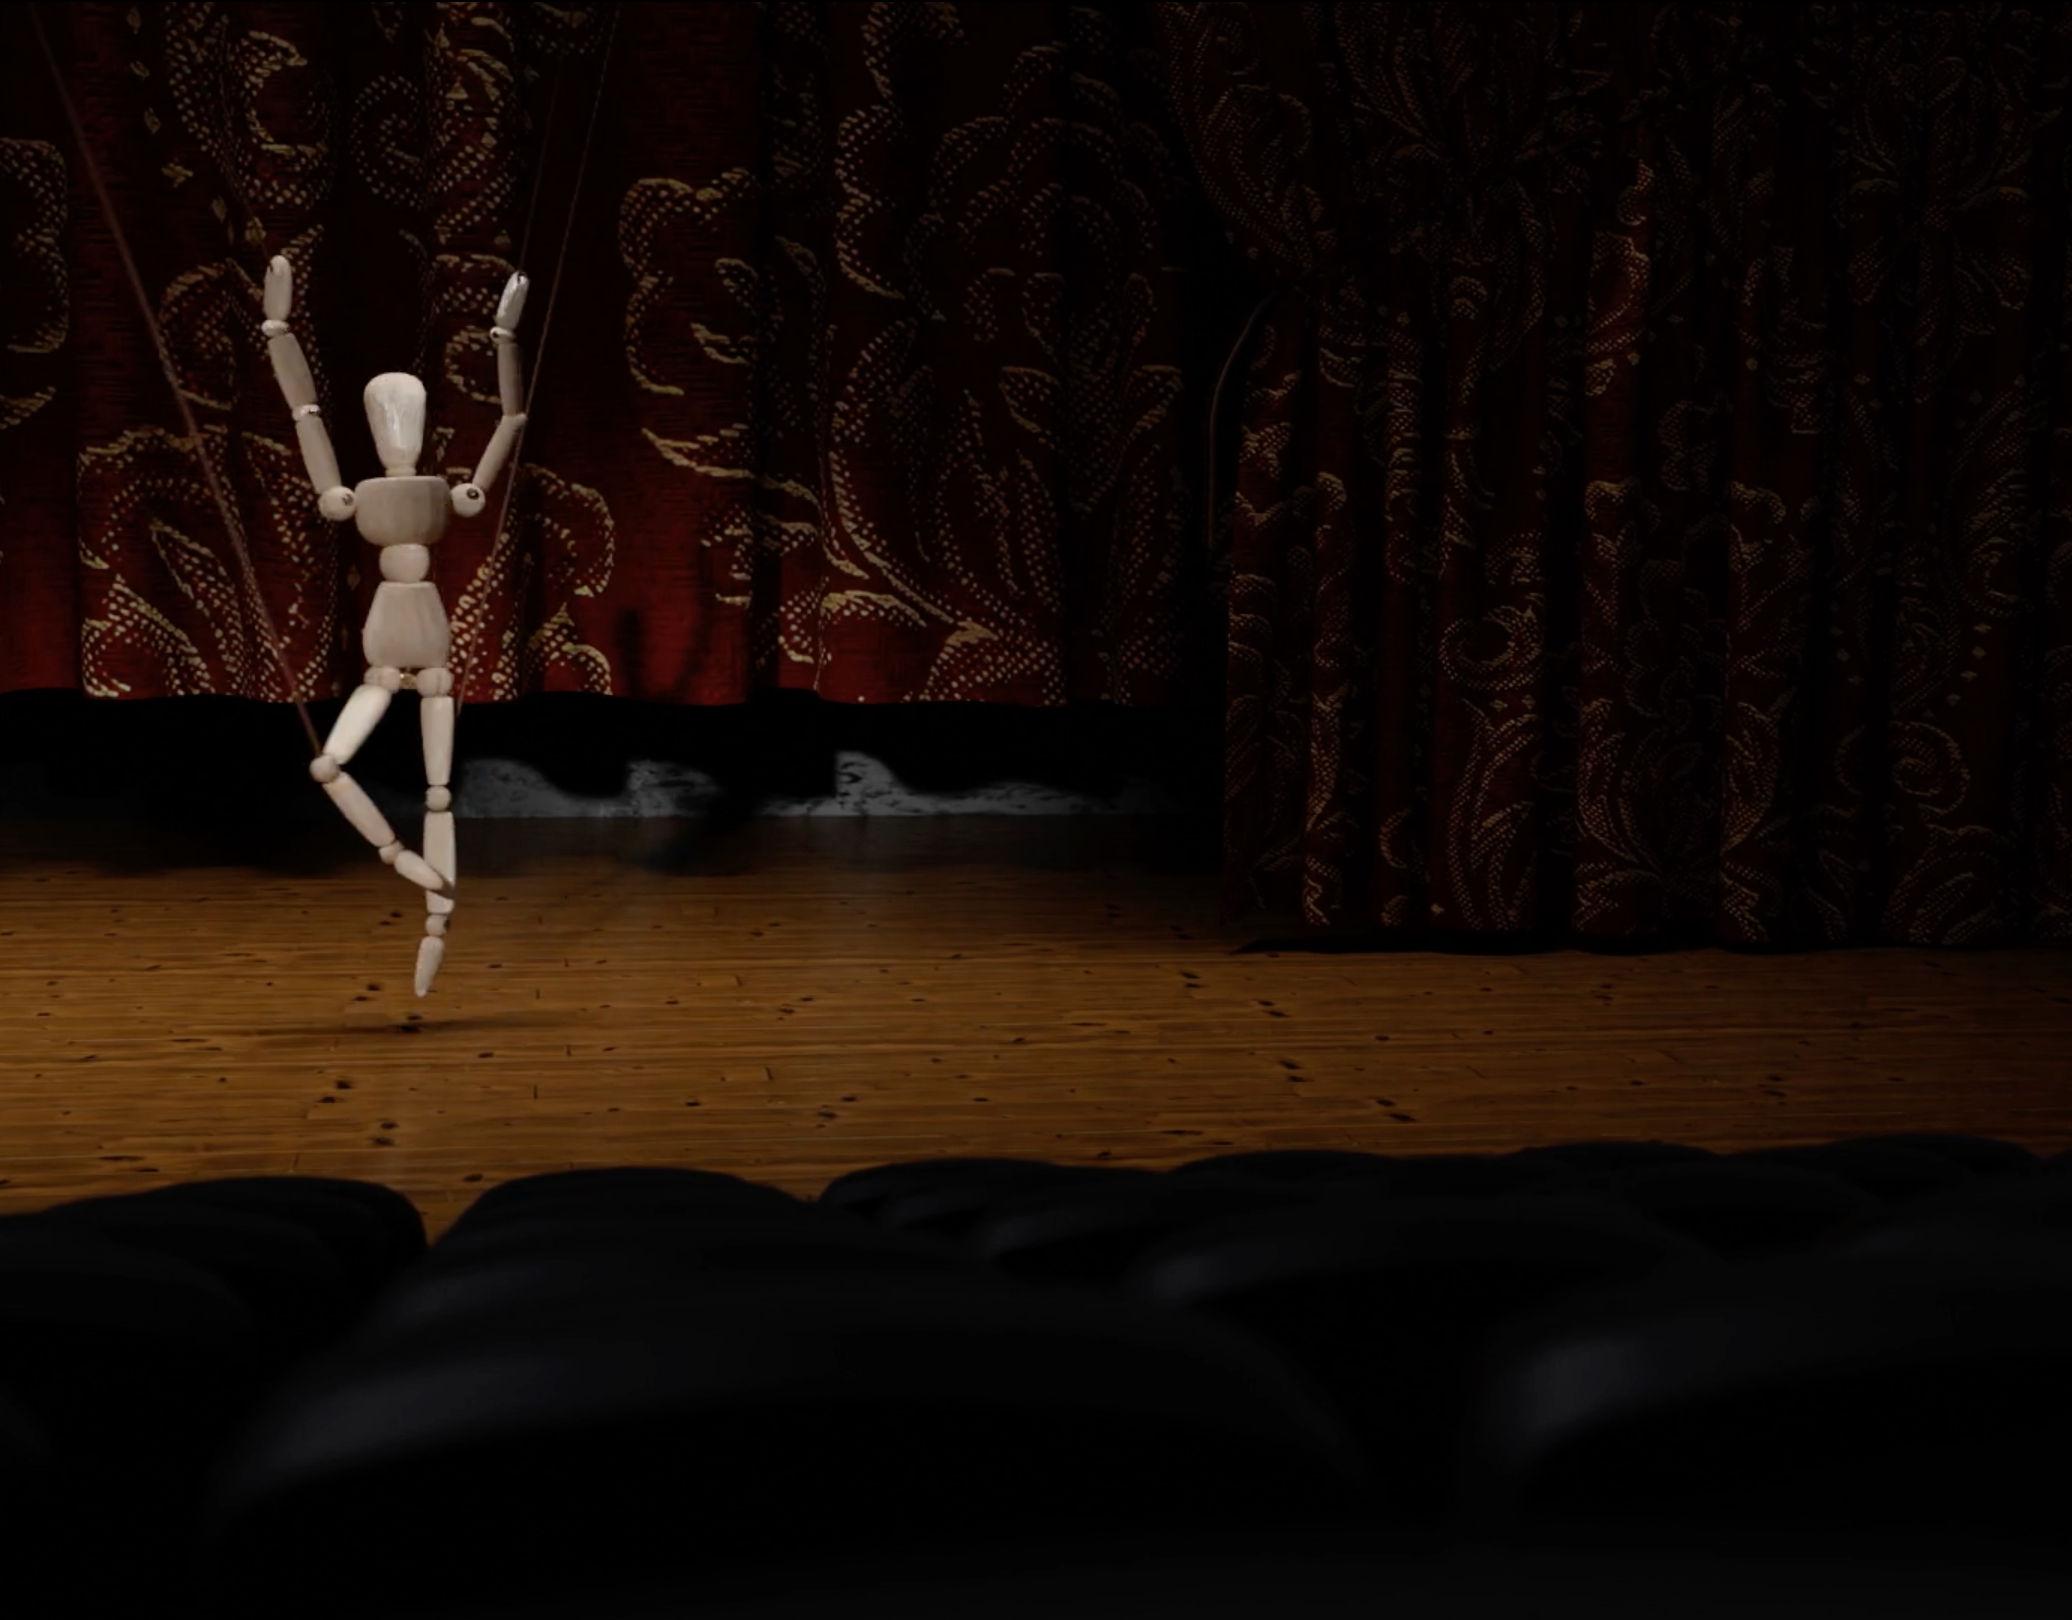
Final Animation
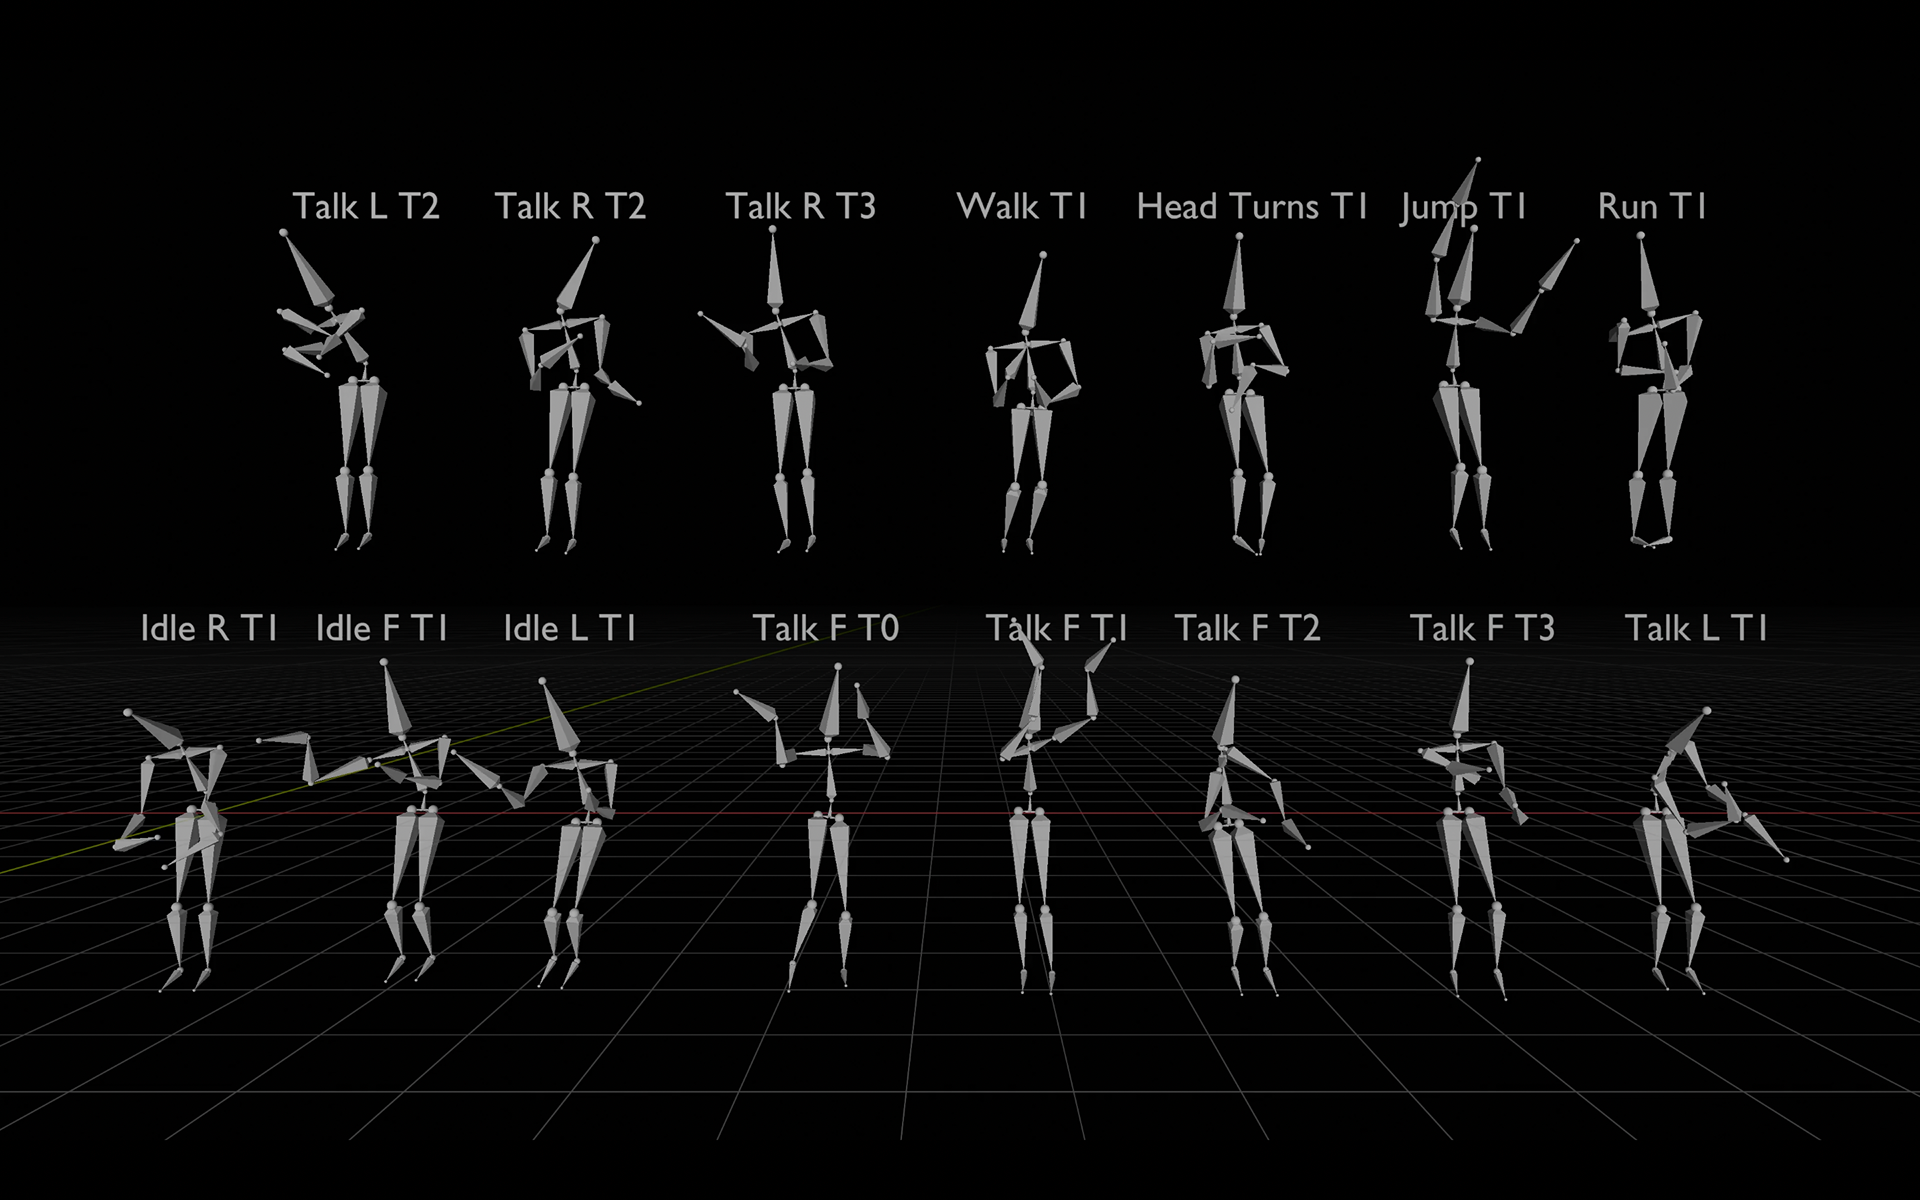
Motion Capture Takes
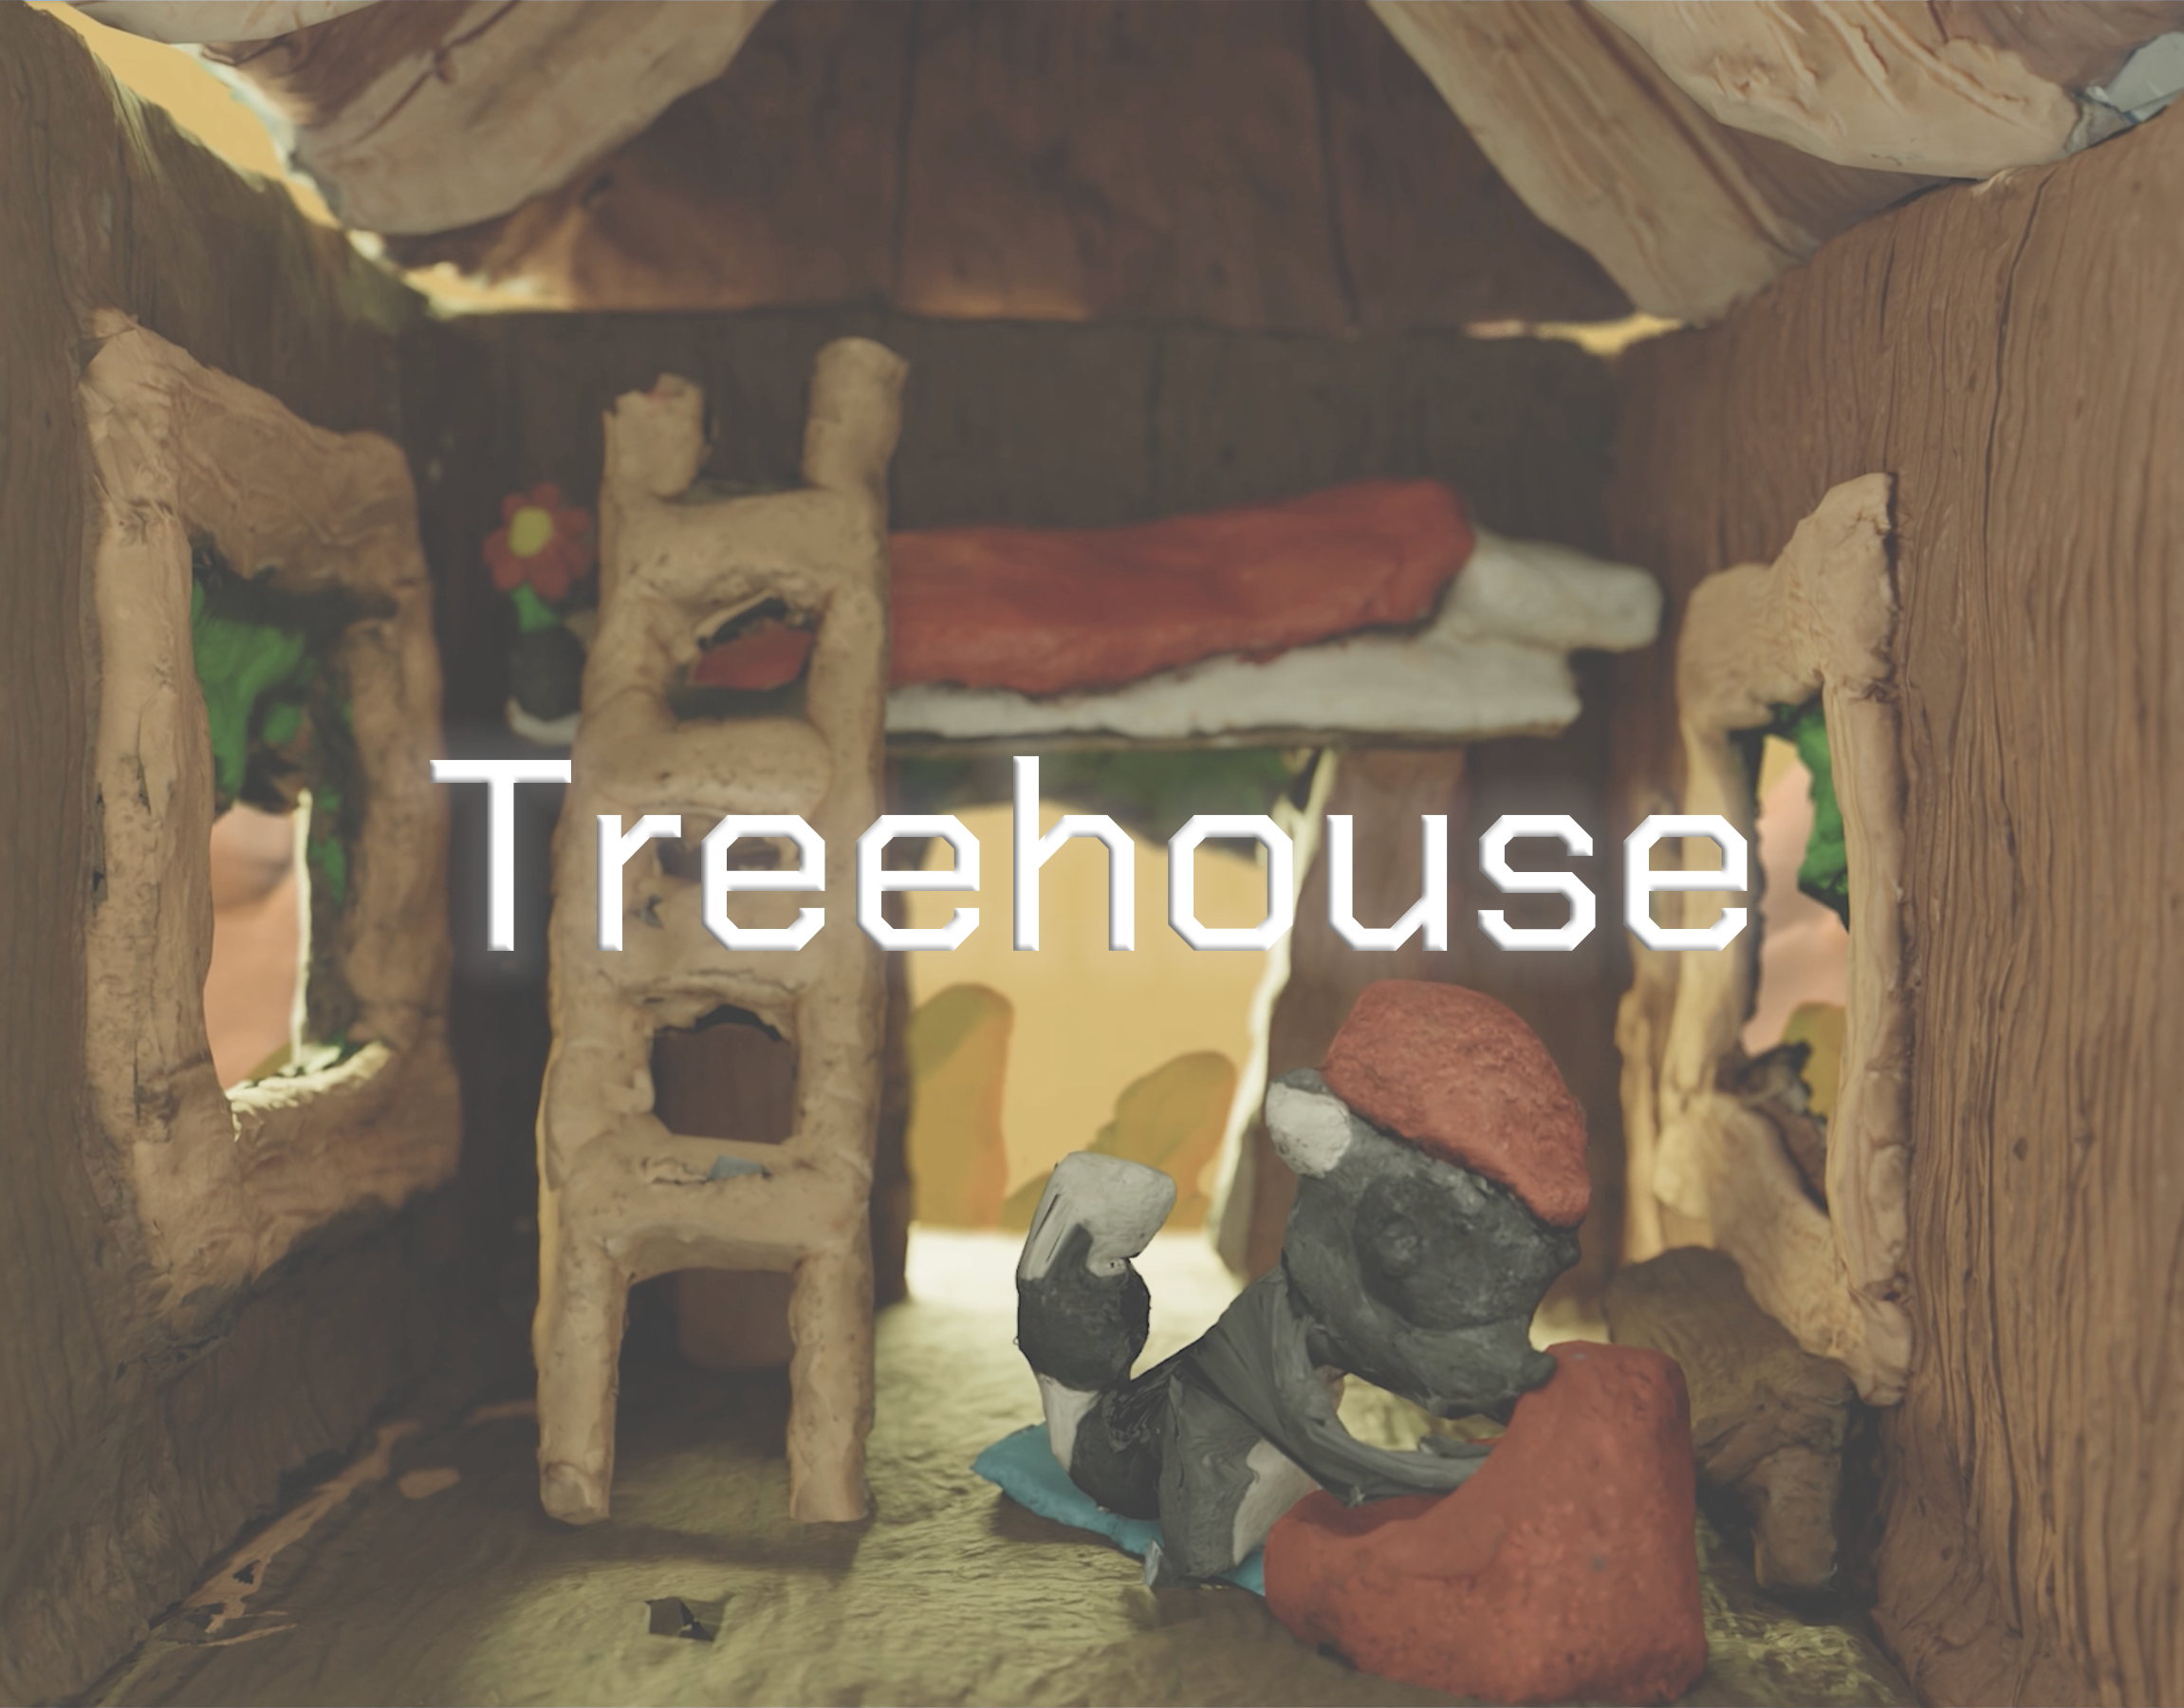
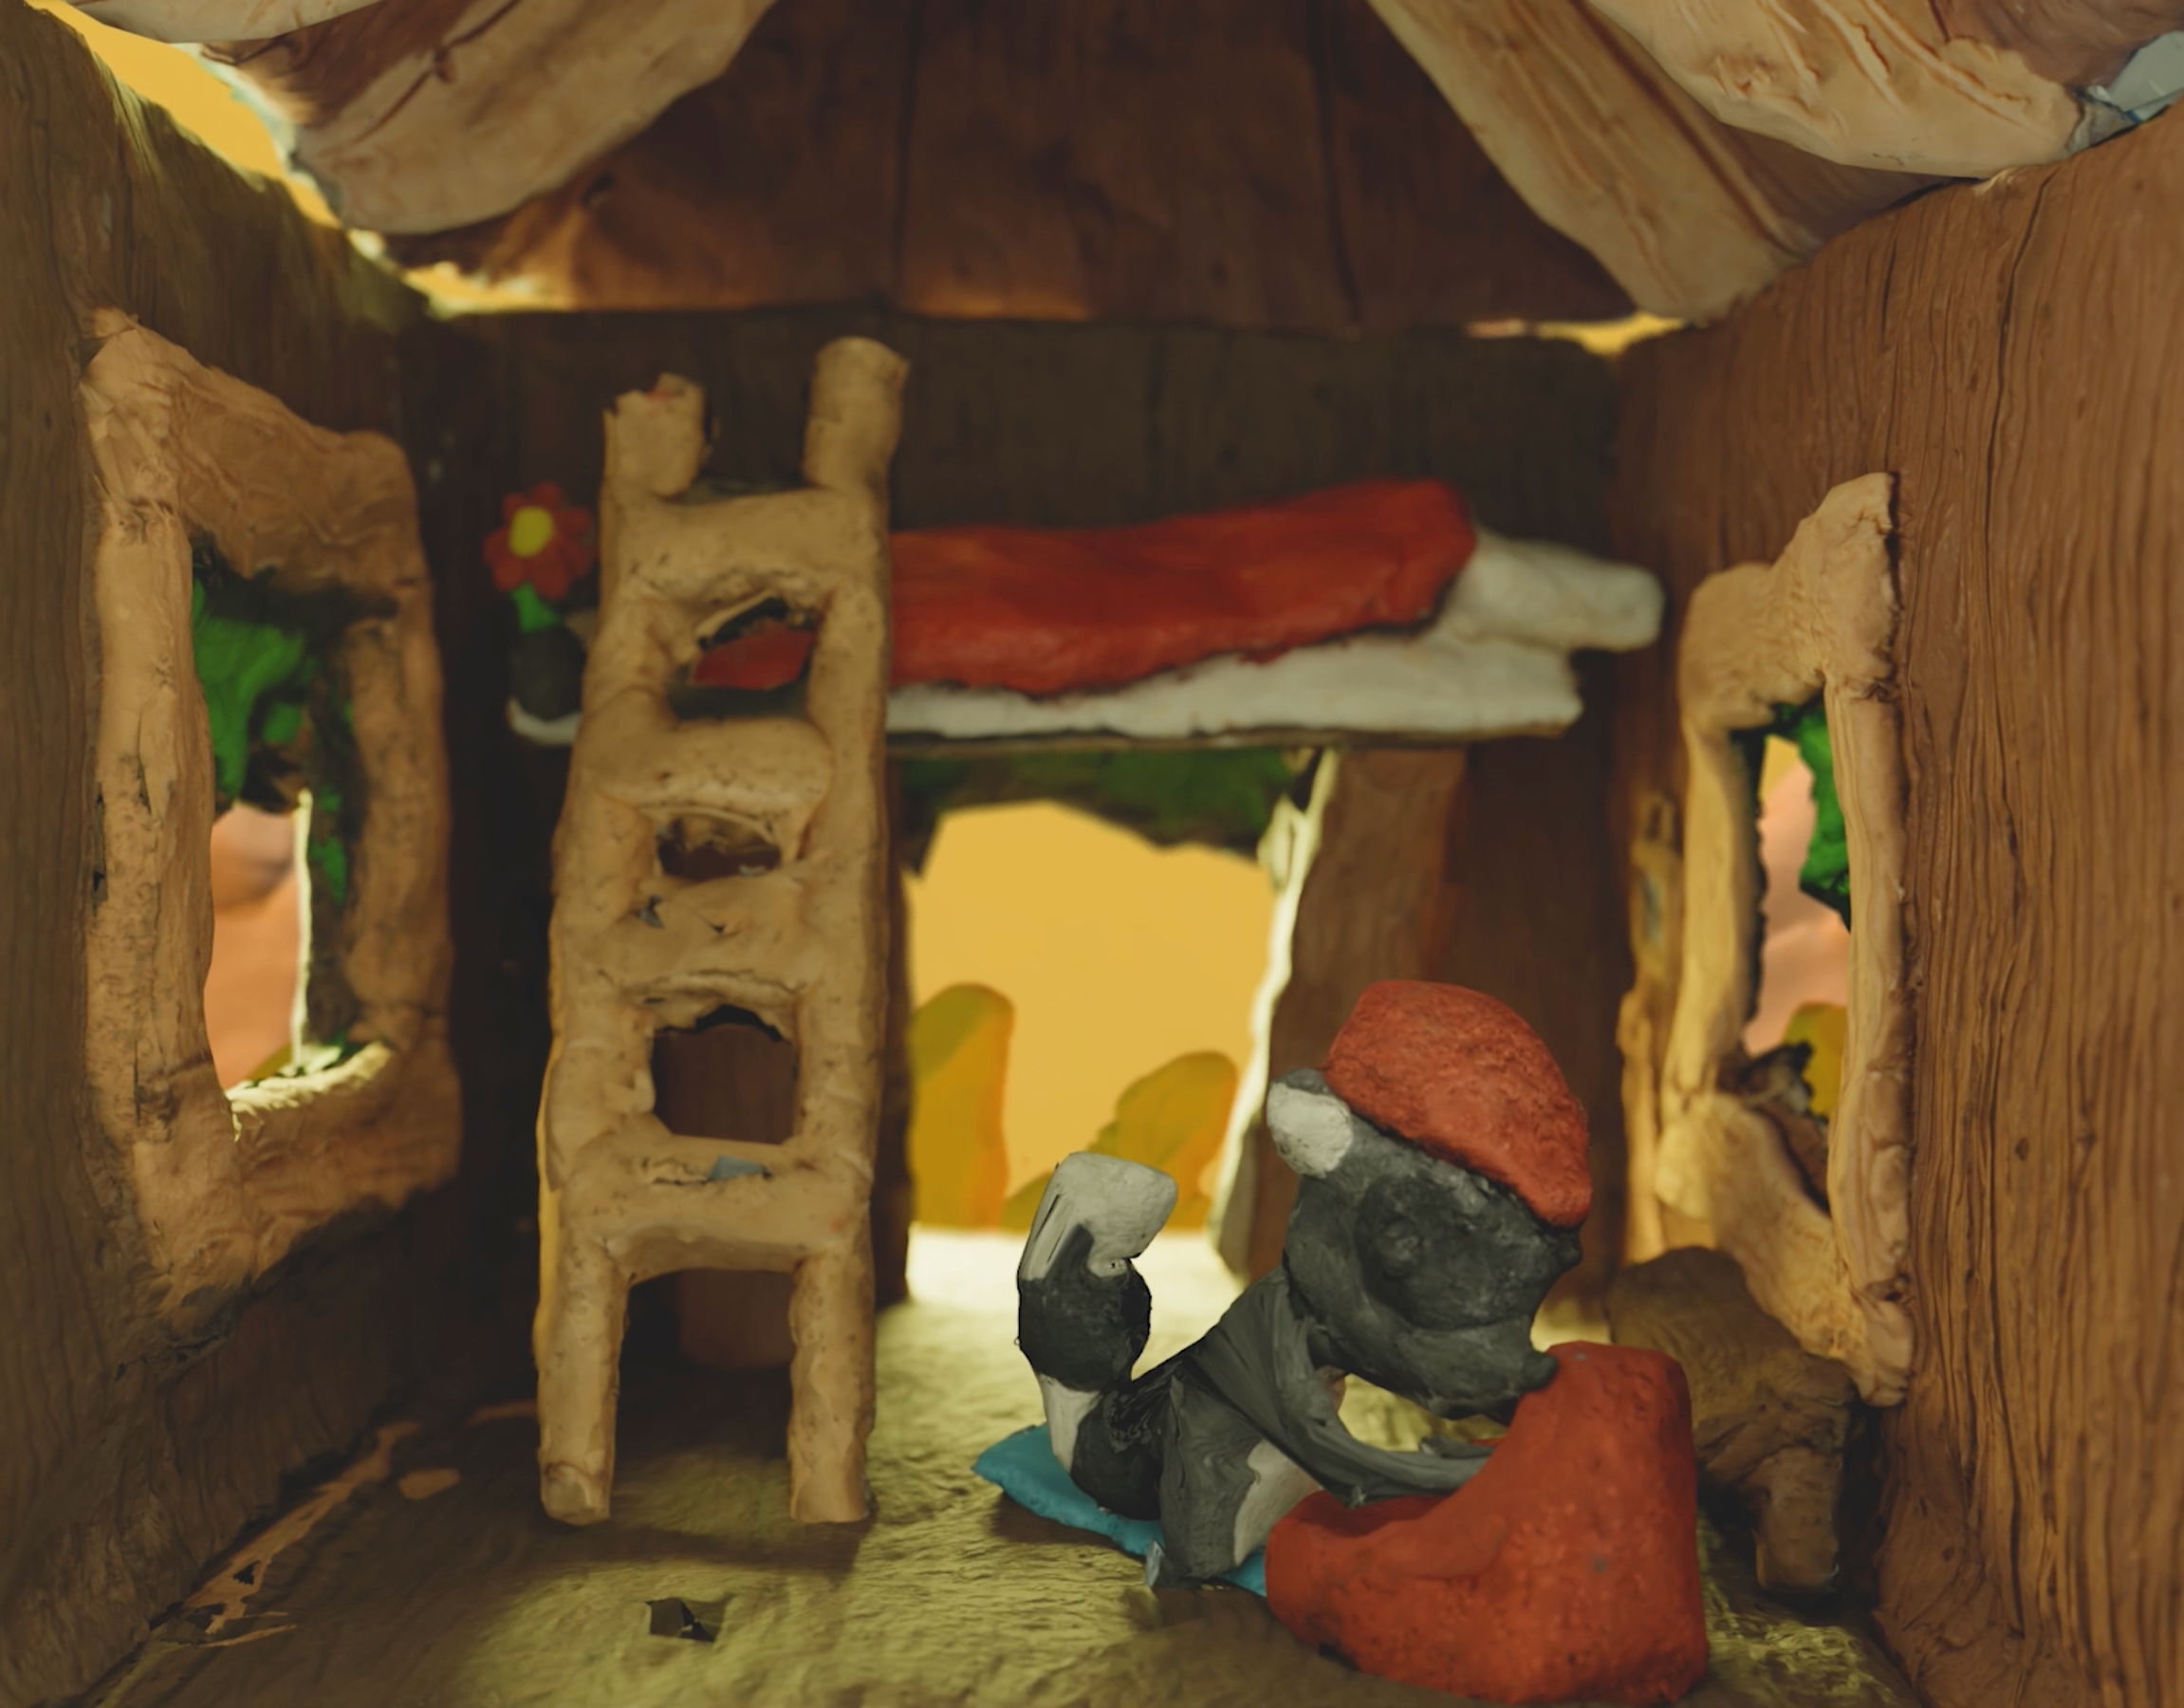
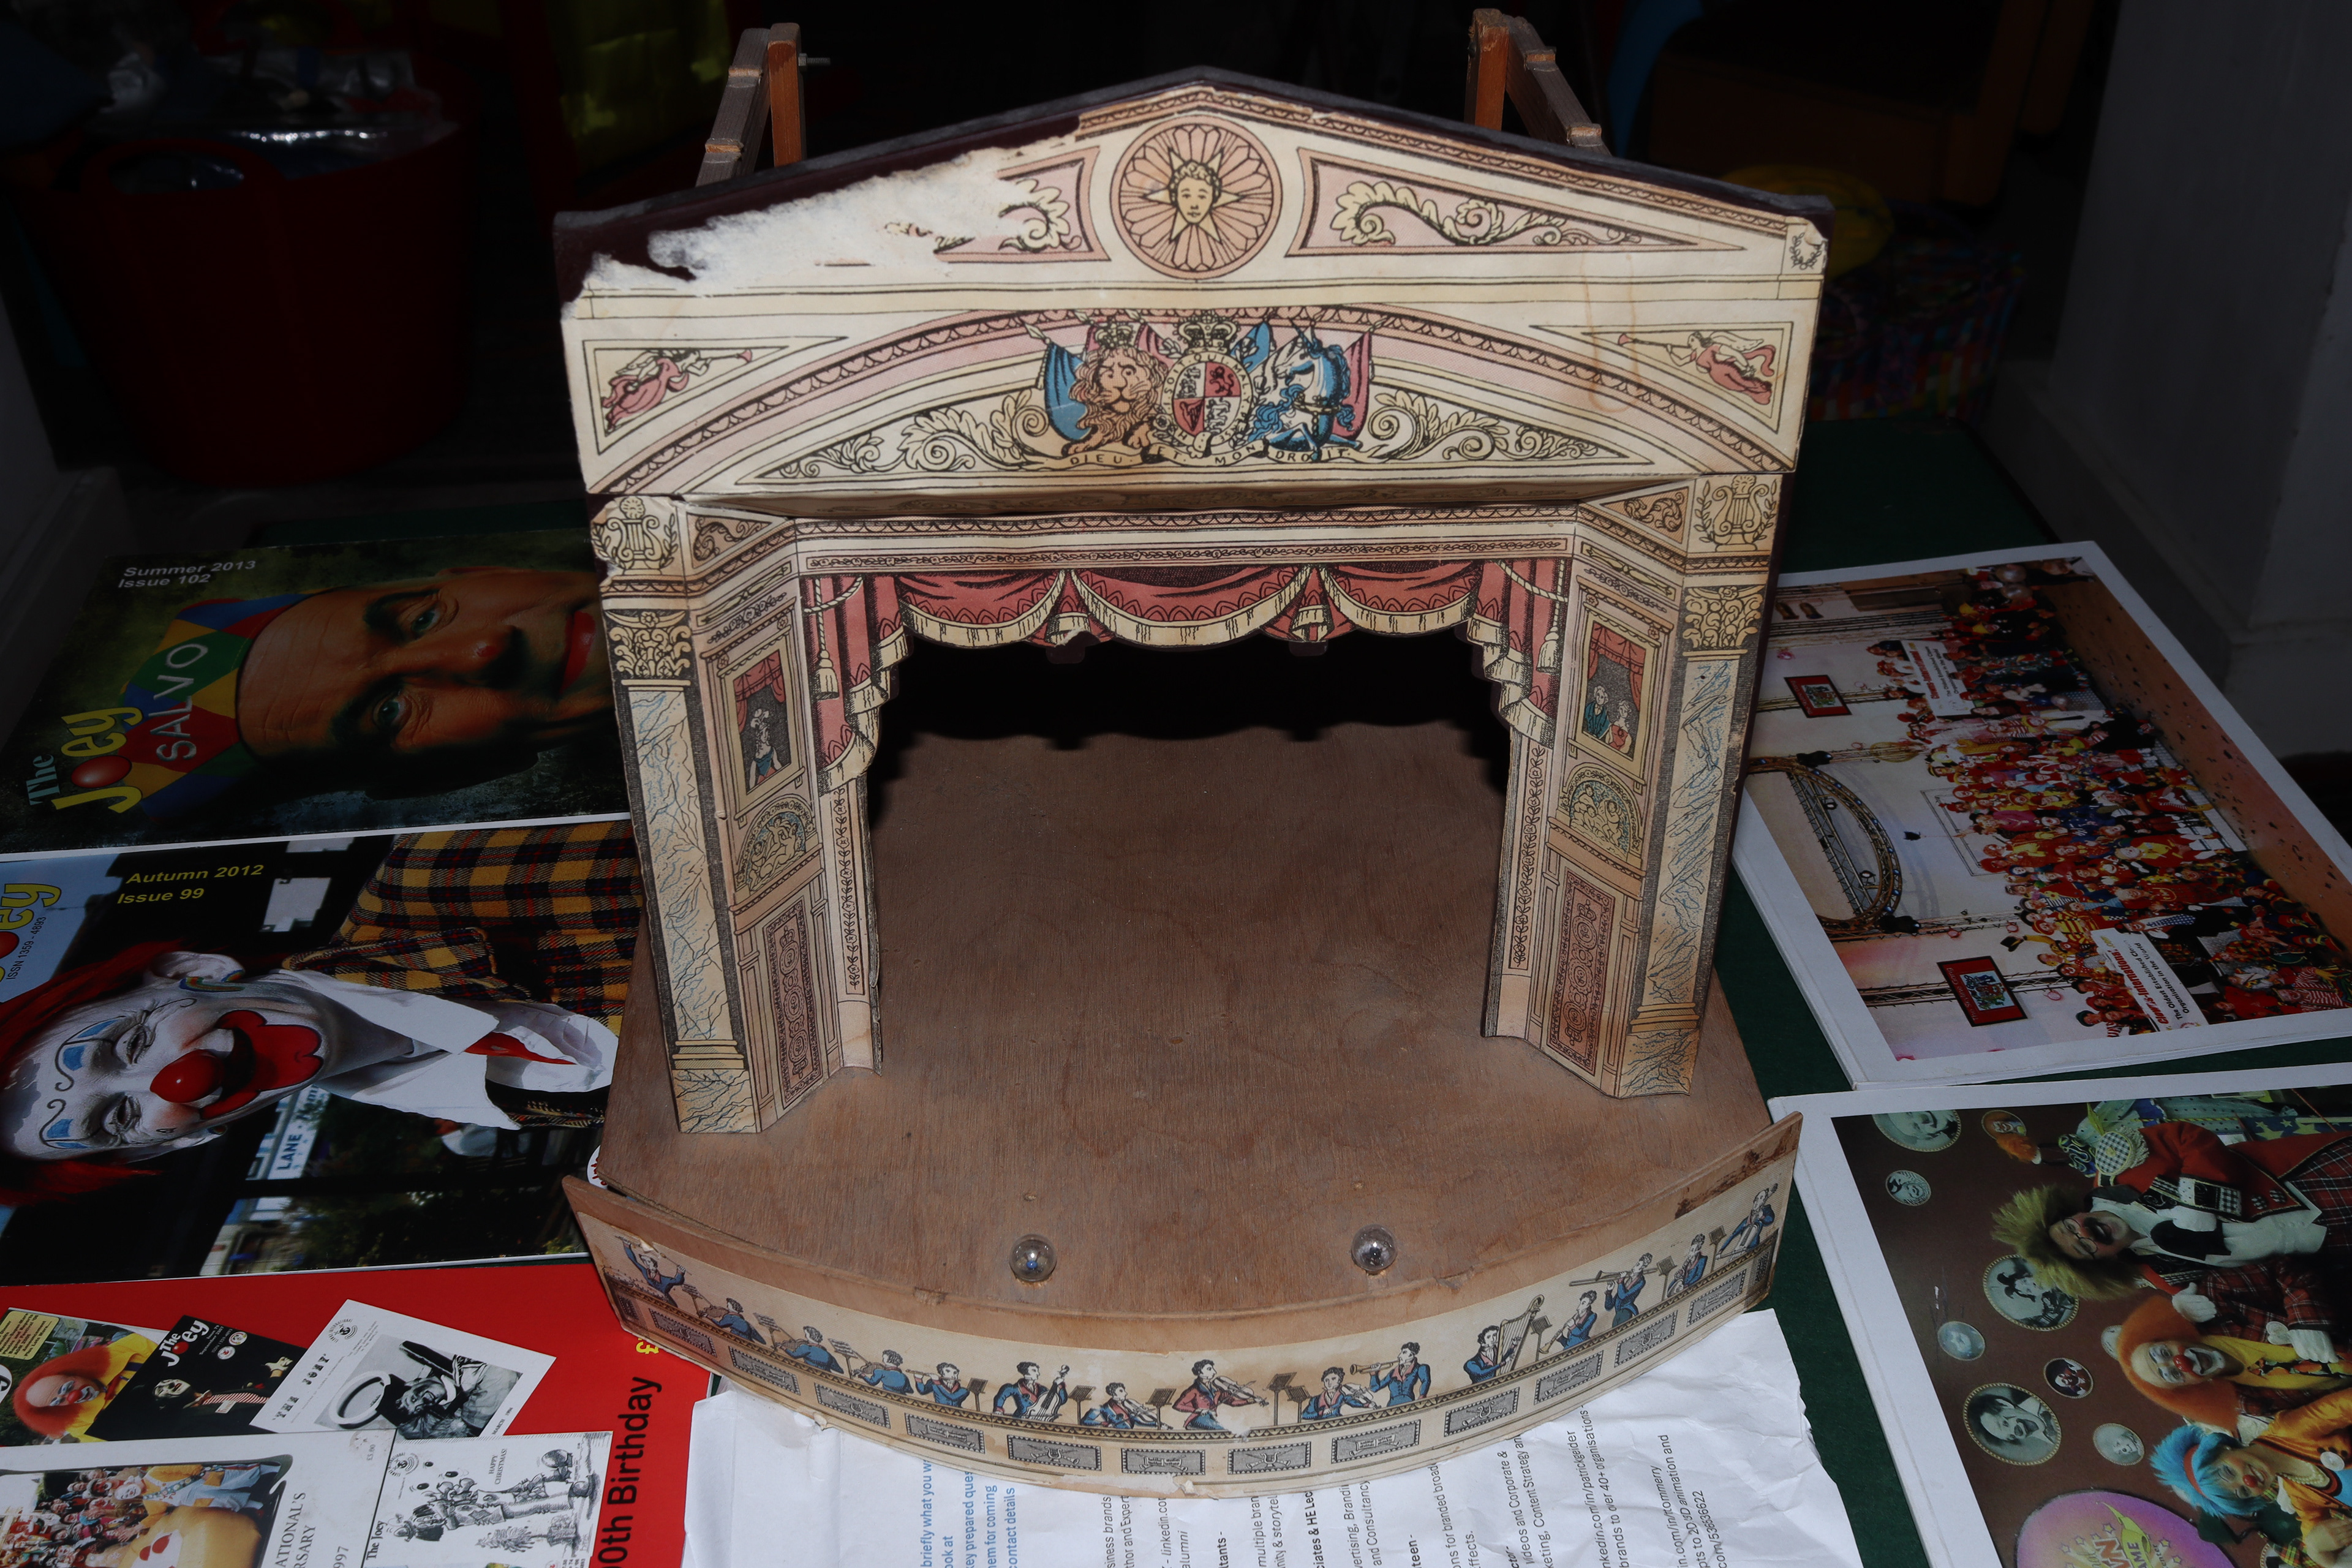
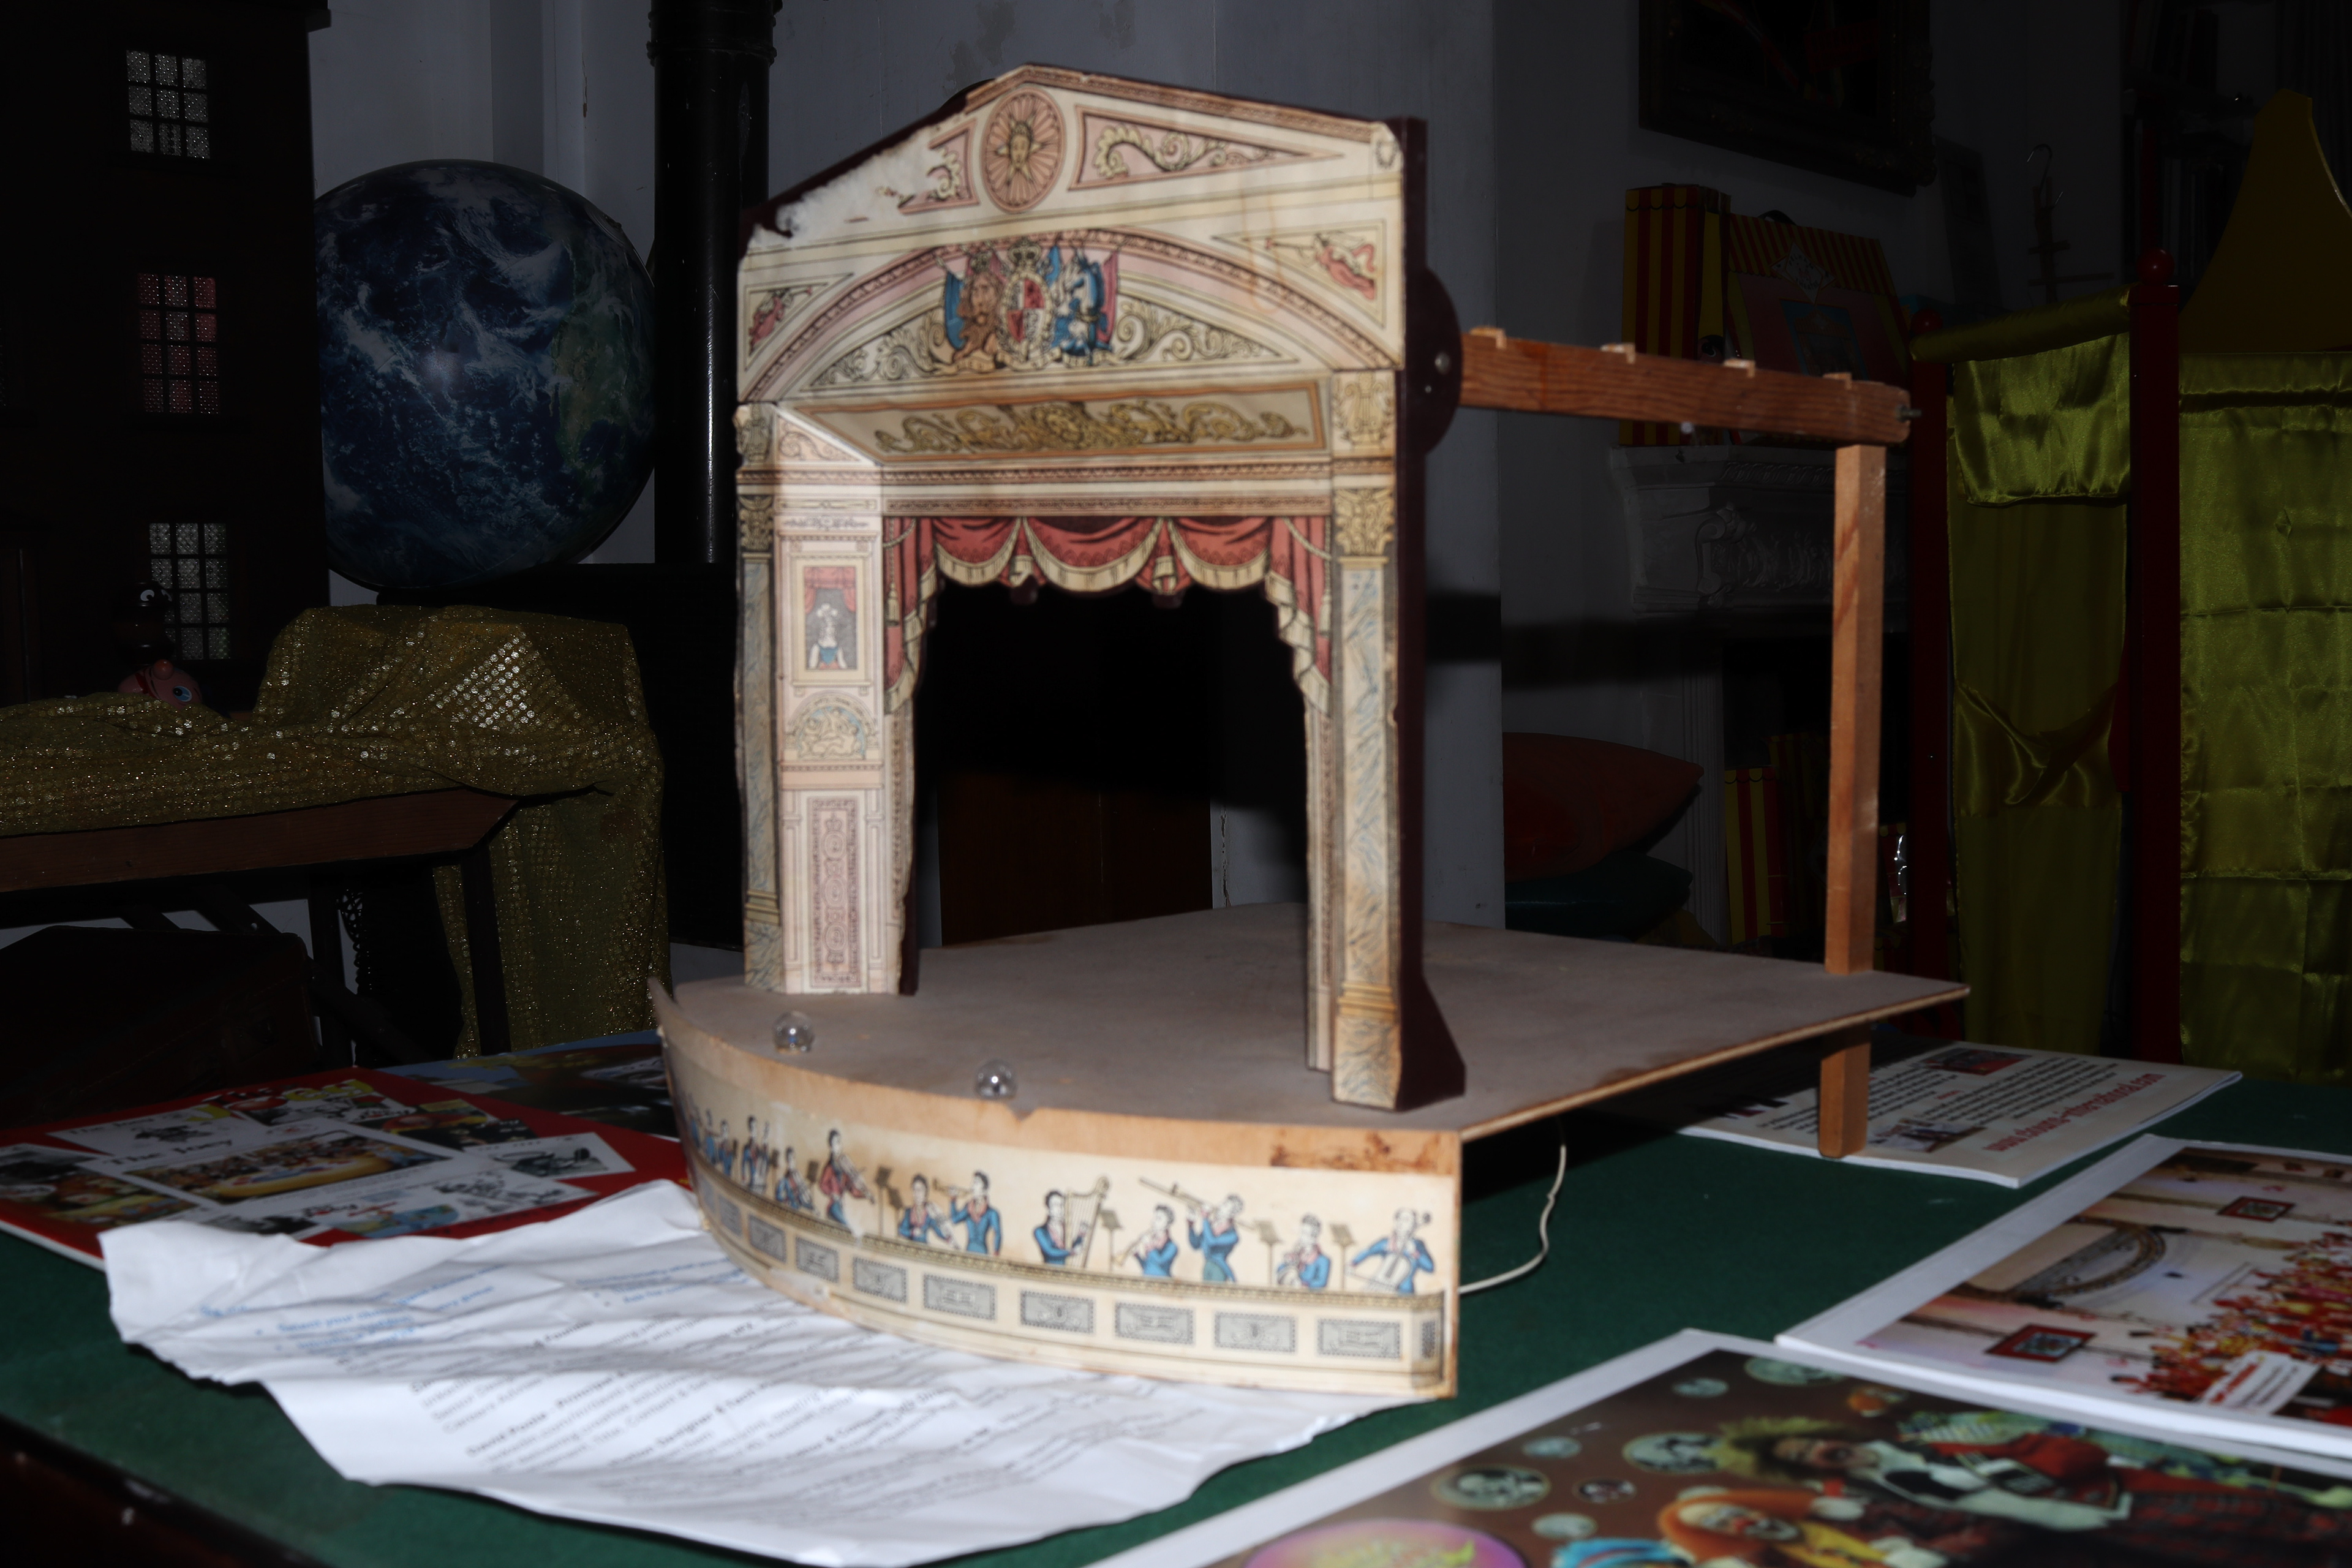
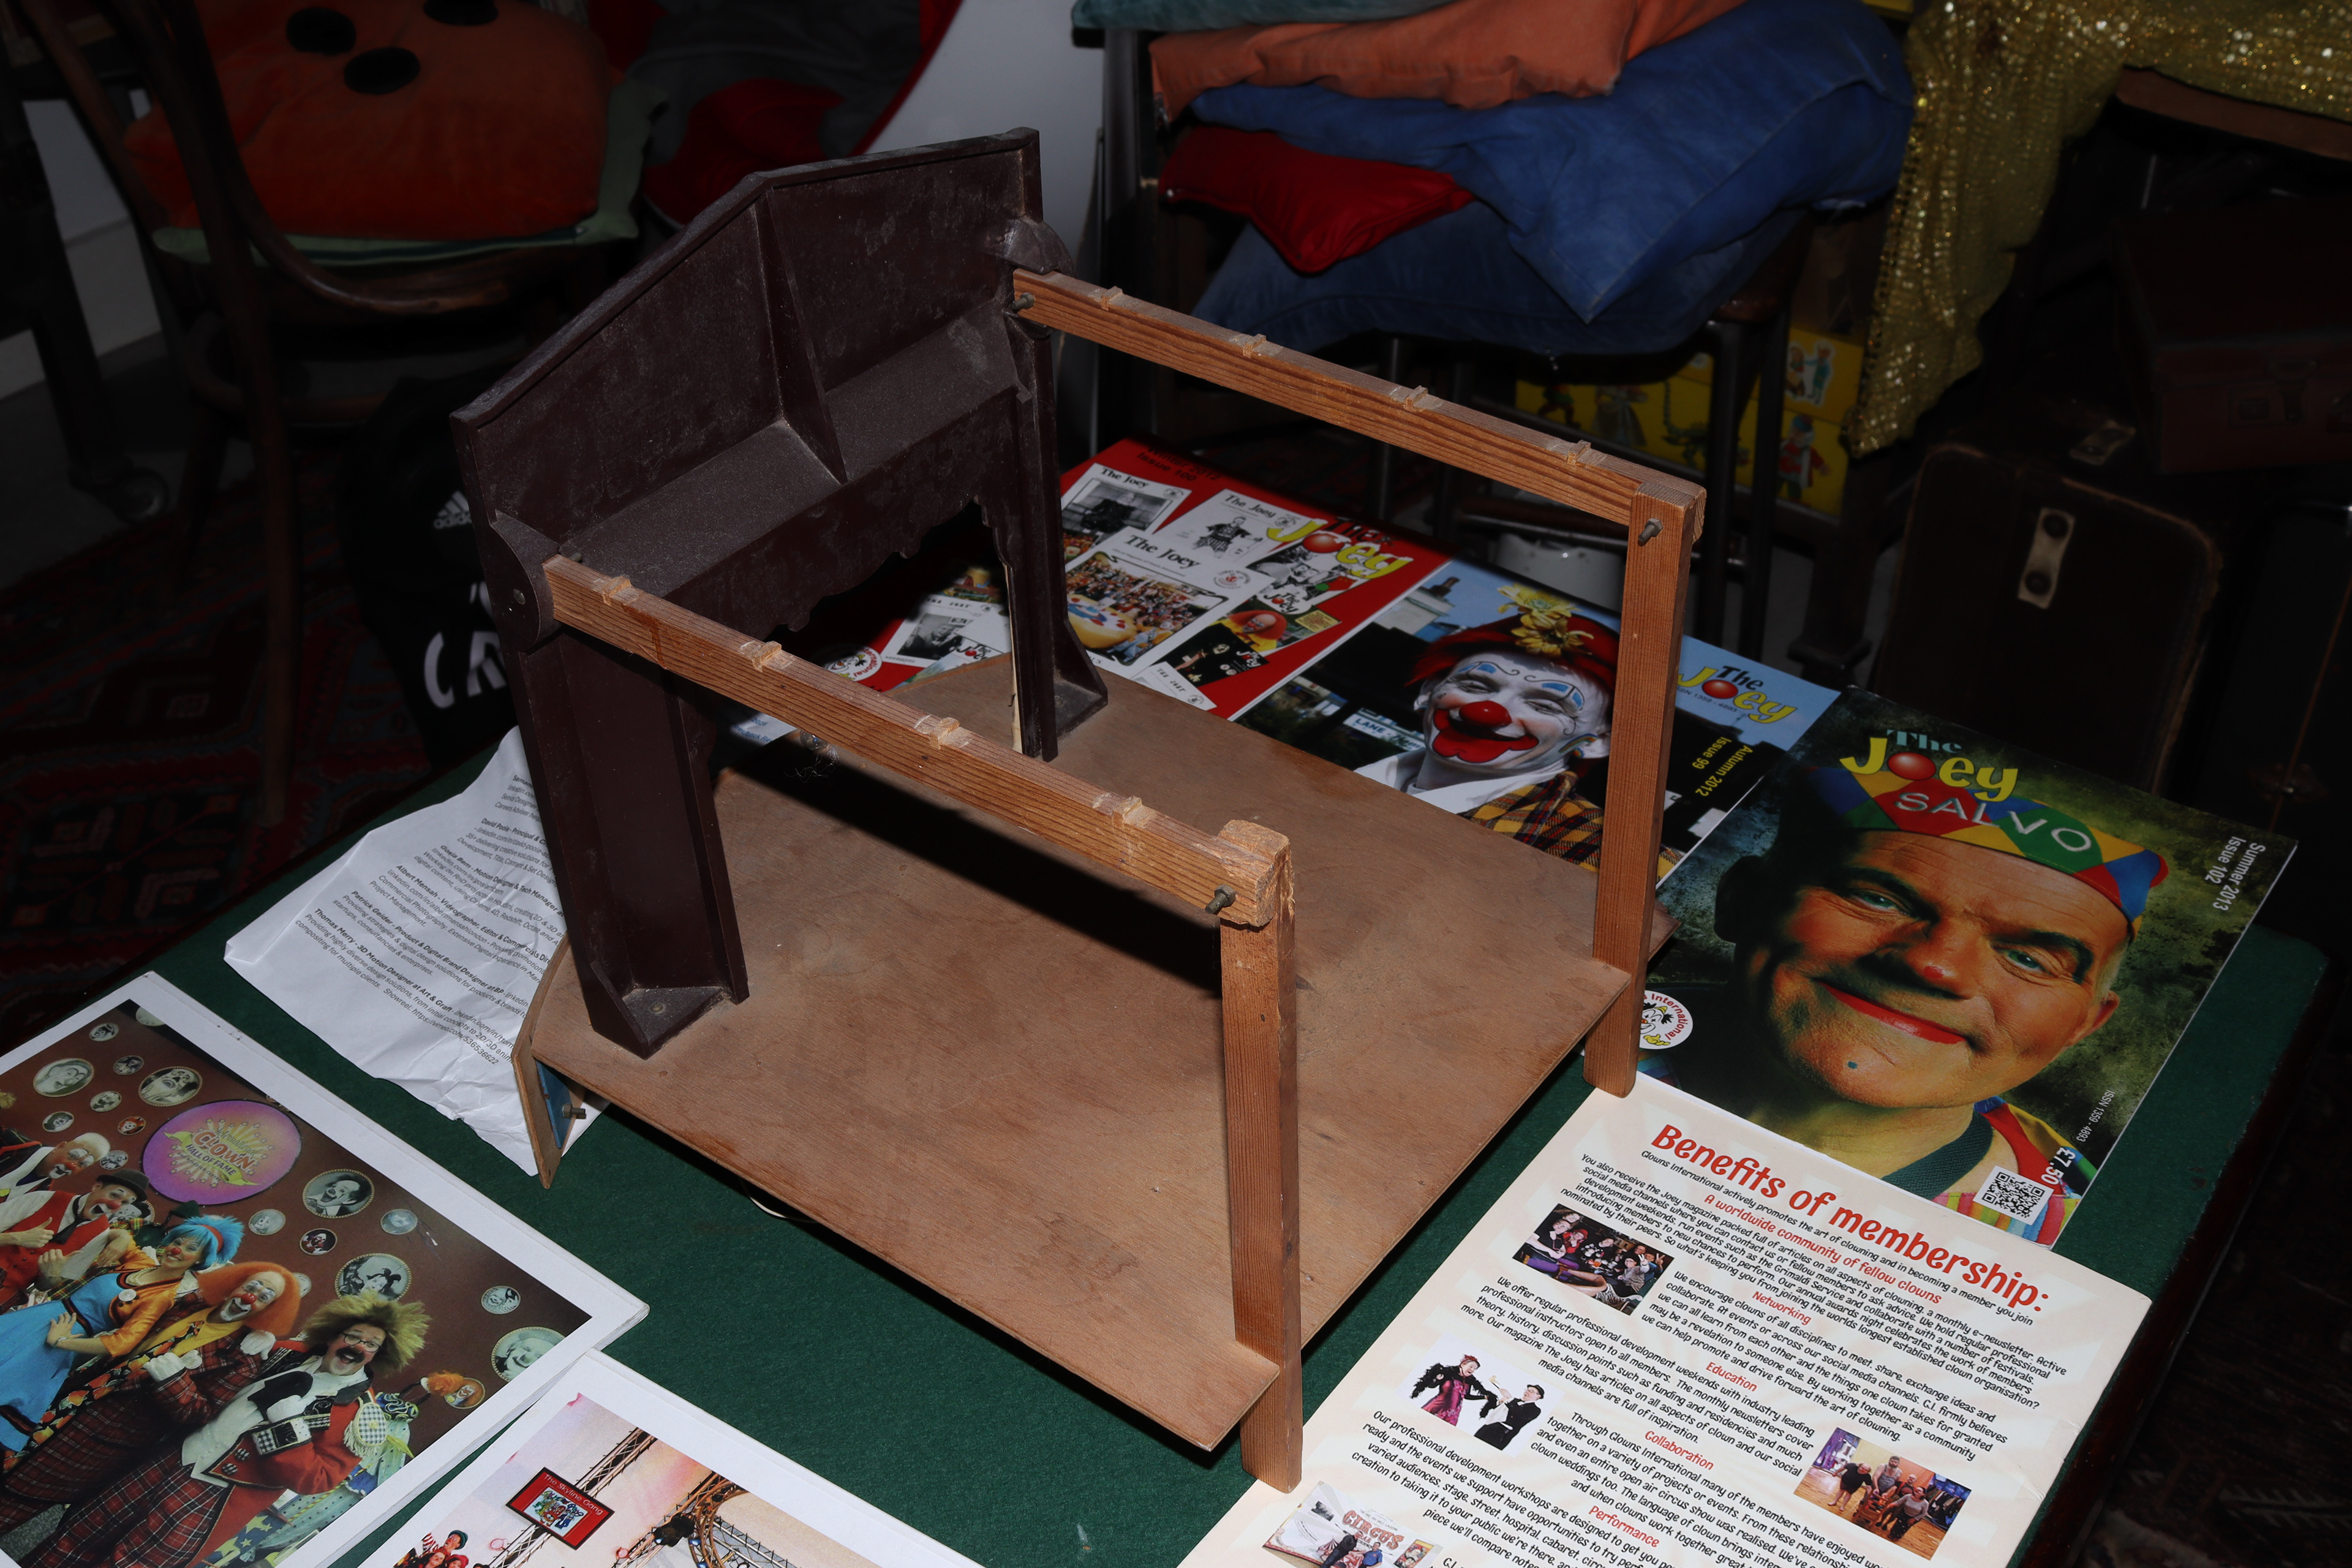
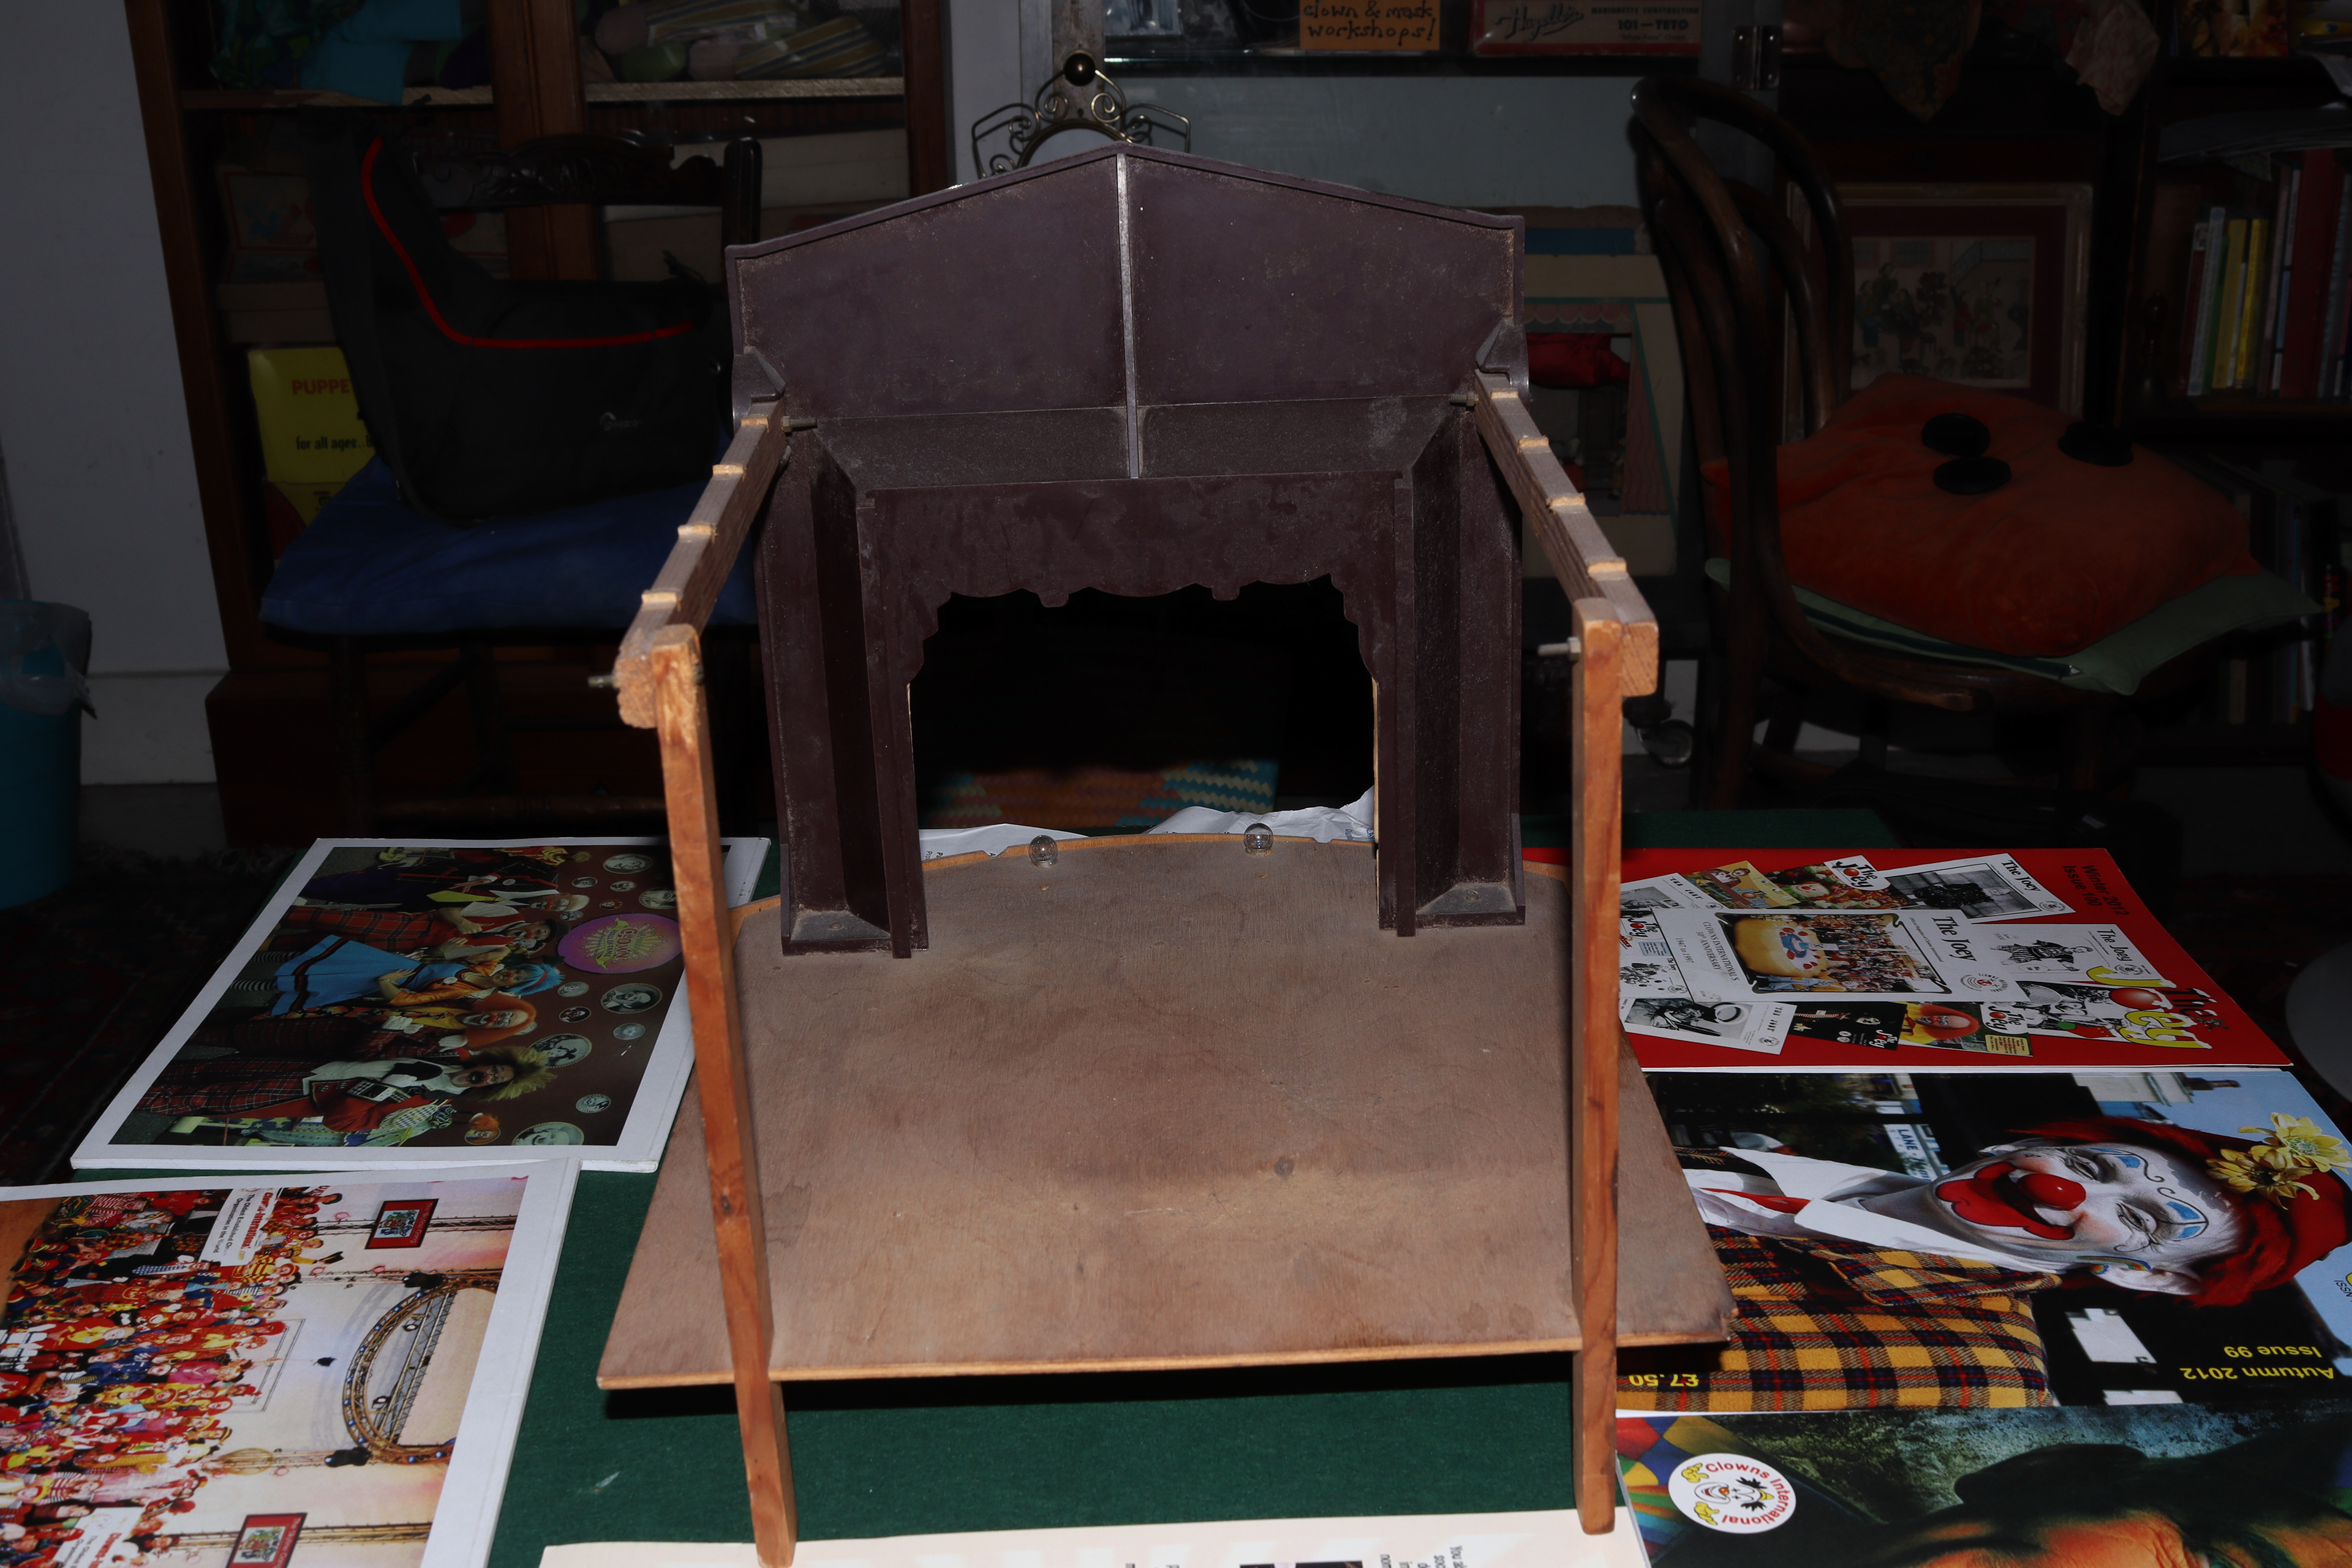
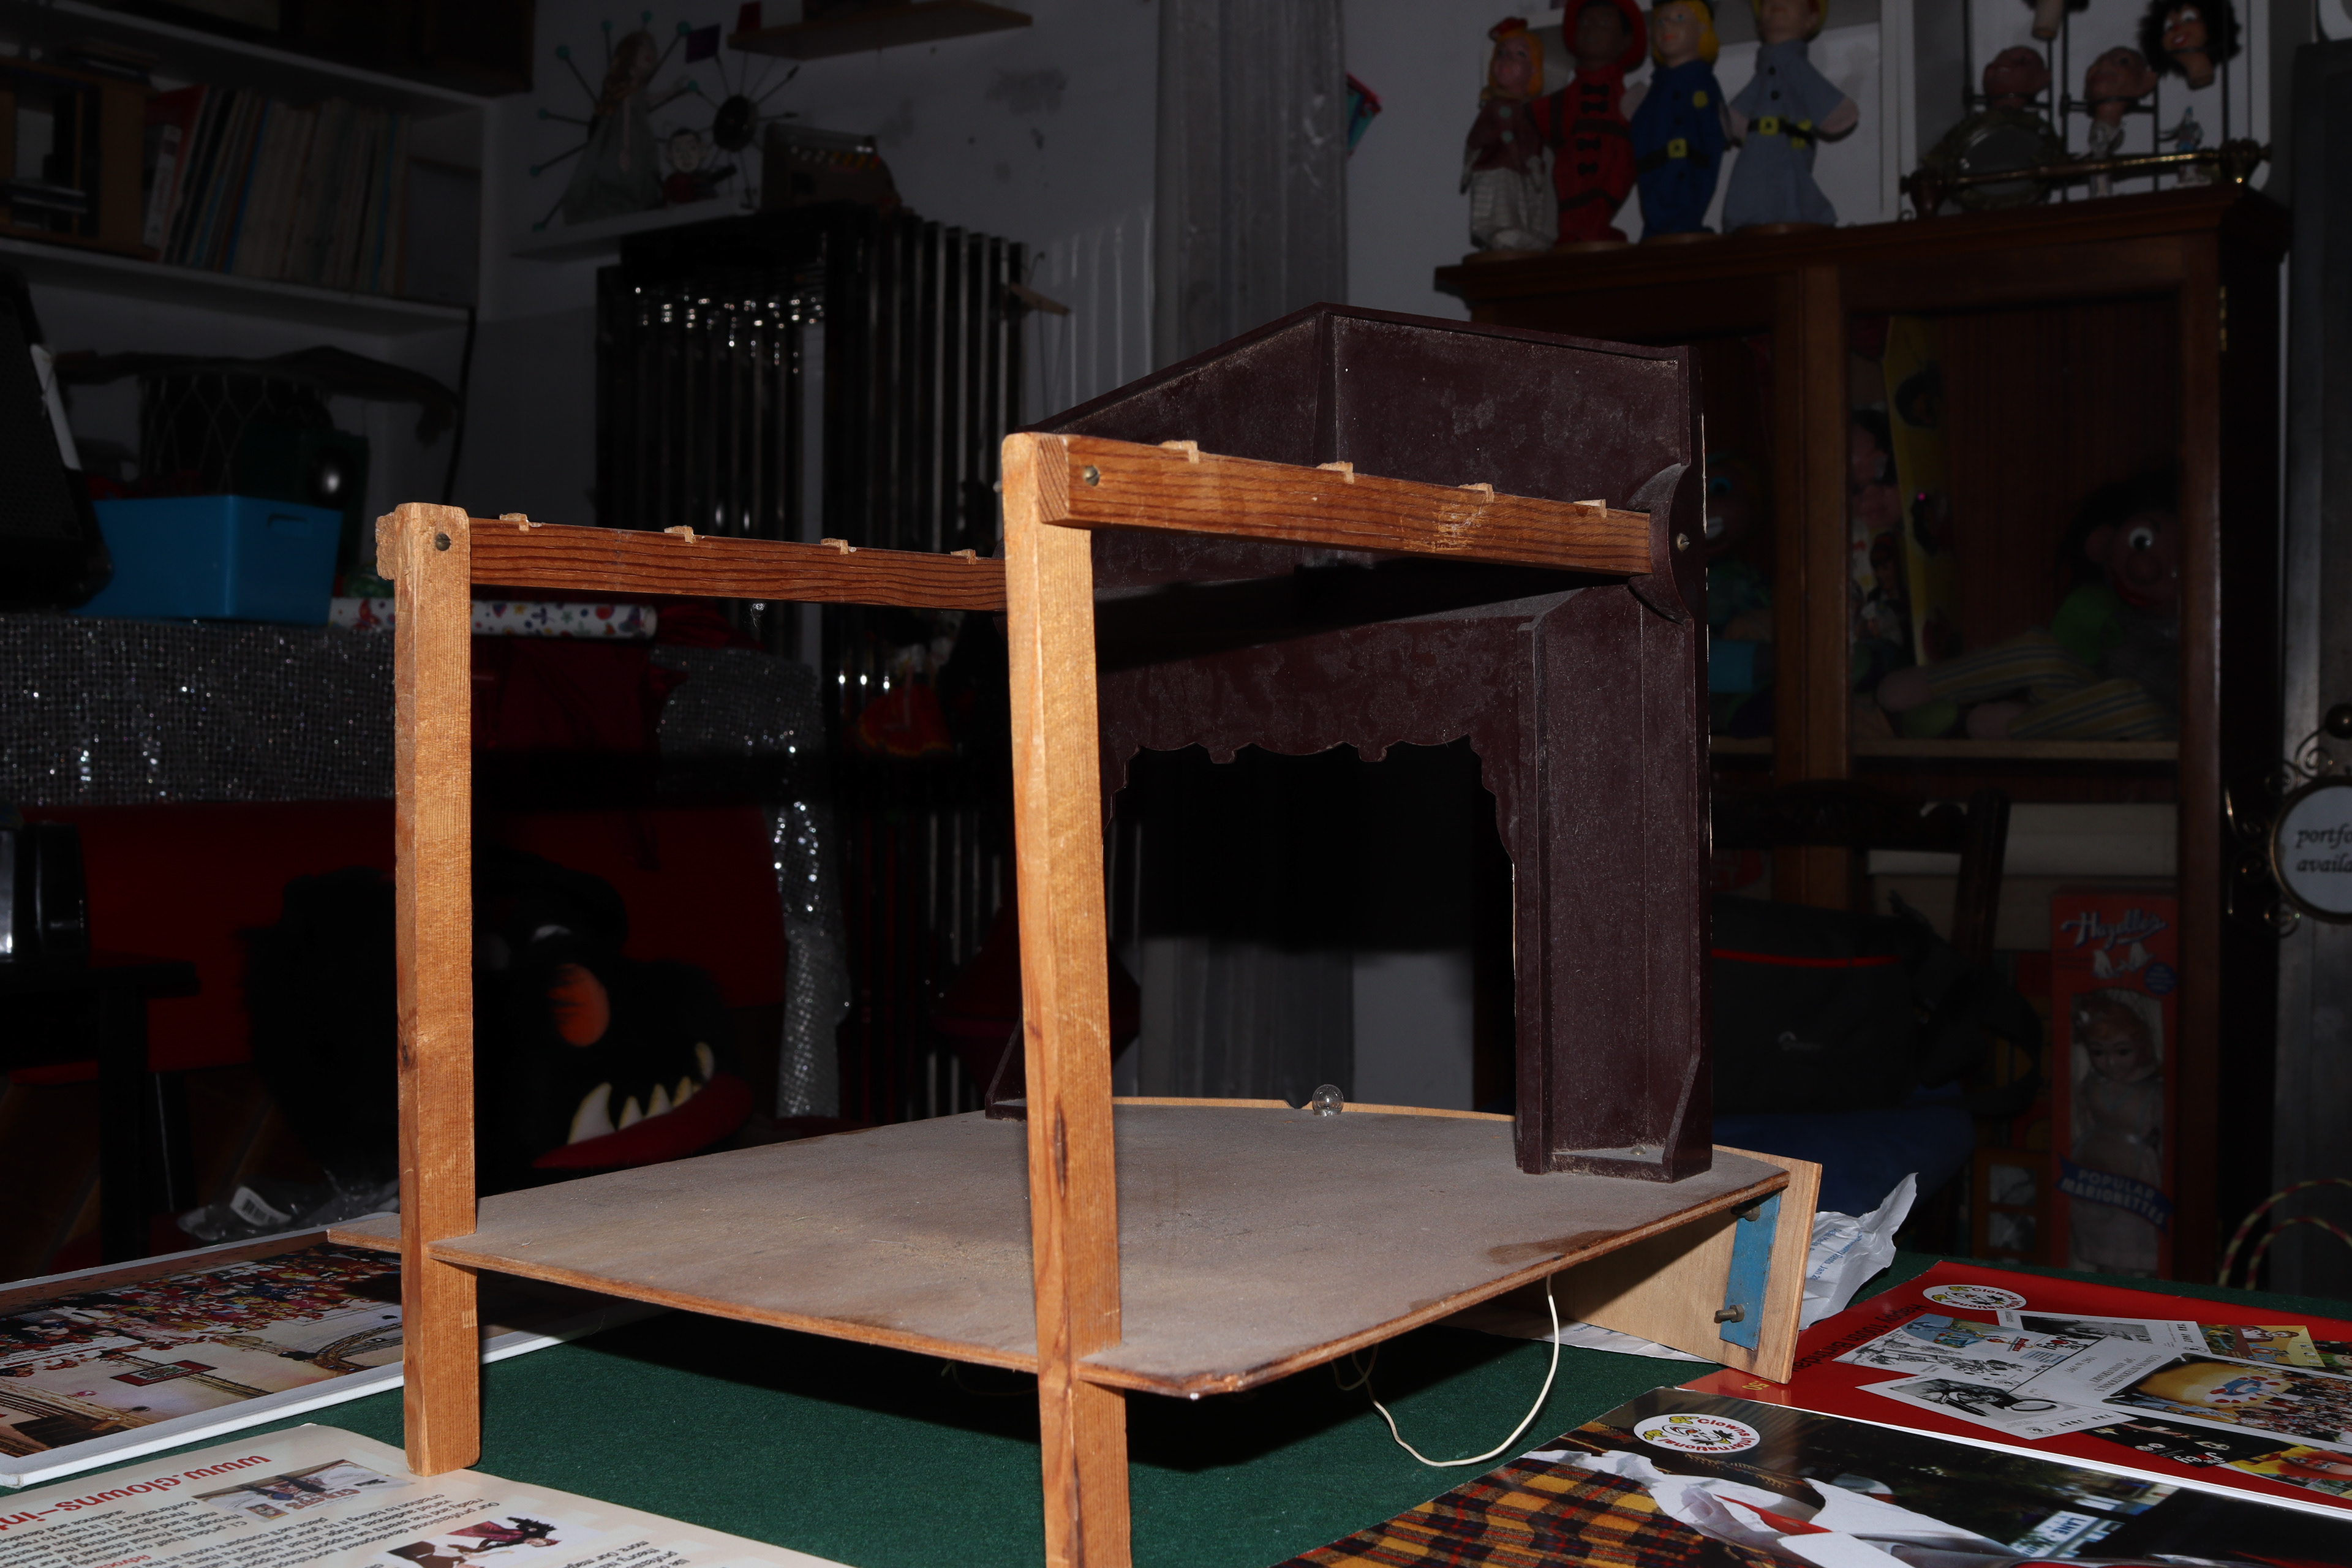
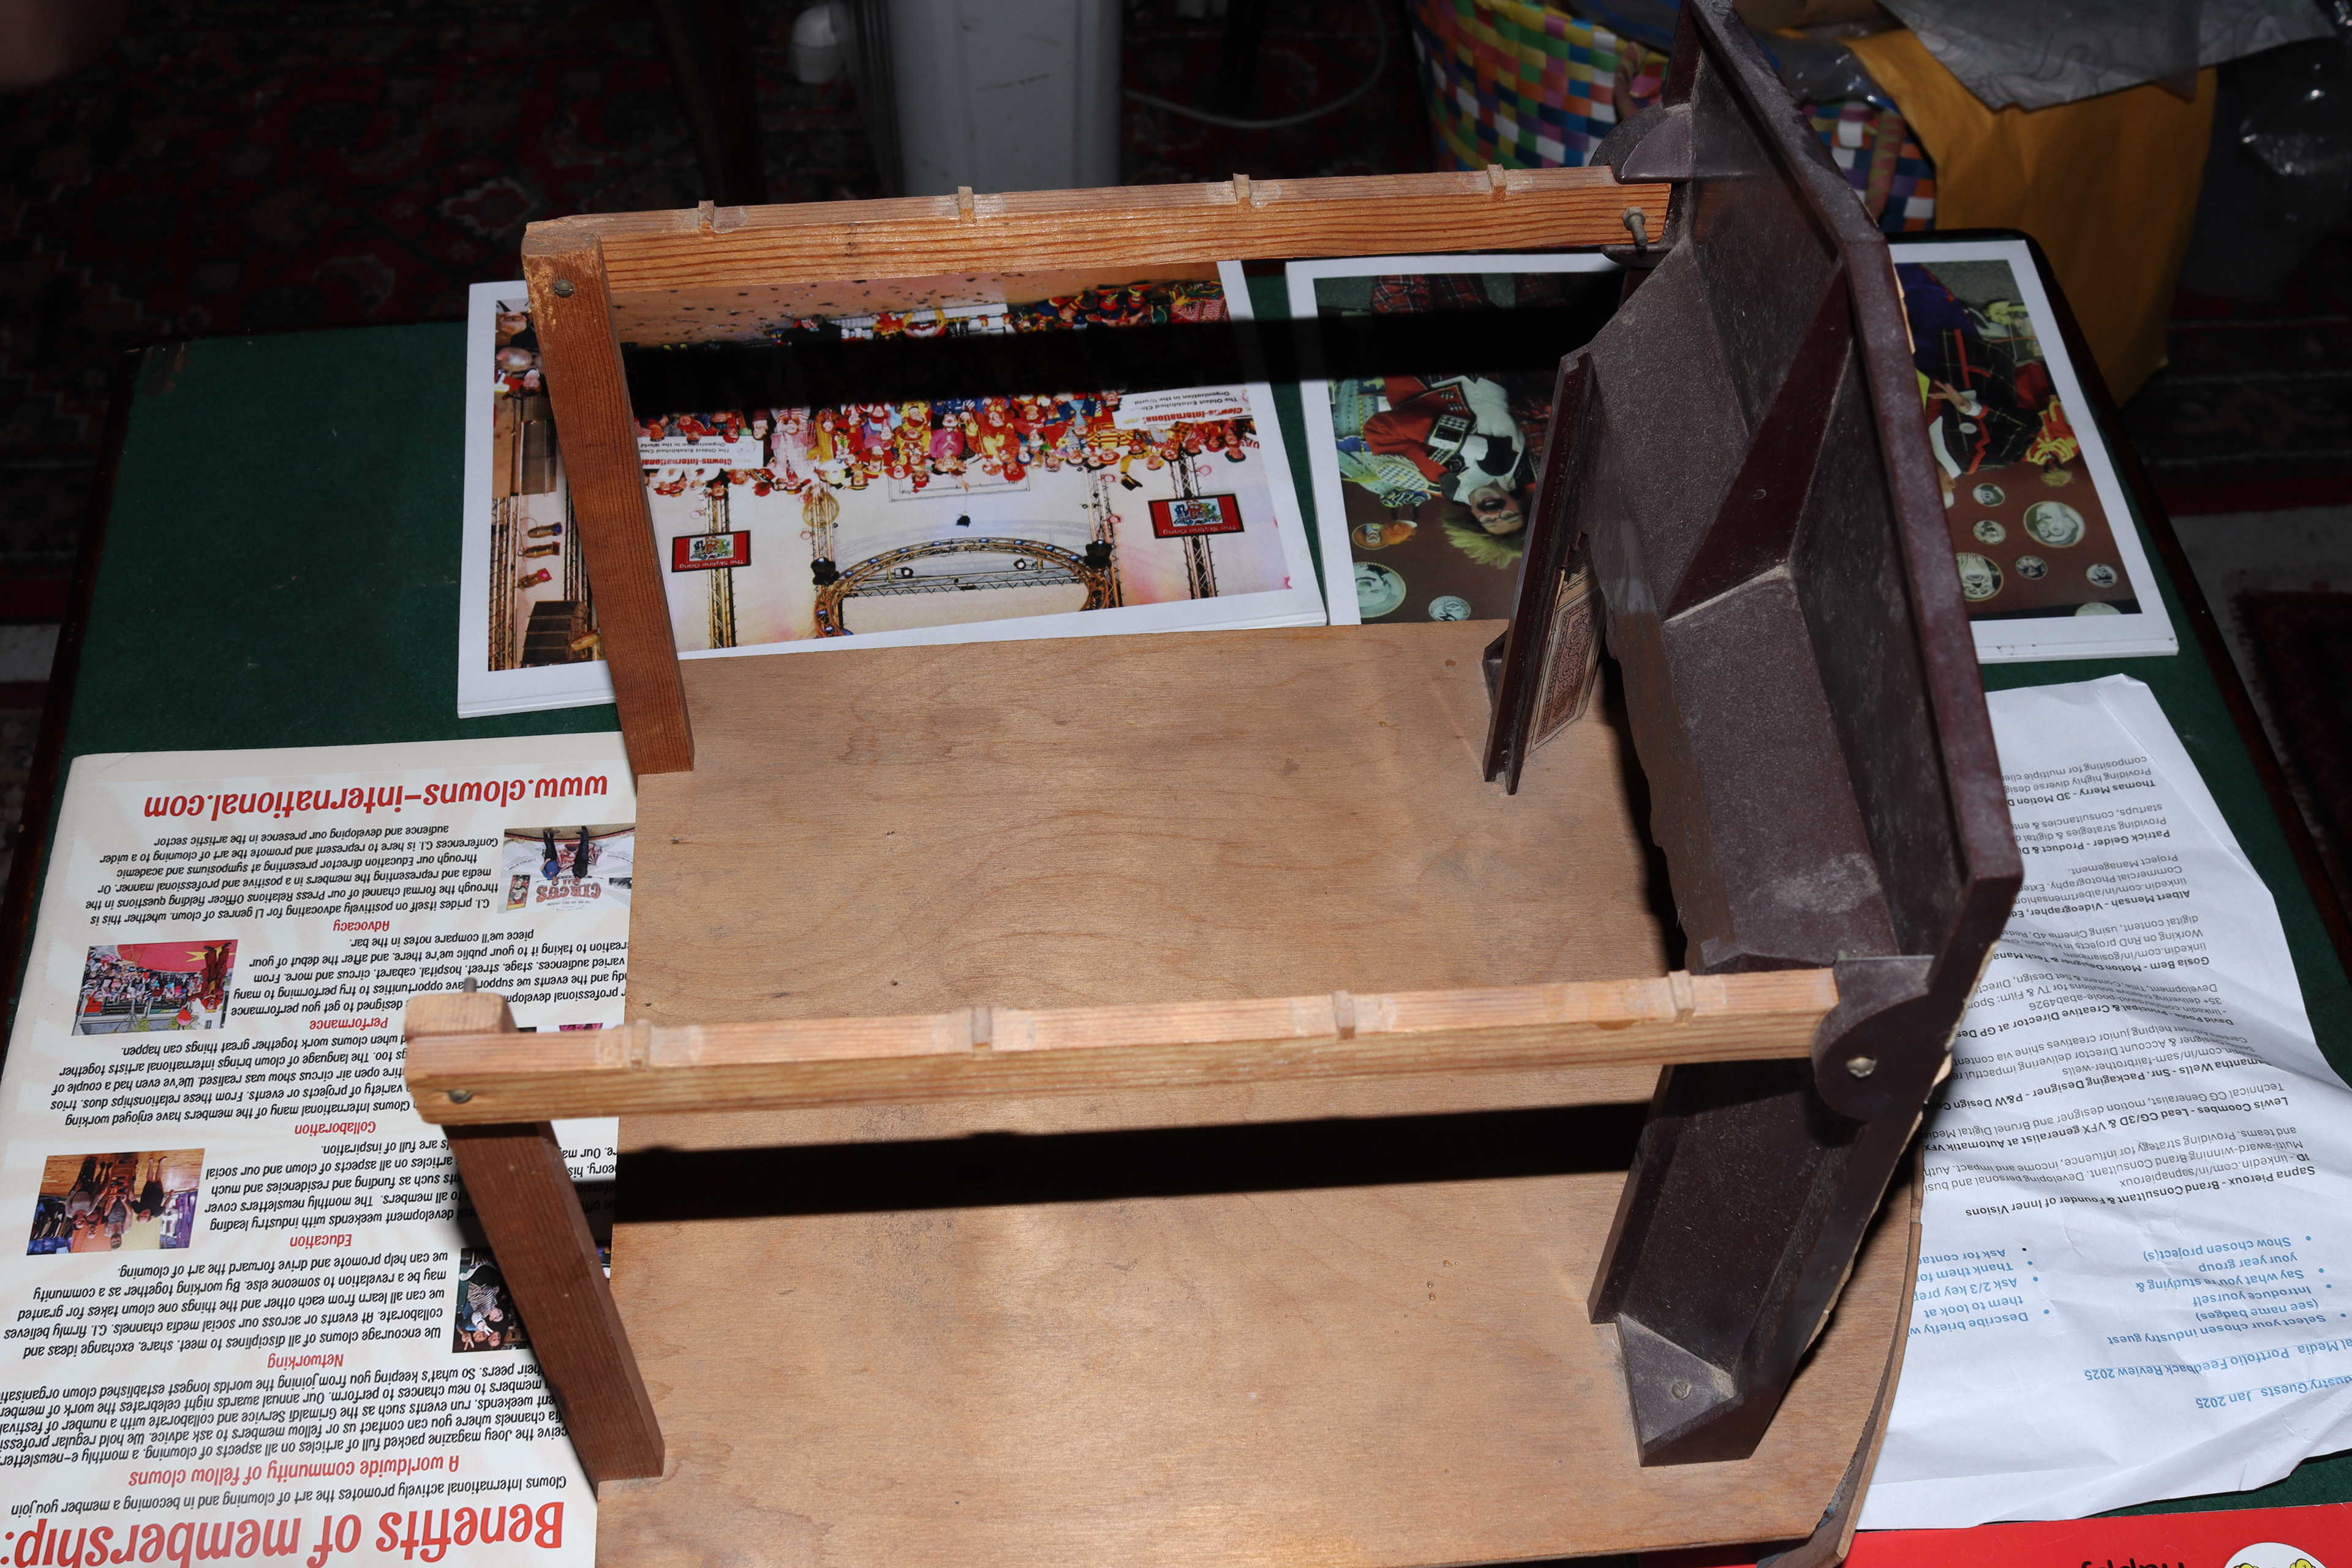
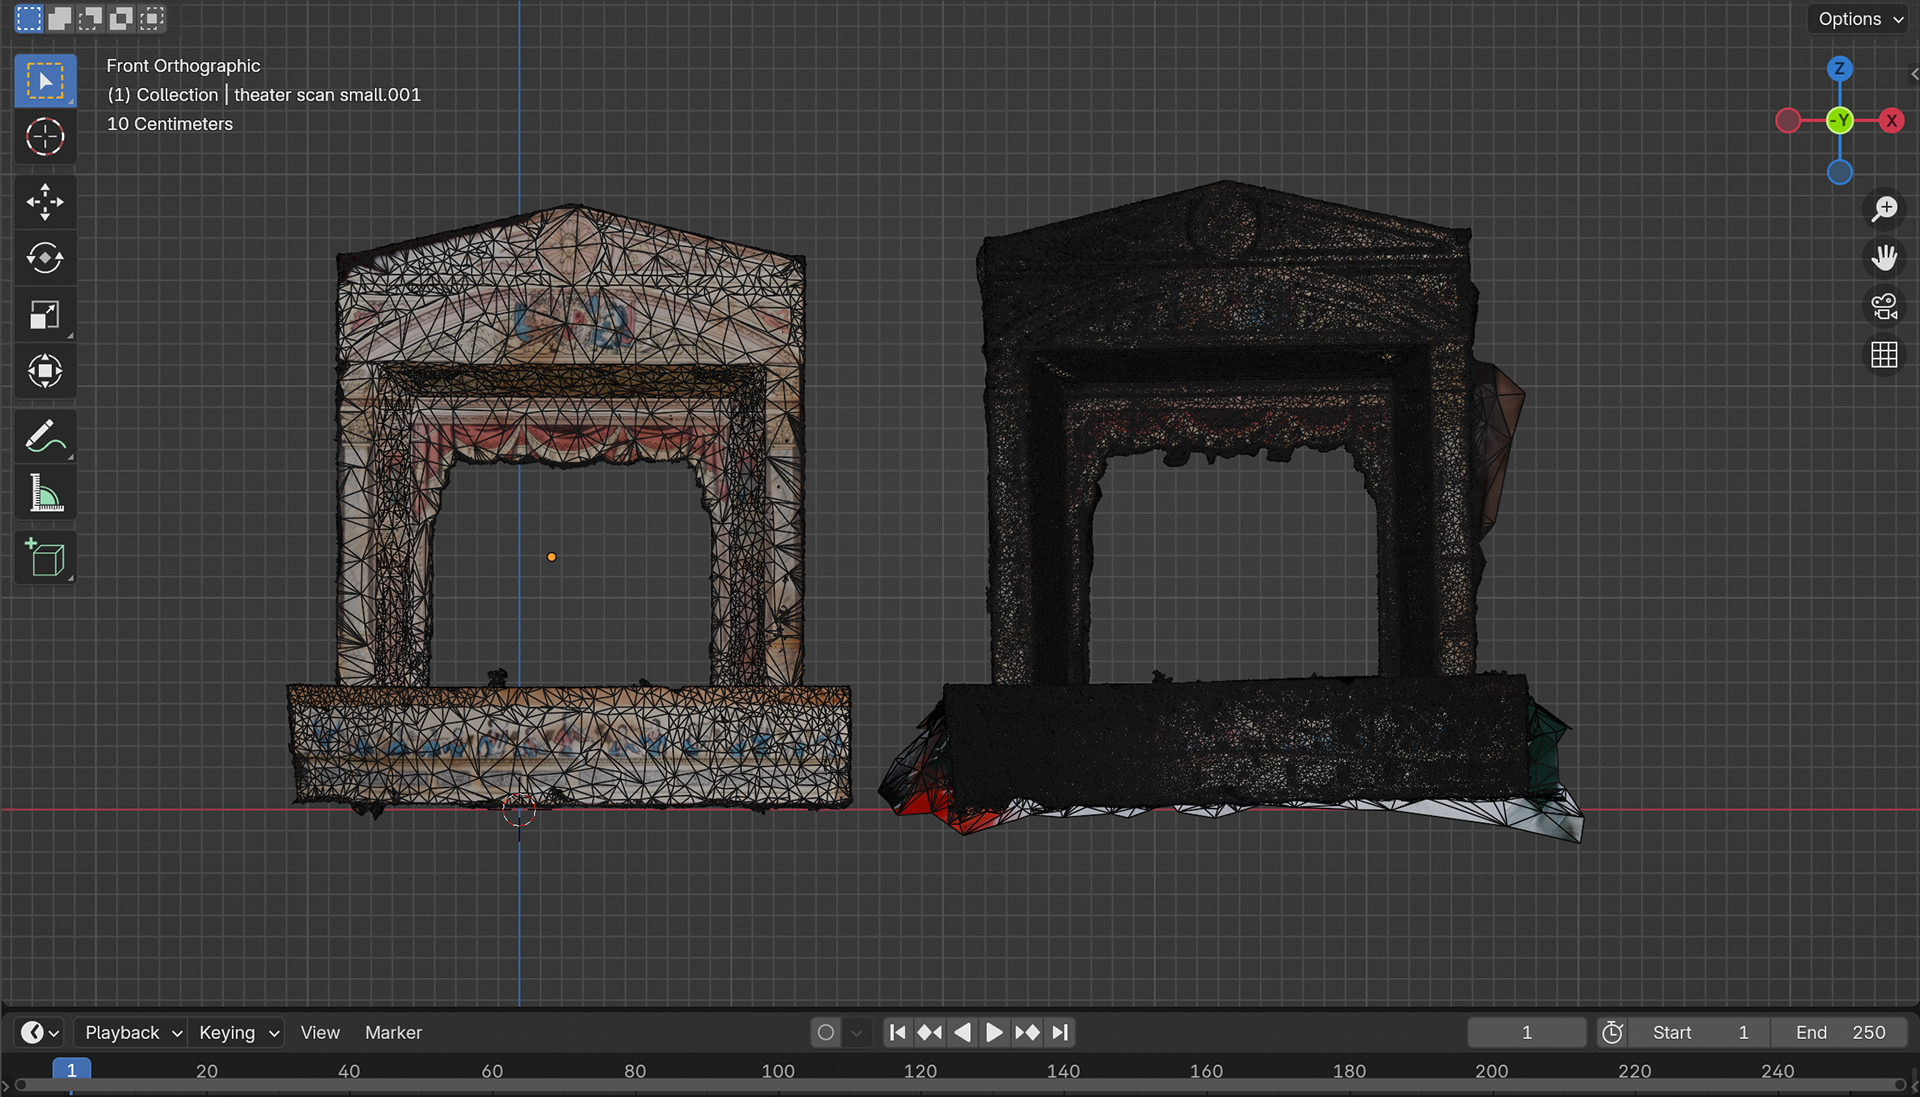
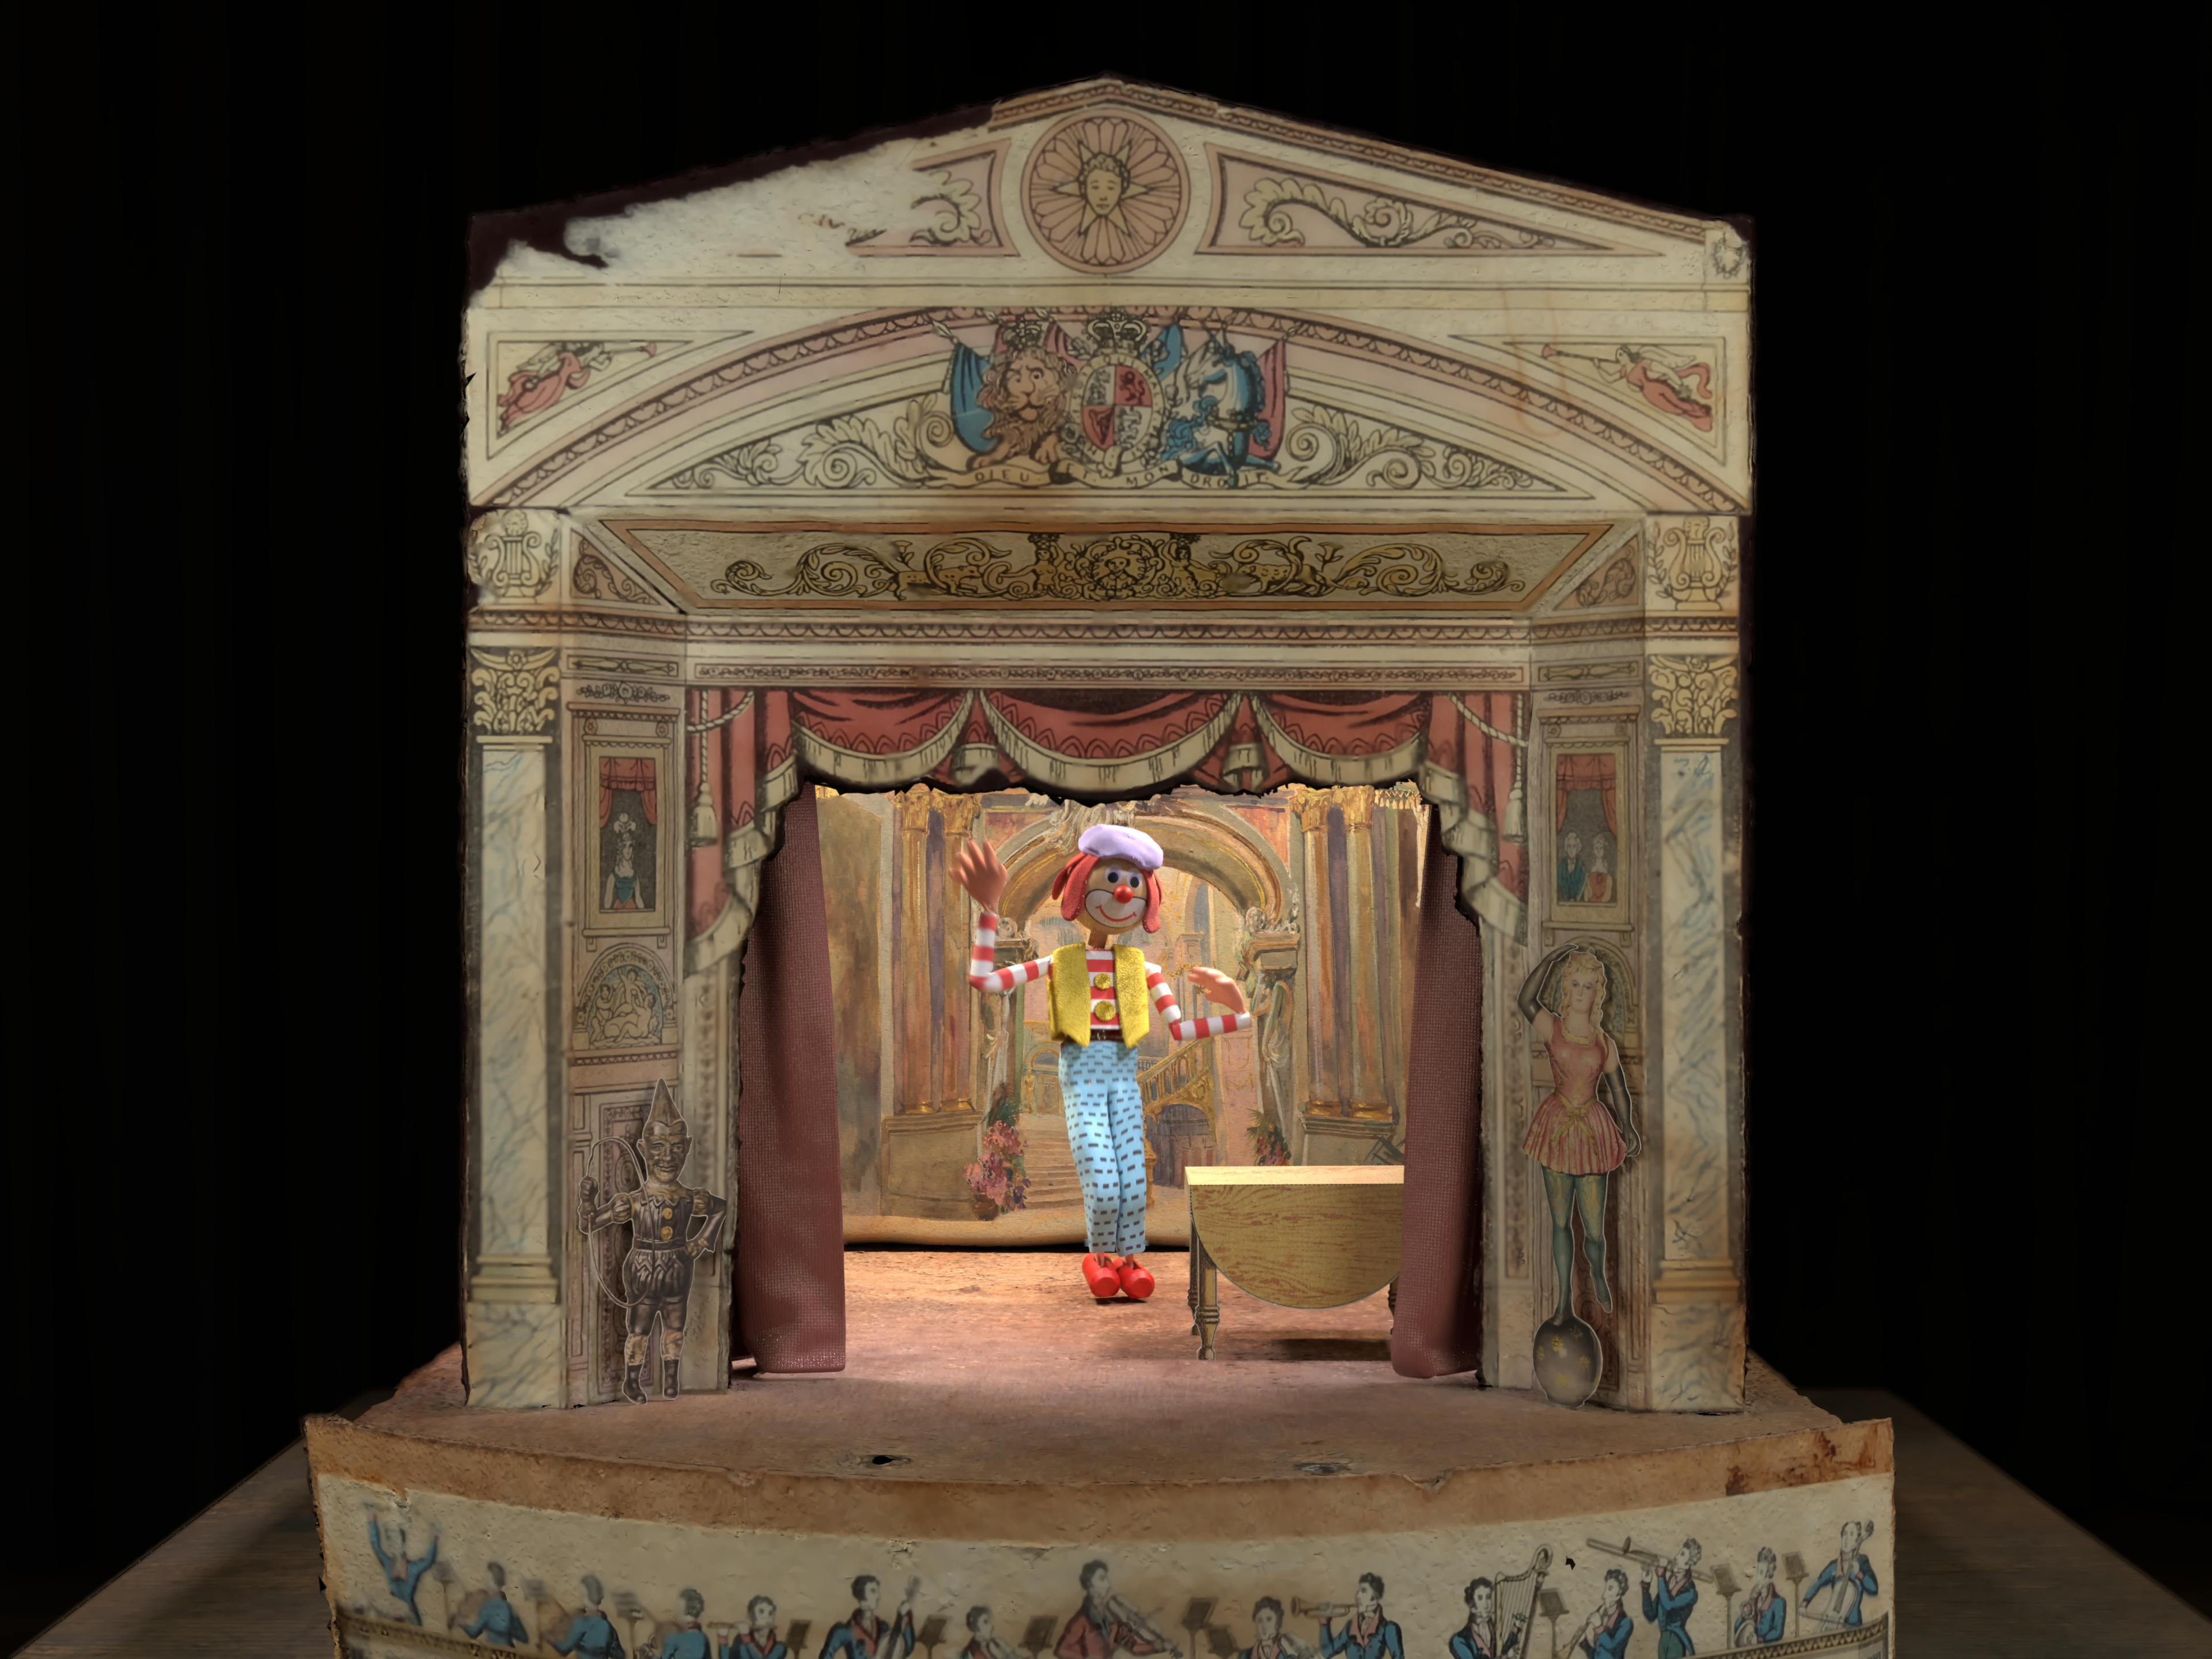
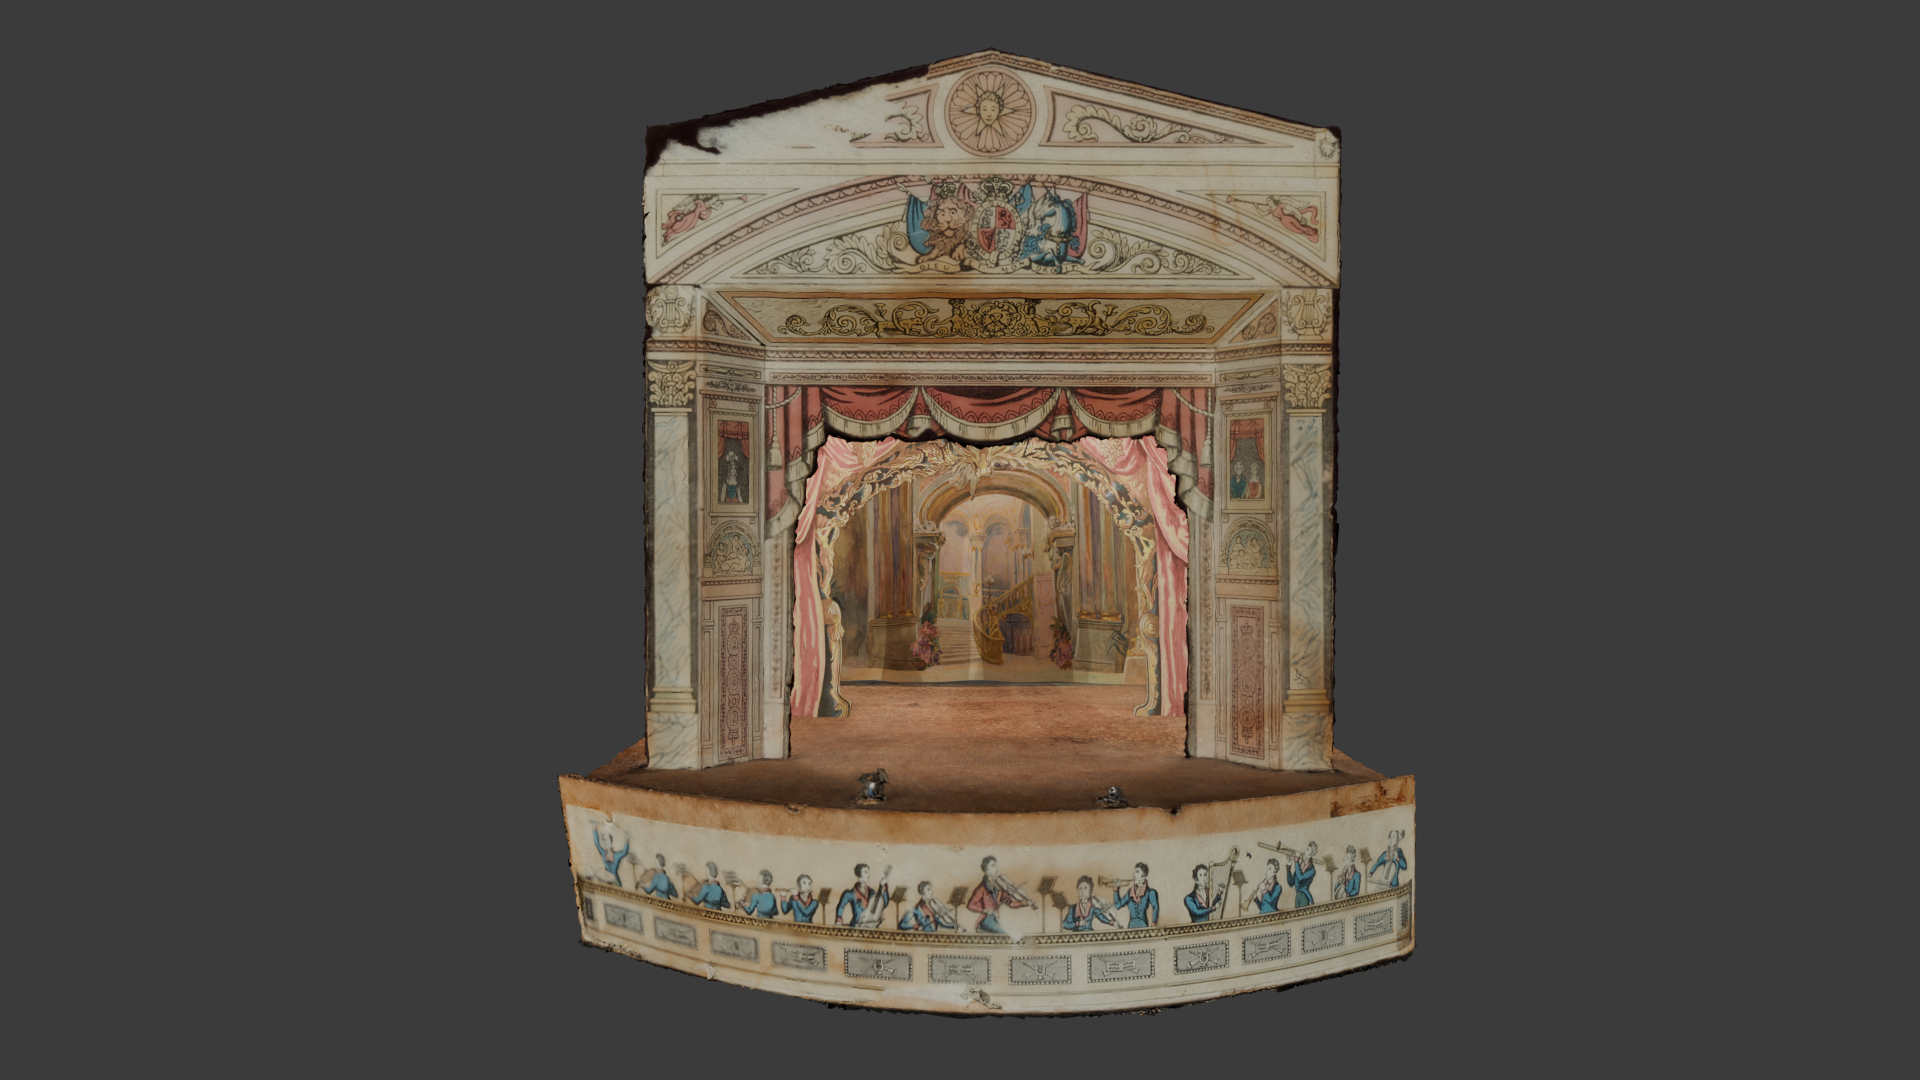
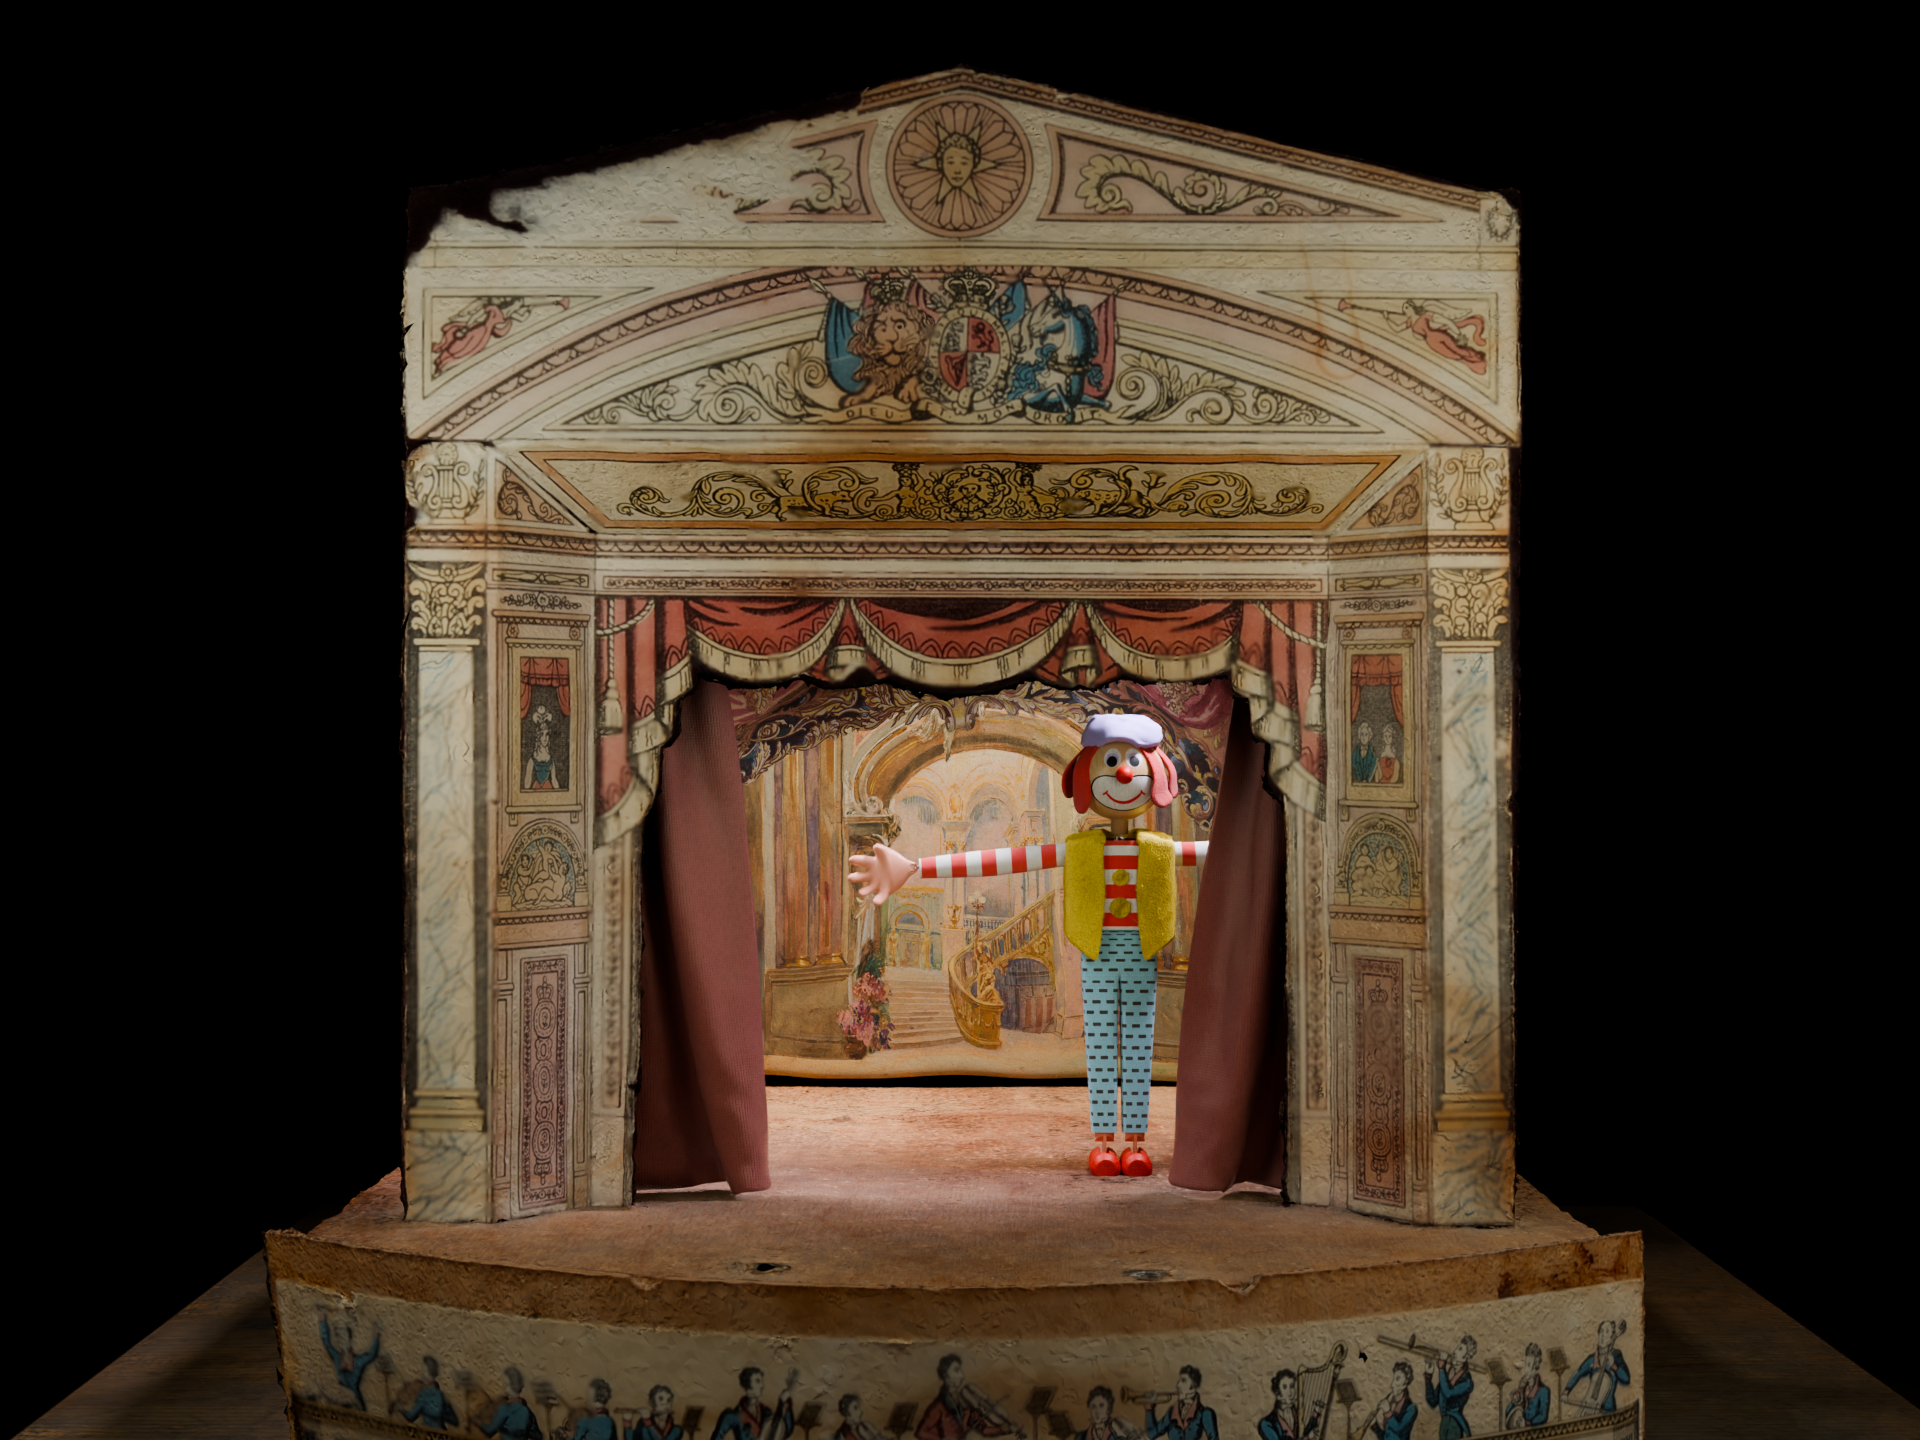
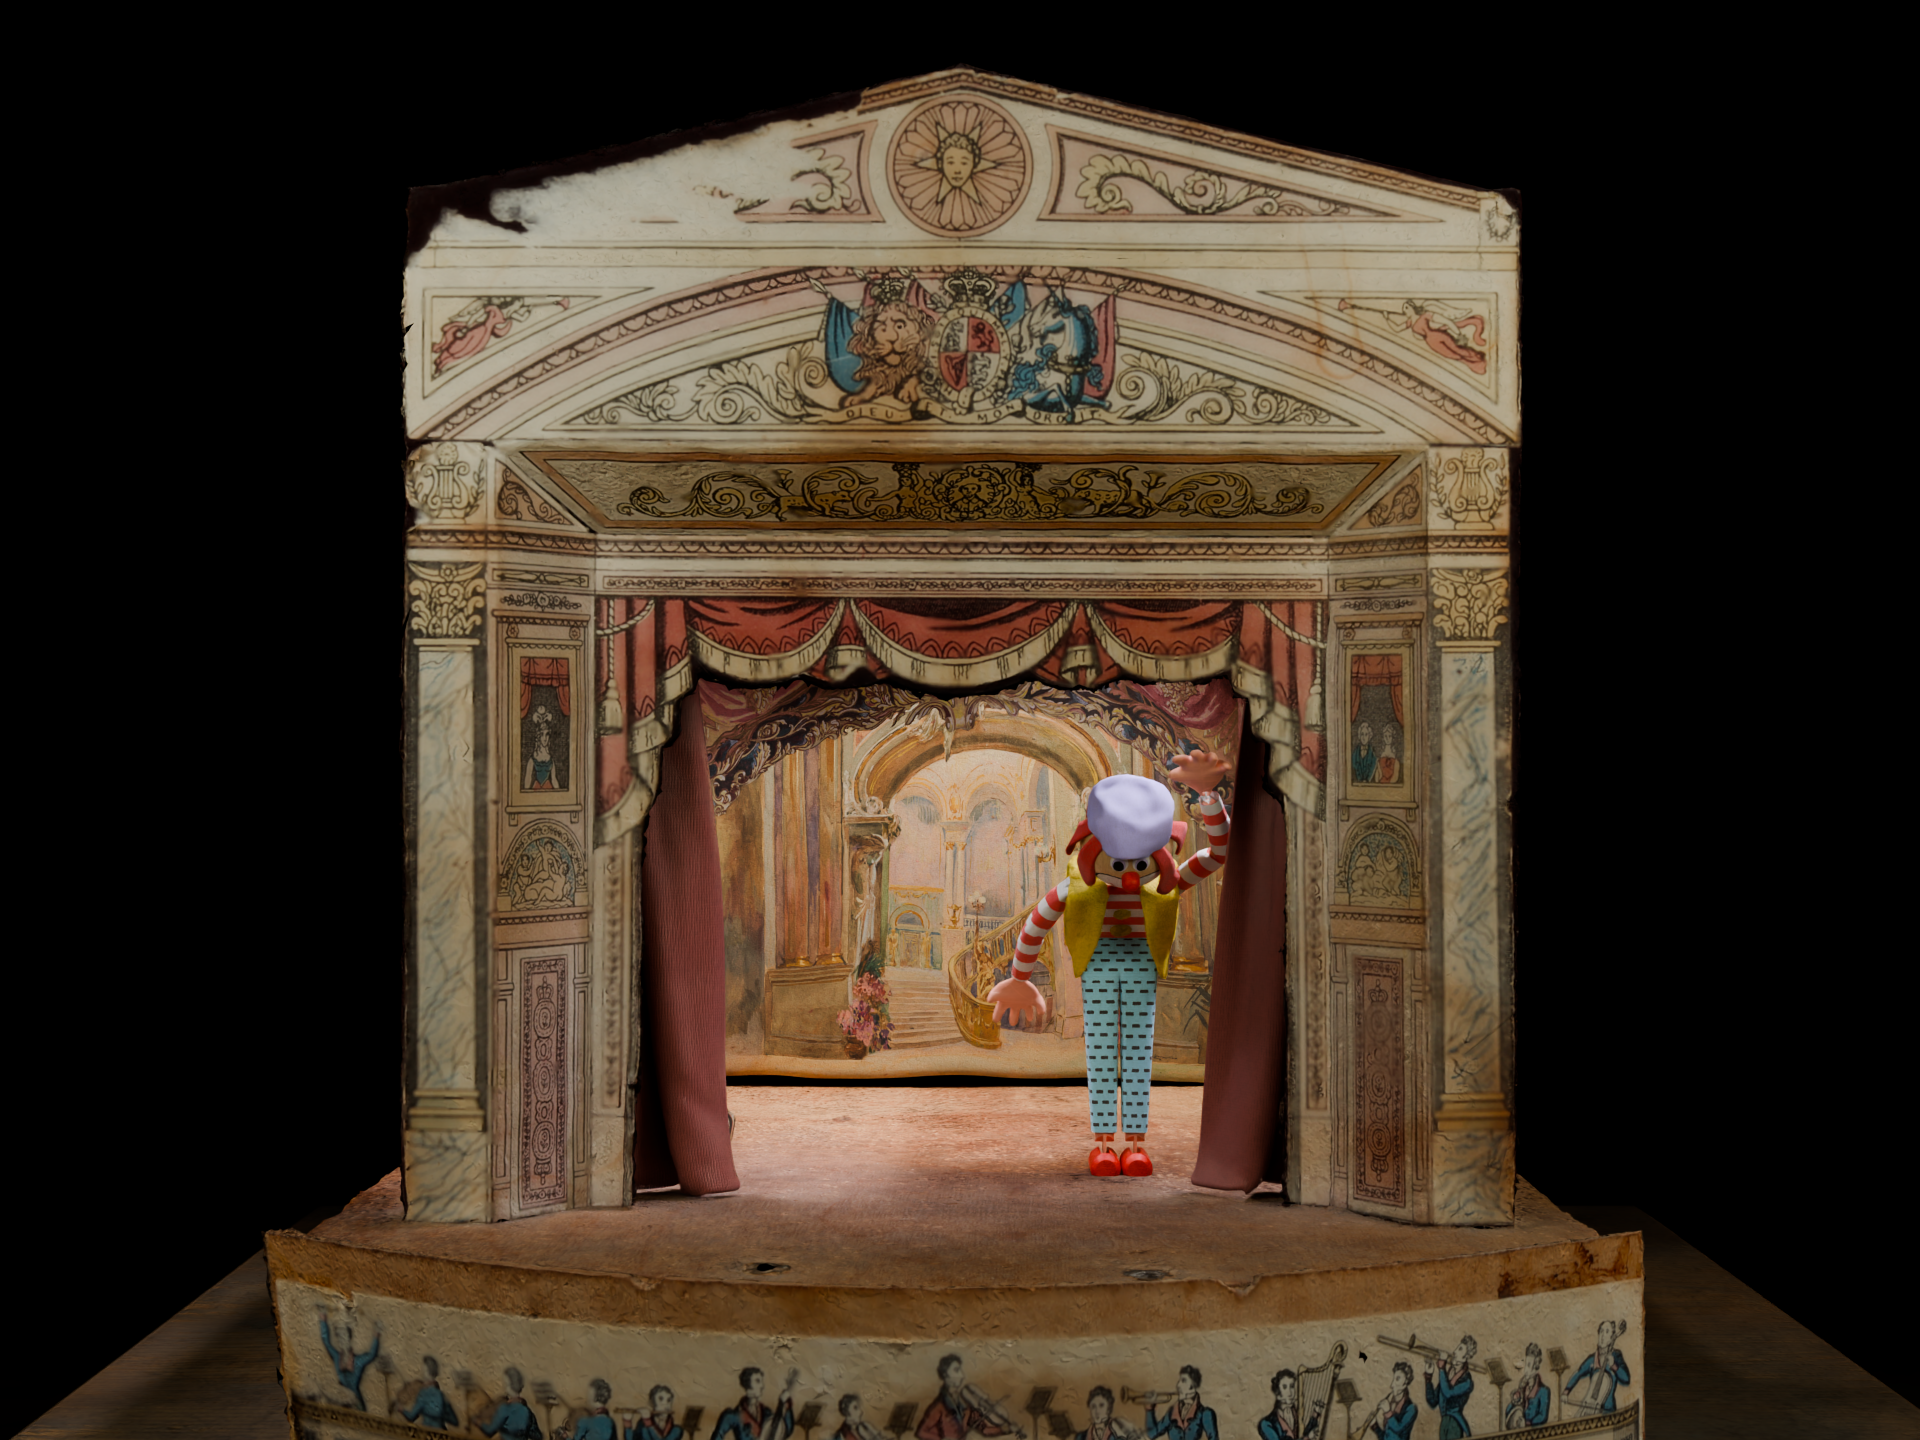
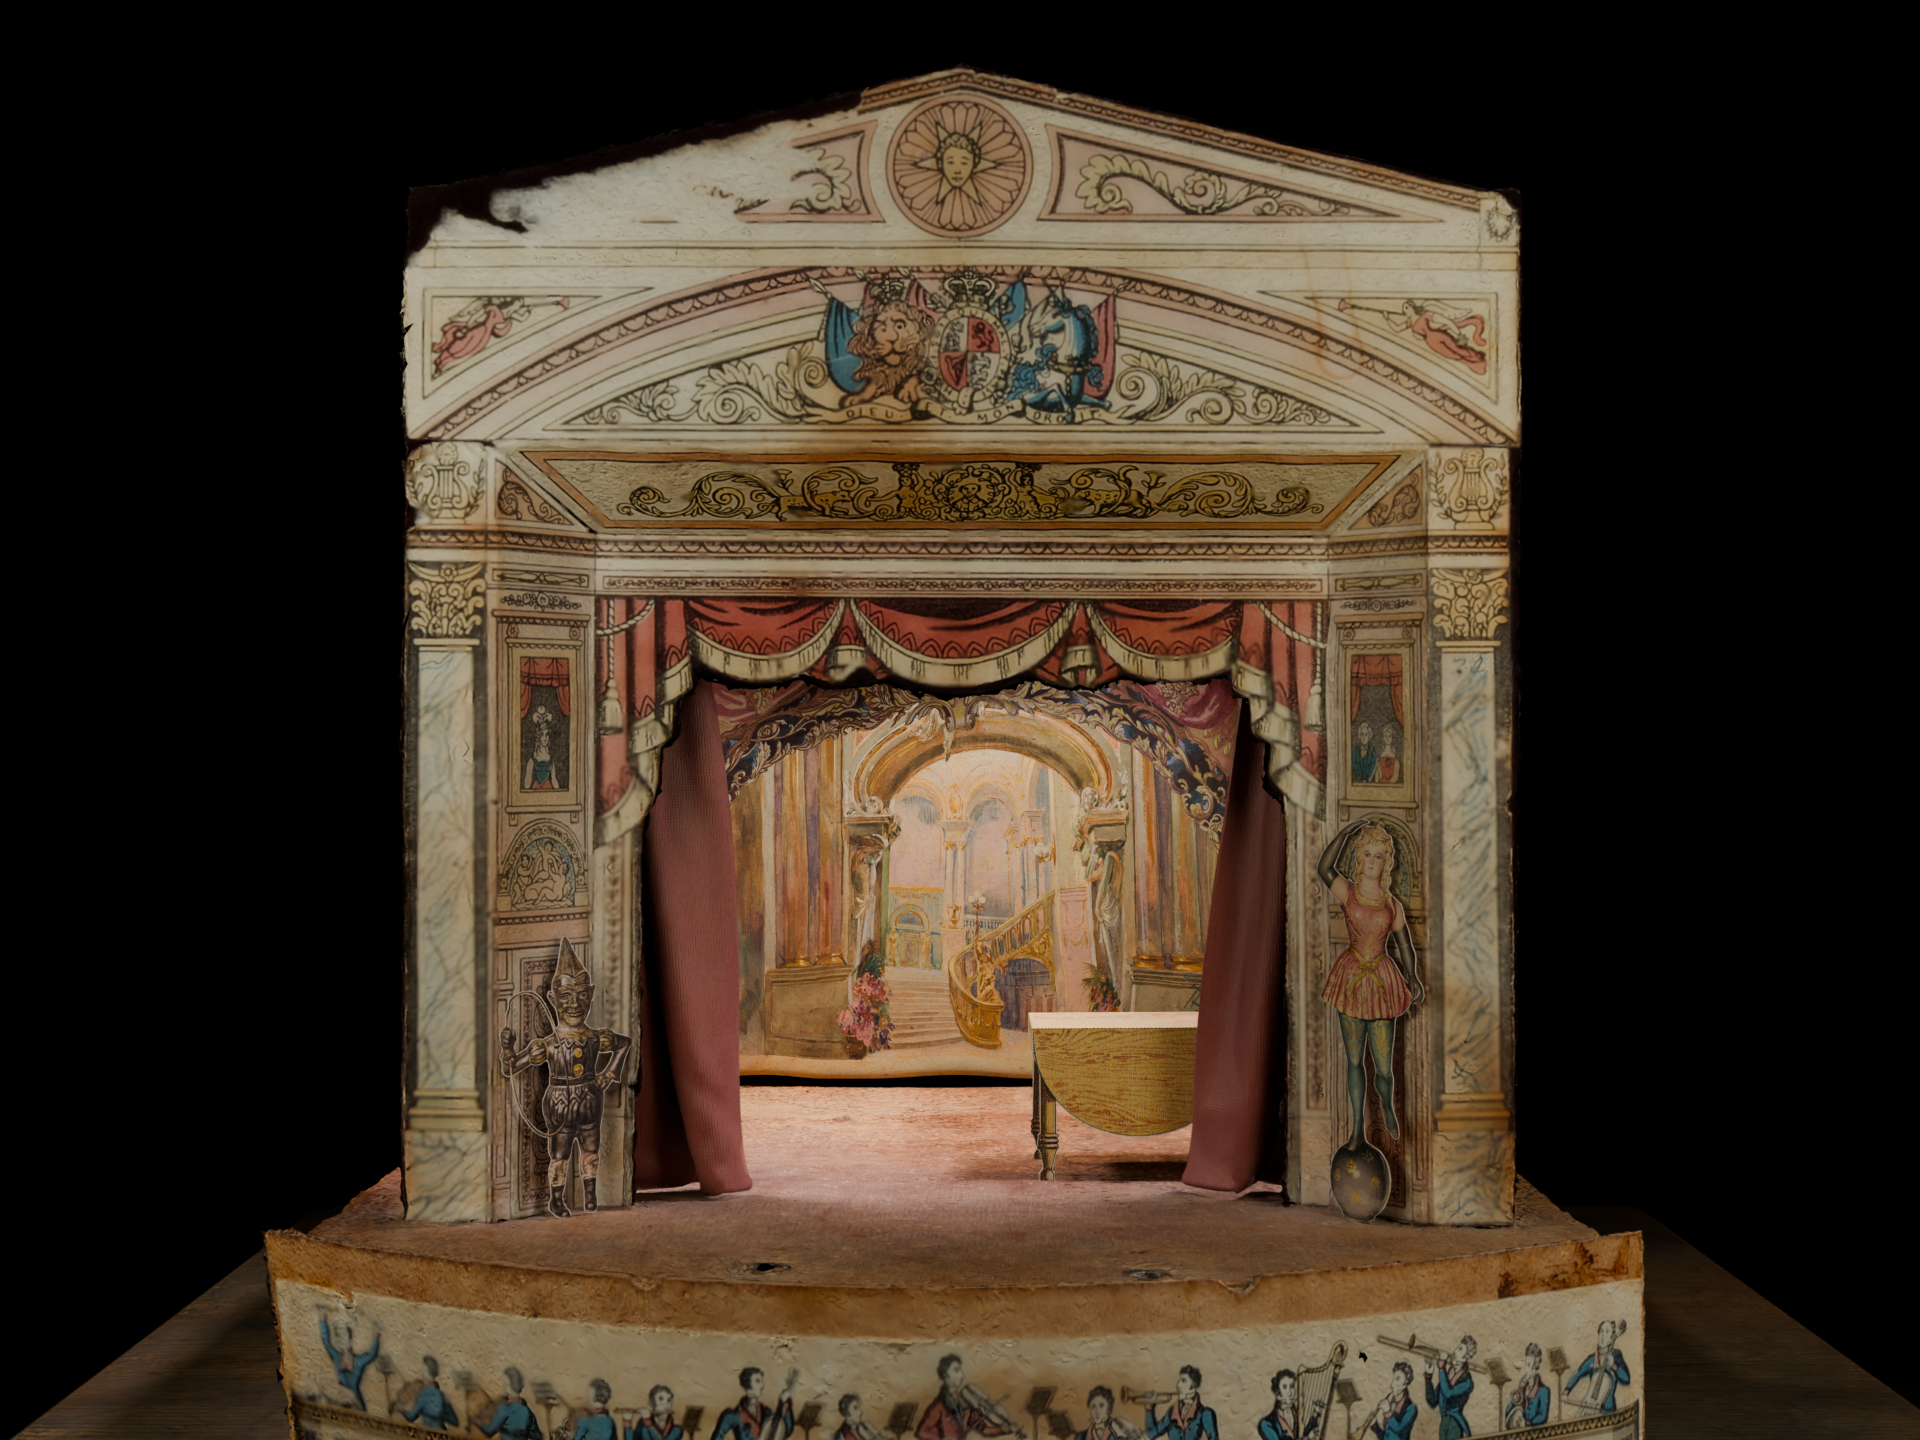
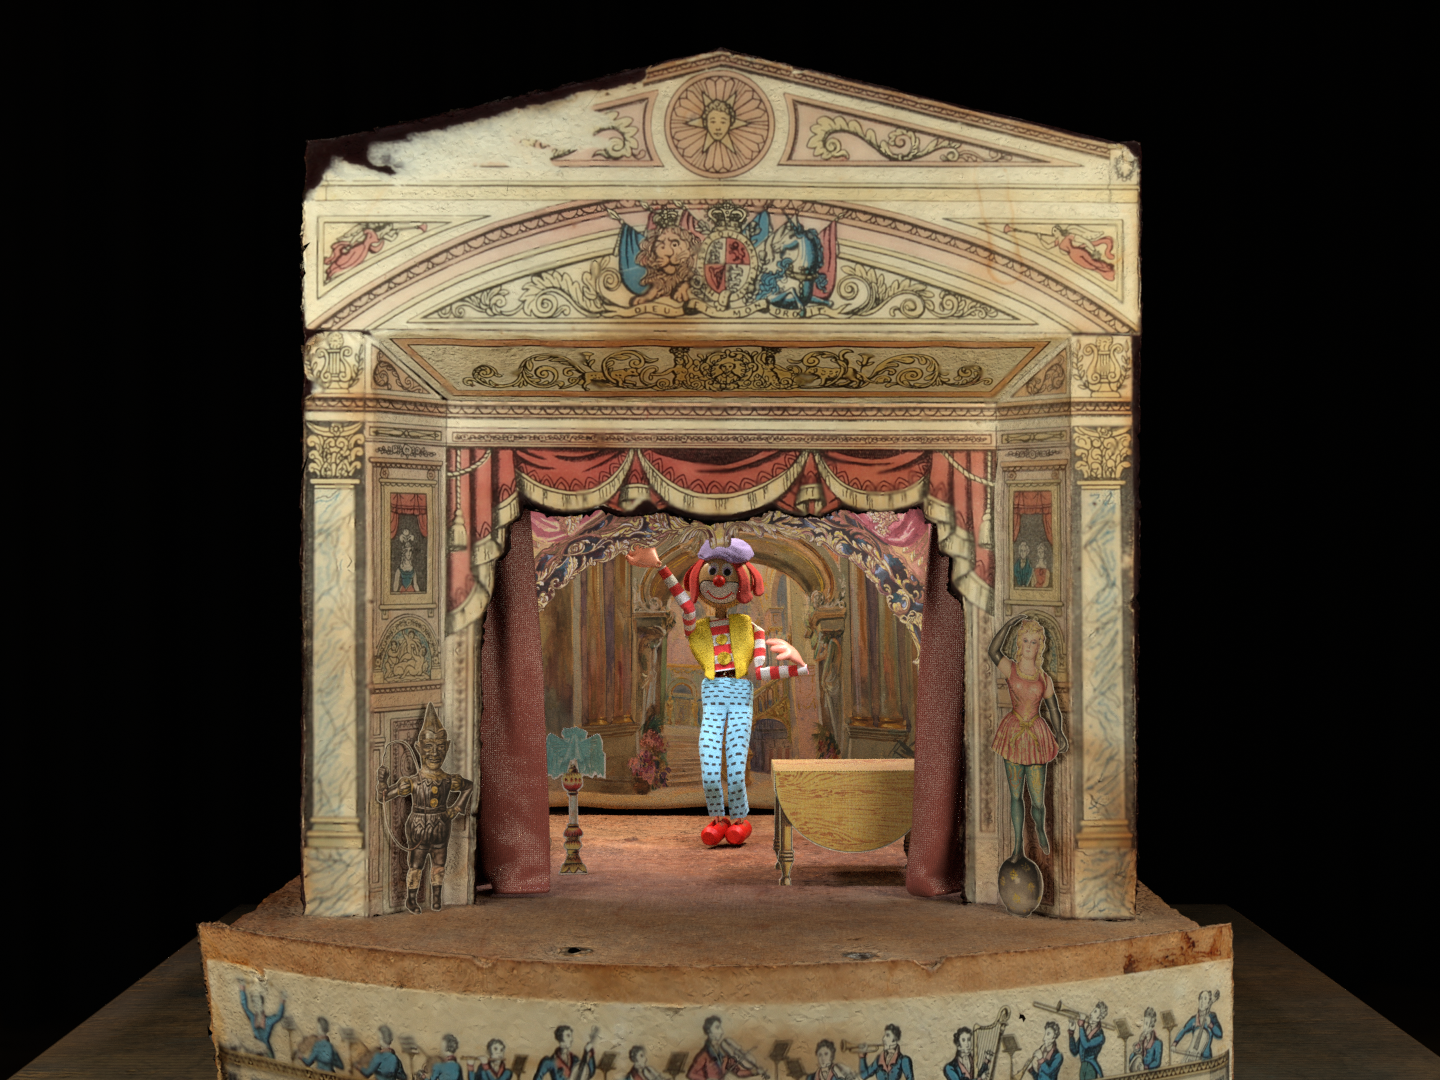
I used photogrammetry to scan a real 1940s era paper puppet theatre for the setting.
Scan Photo 1
Scan Photo 2
Scan Photo 3
Scan Photo 4
Scan Photo 5
Scan Photo 6

Scan Photo 7
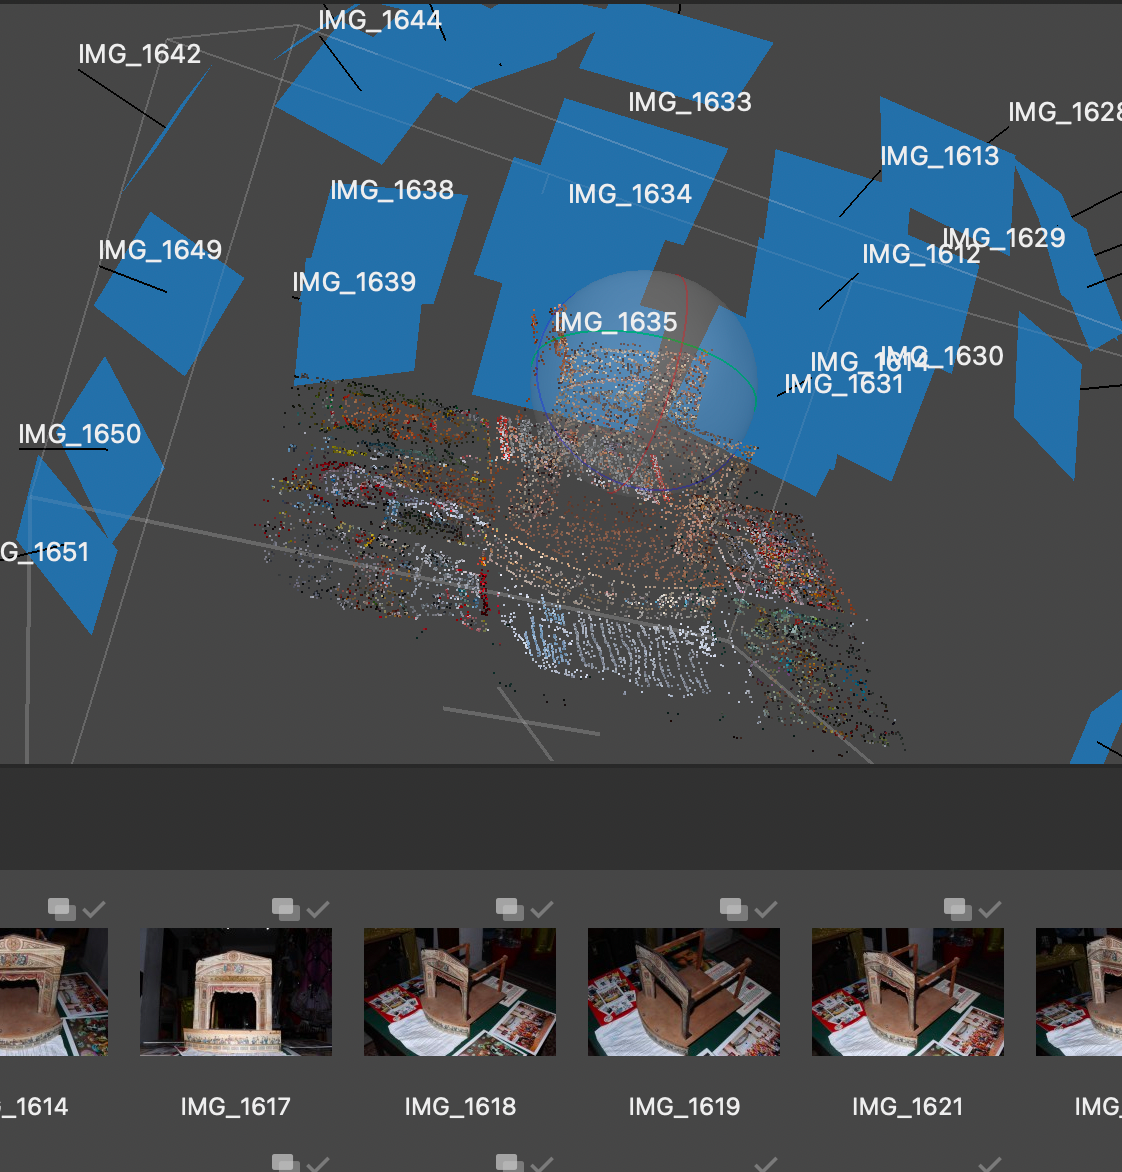
Scan Point Cloud
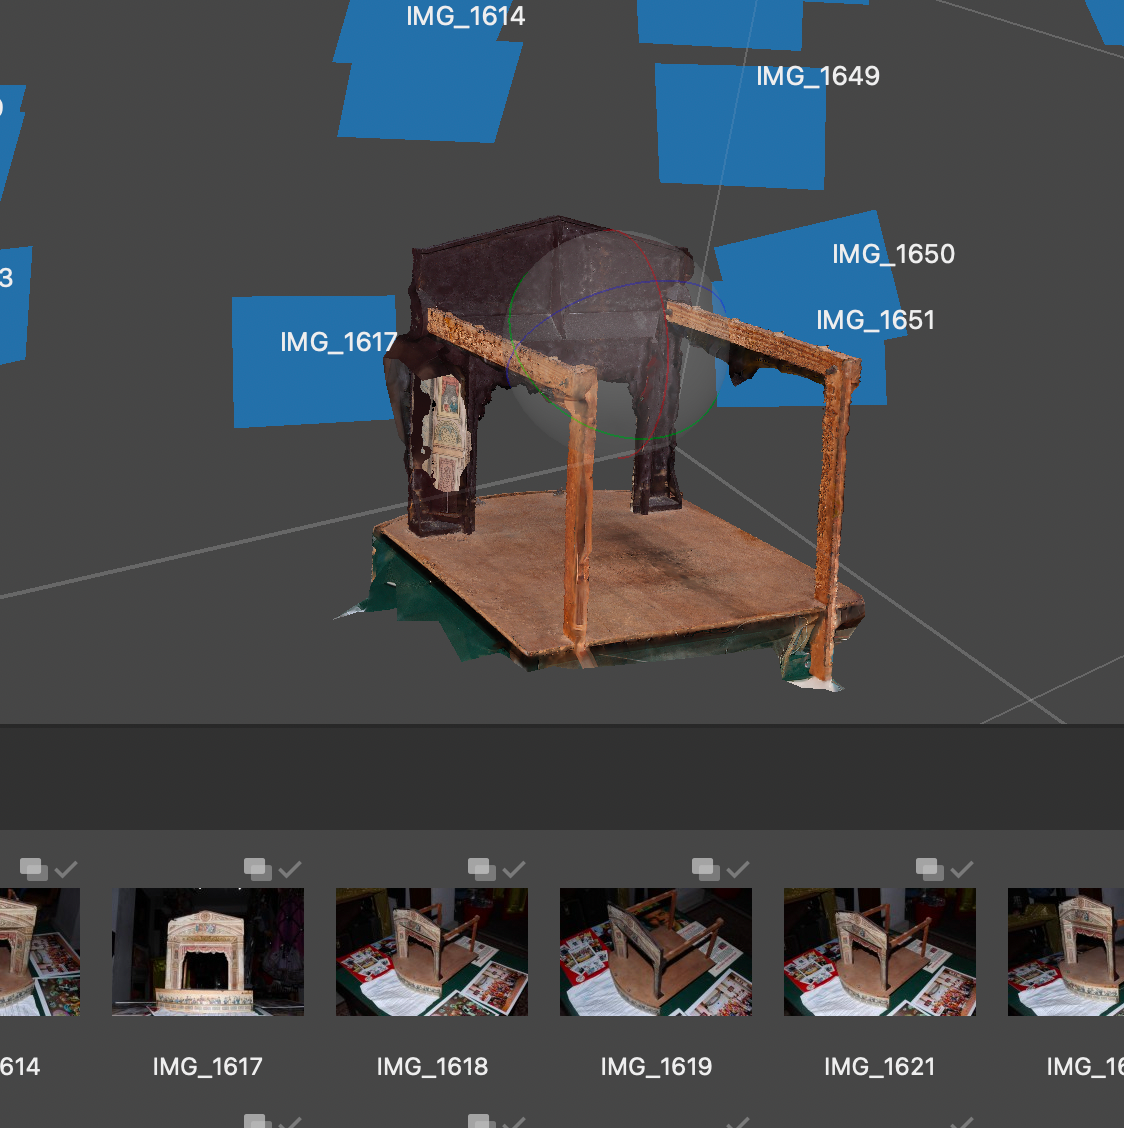
Scan Model
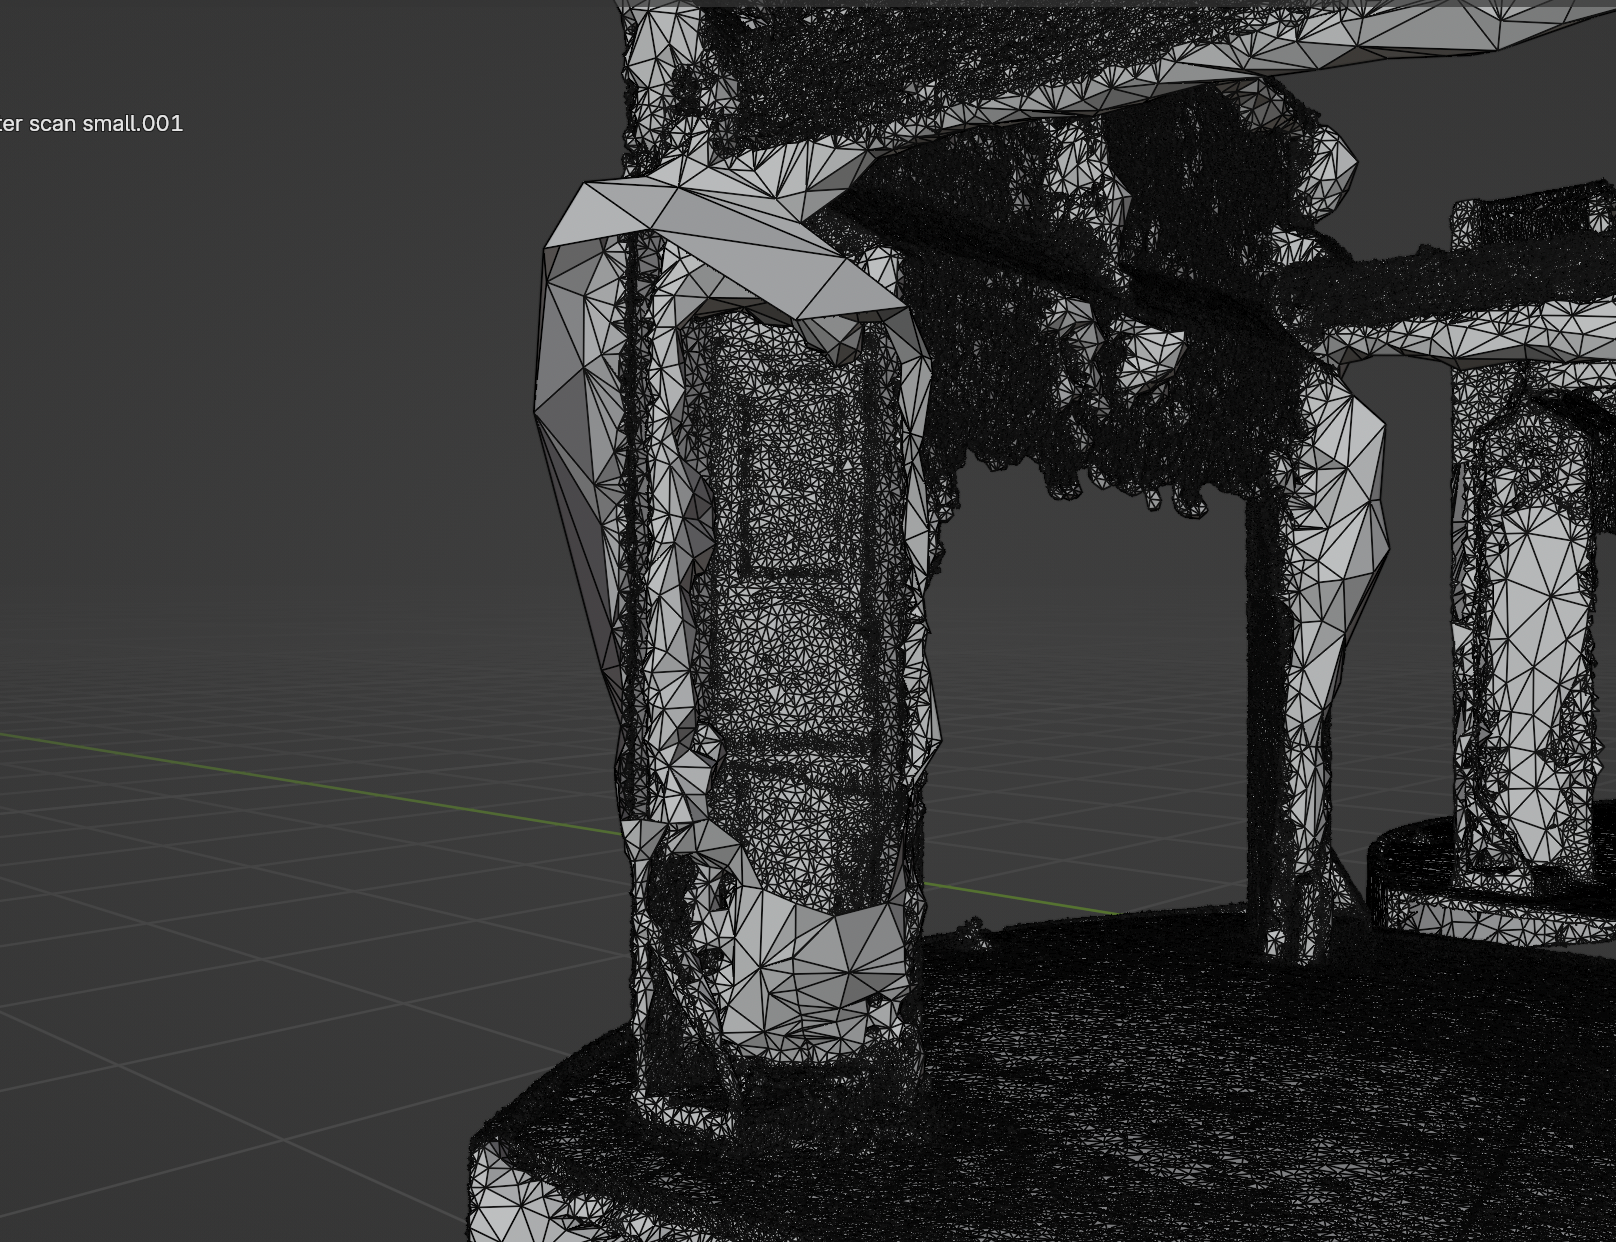
Gap in Mesh
Fixed Mesh
Unedited and Low Poly Mesh
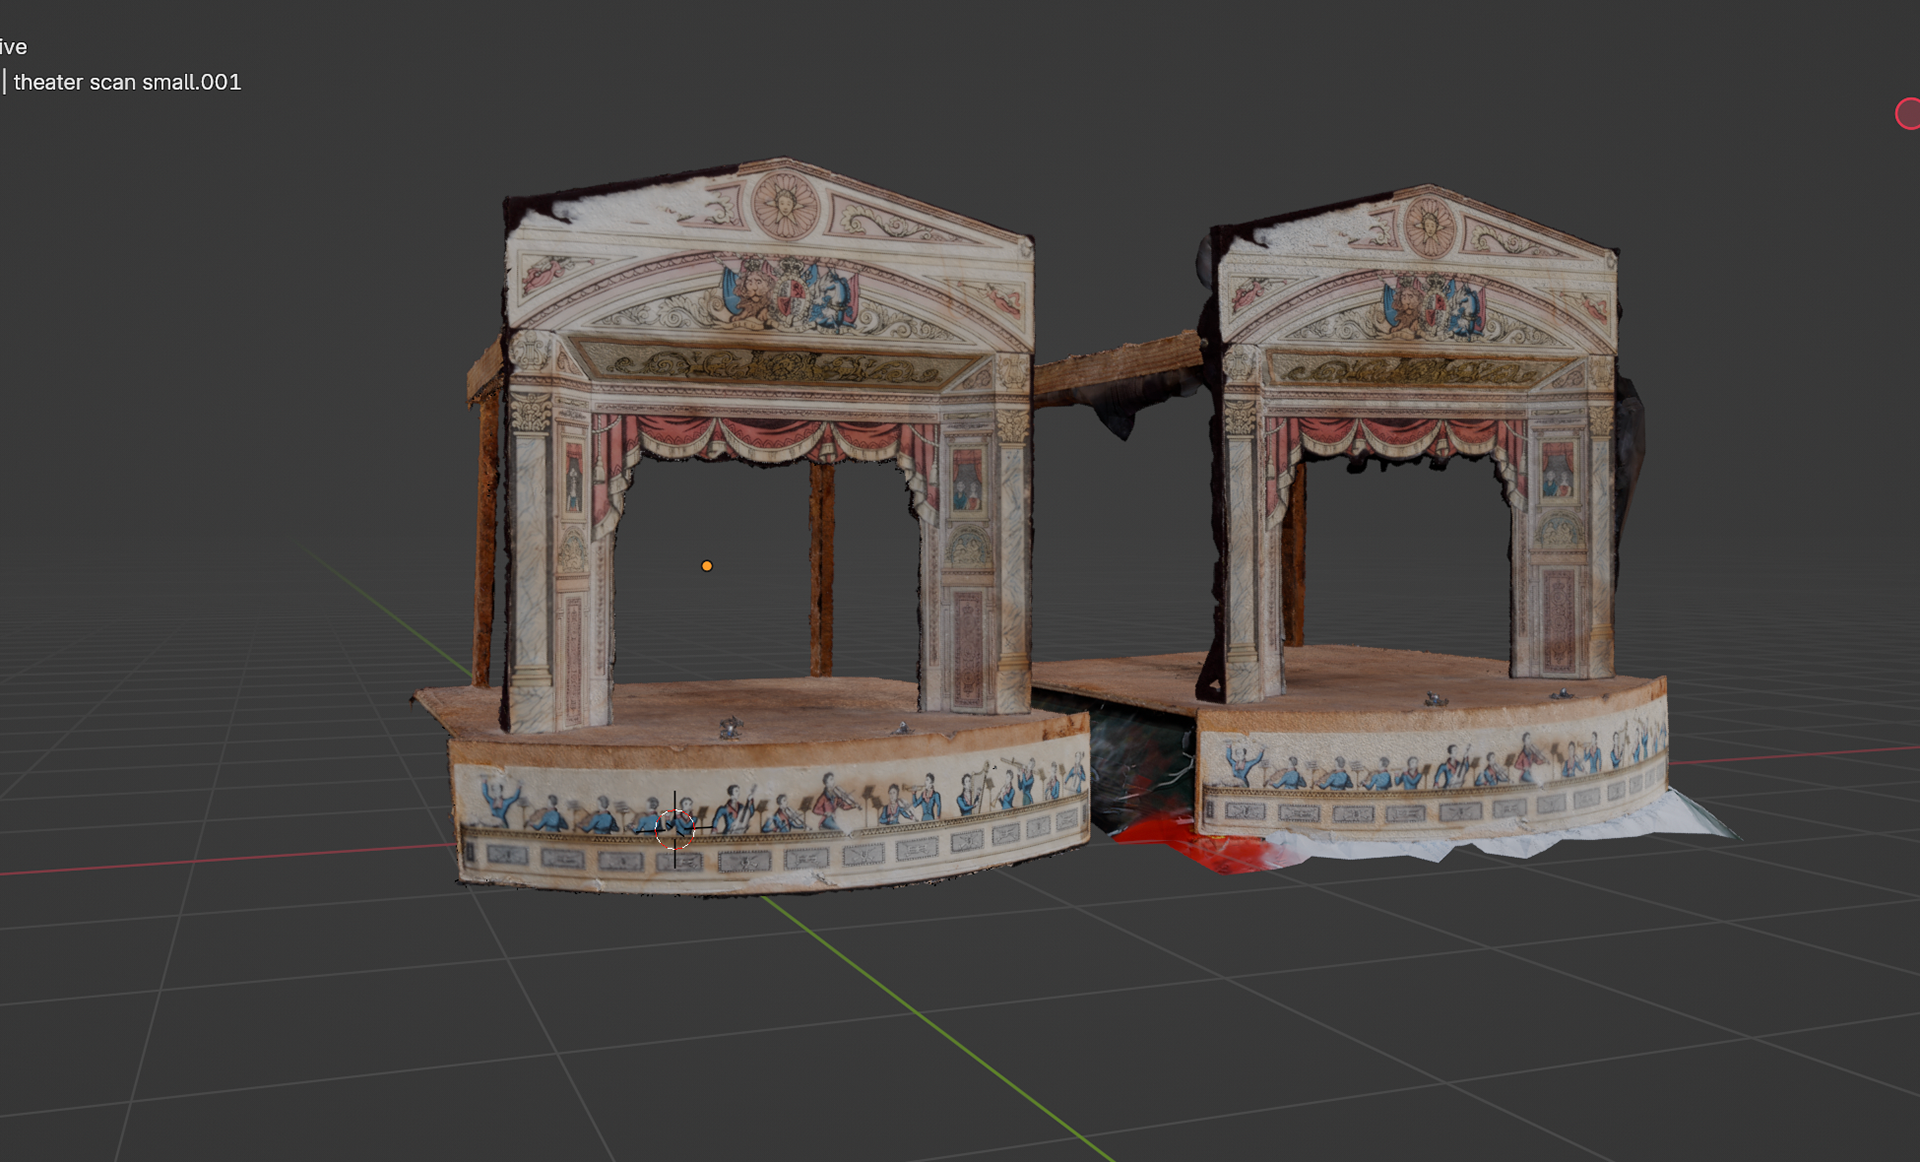
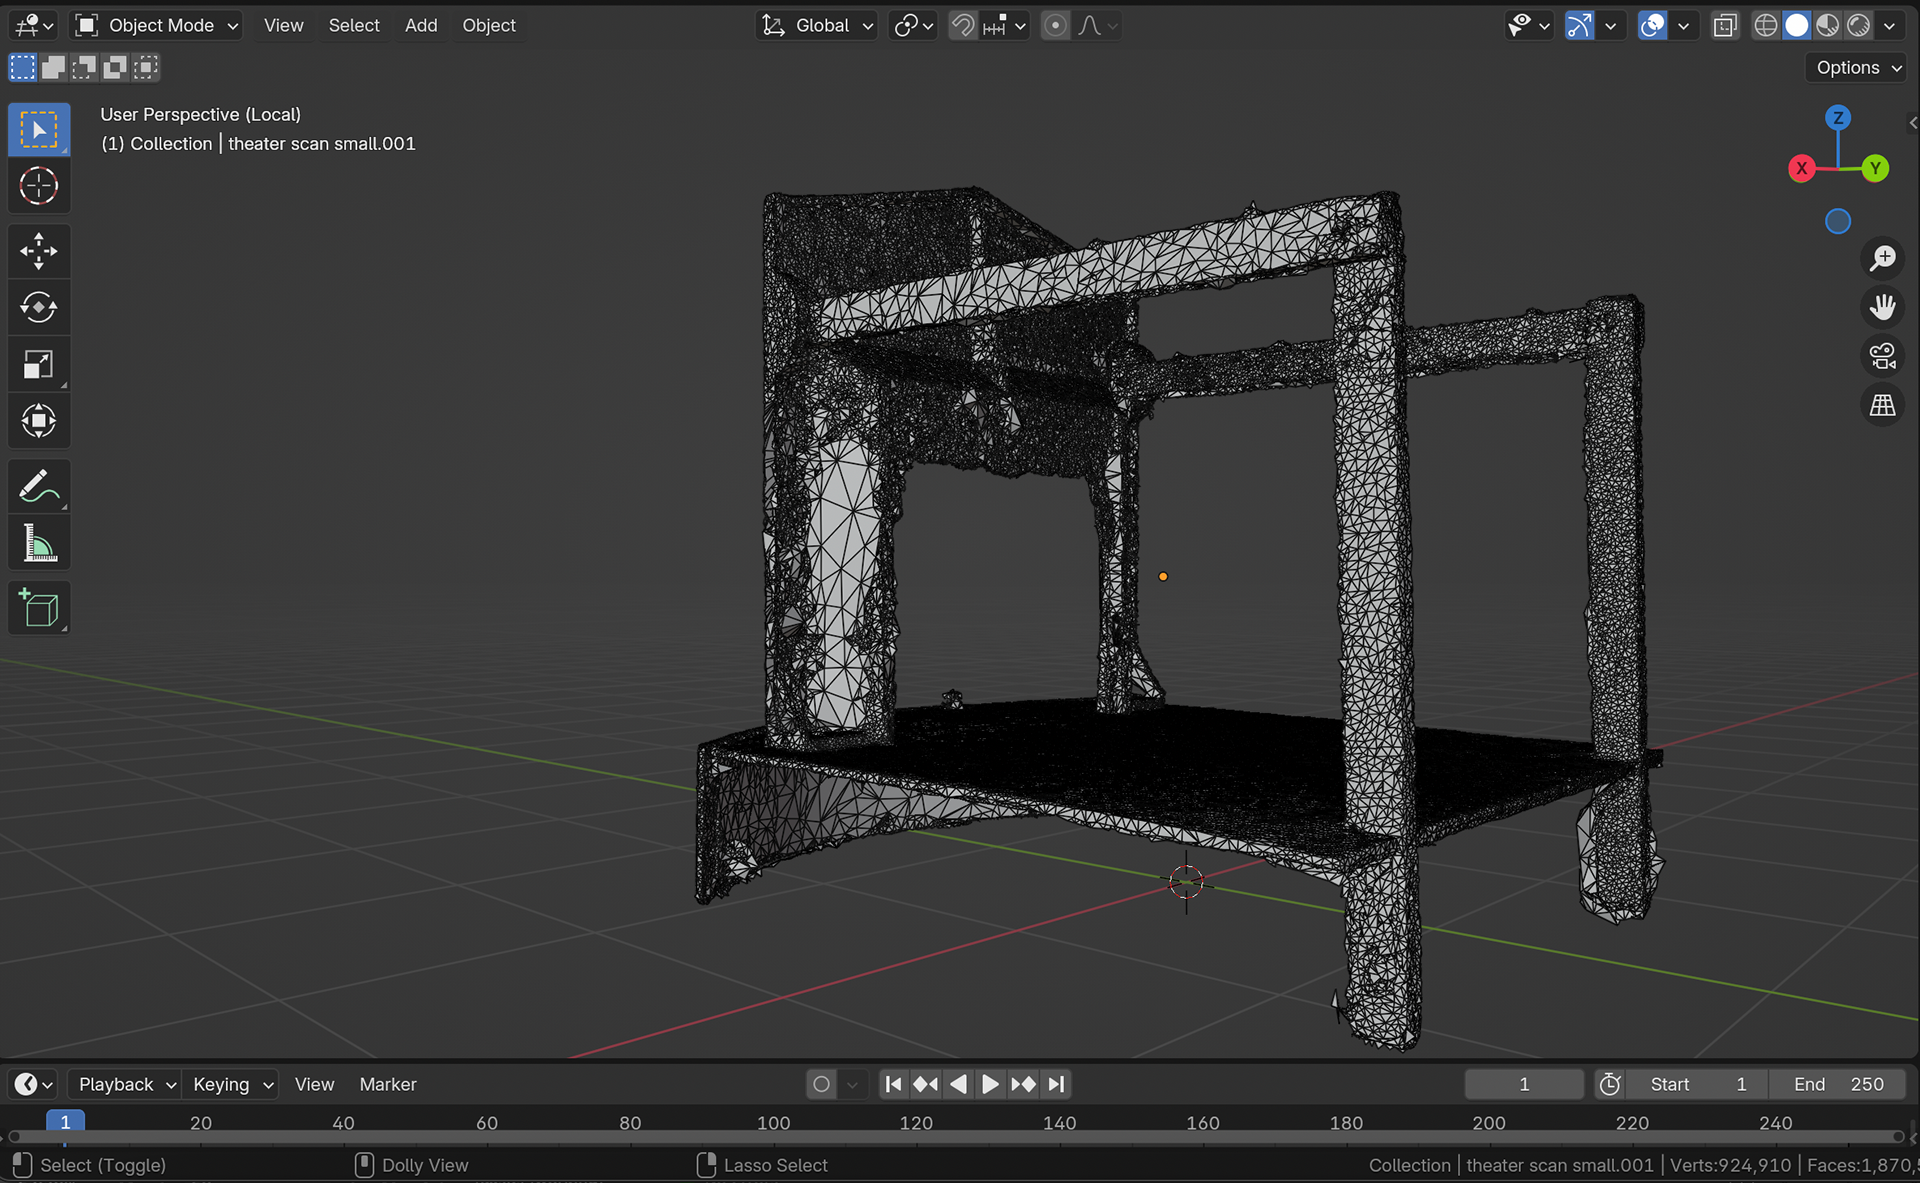
Final Models
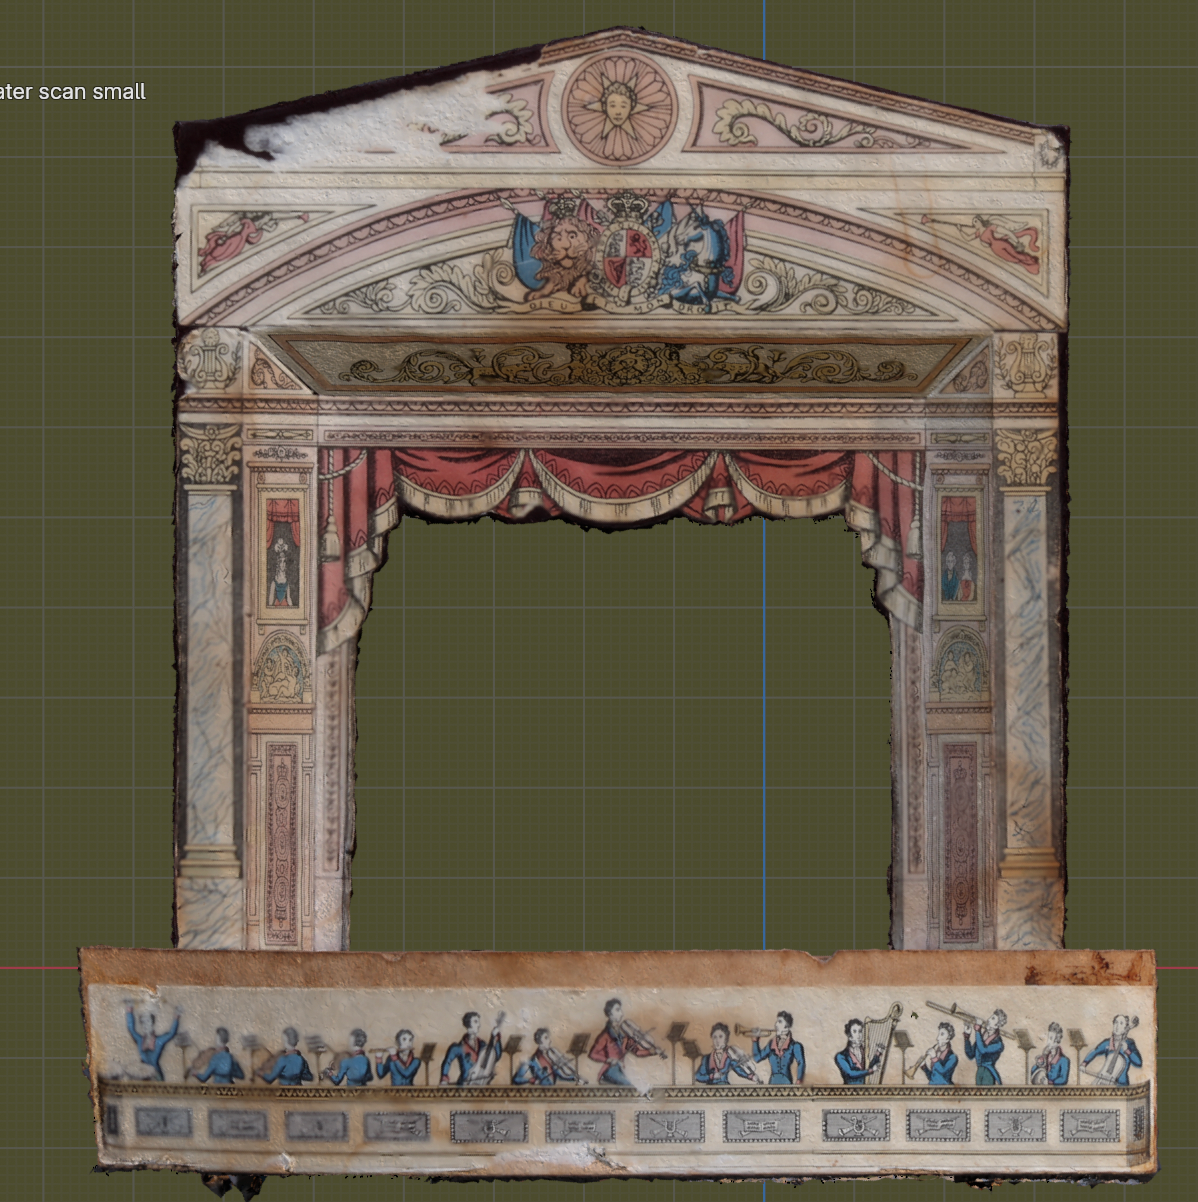
Final Model
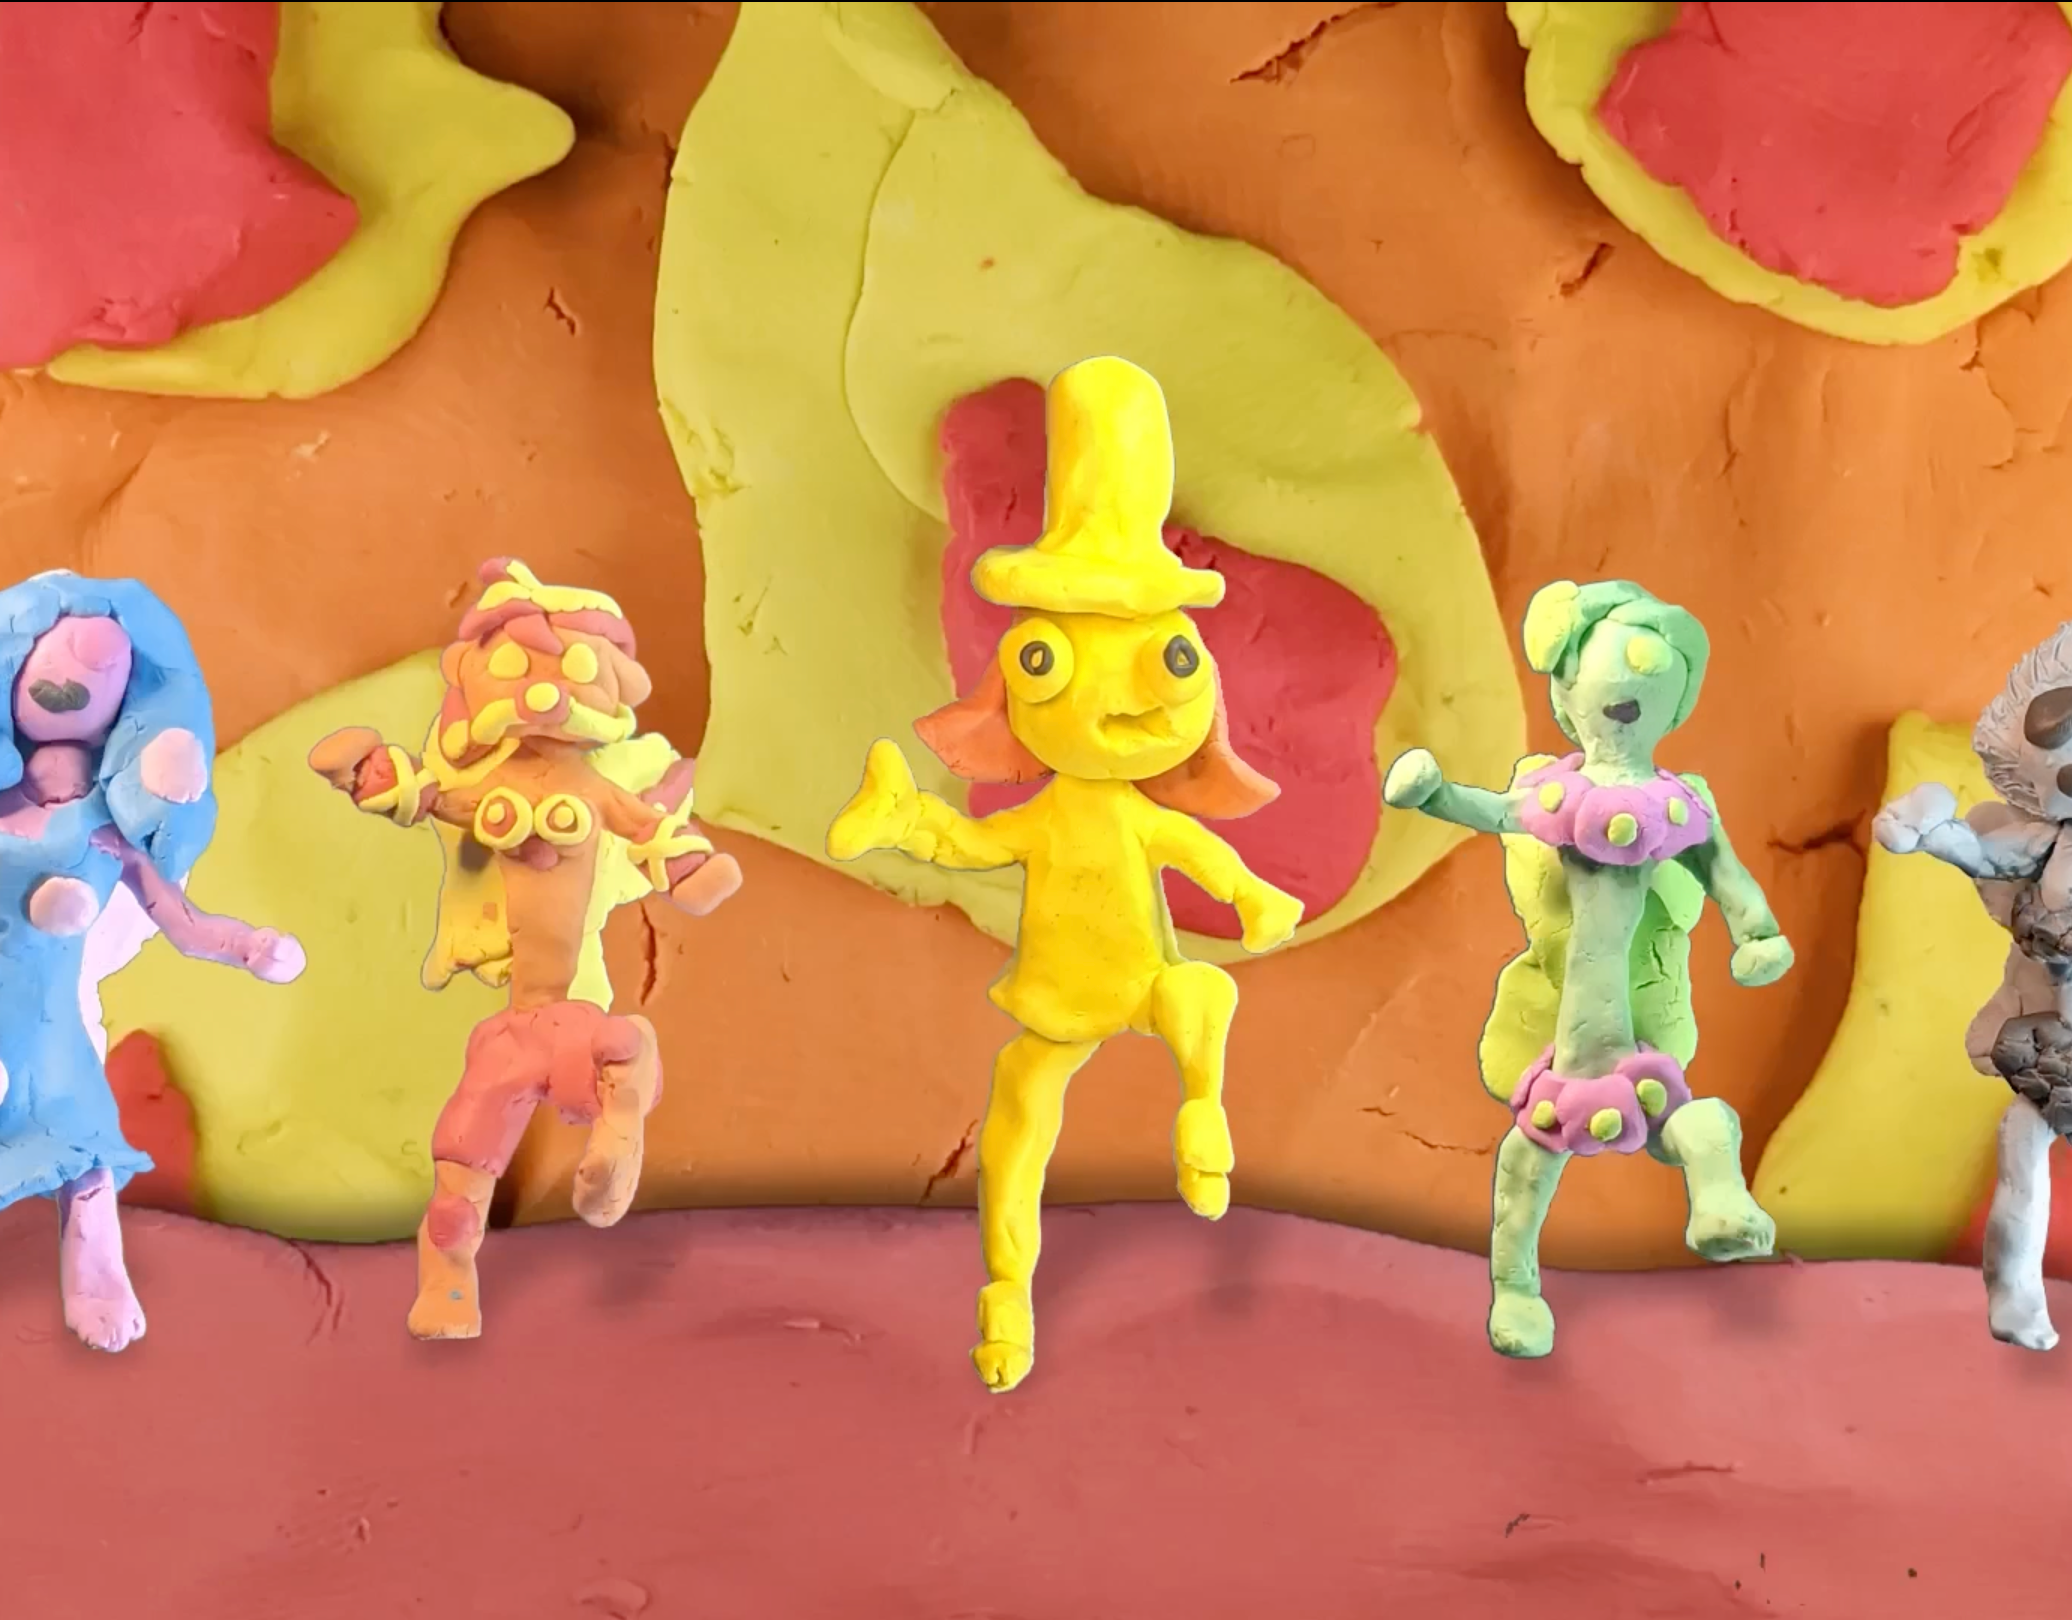
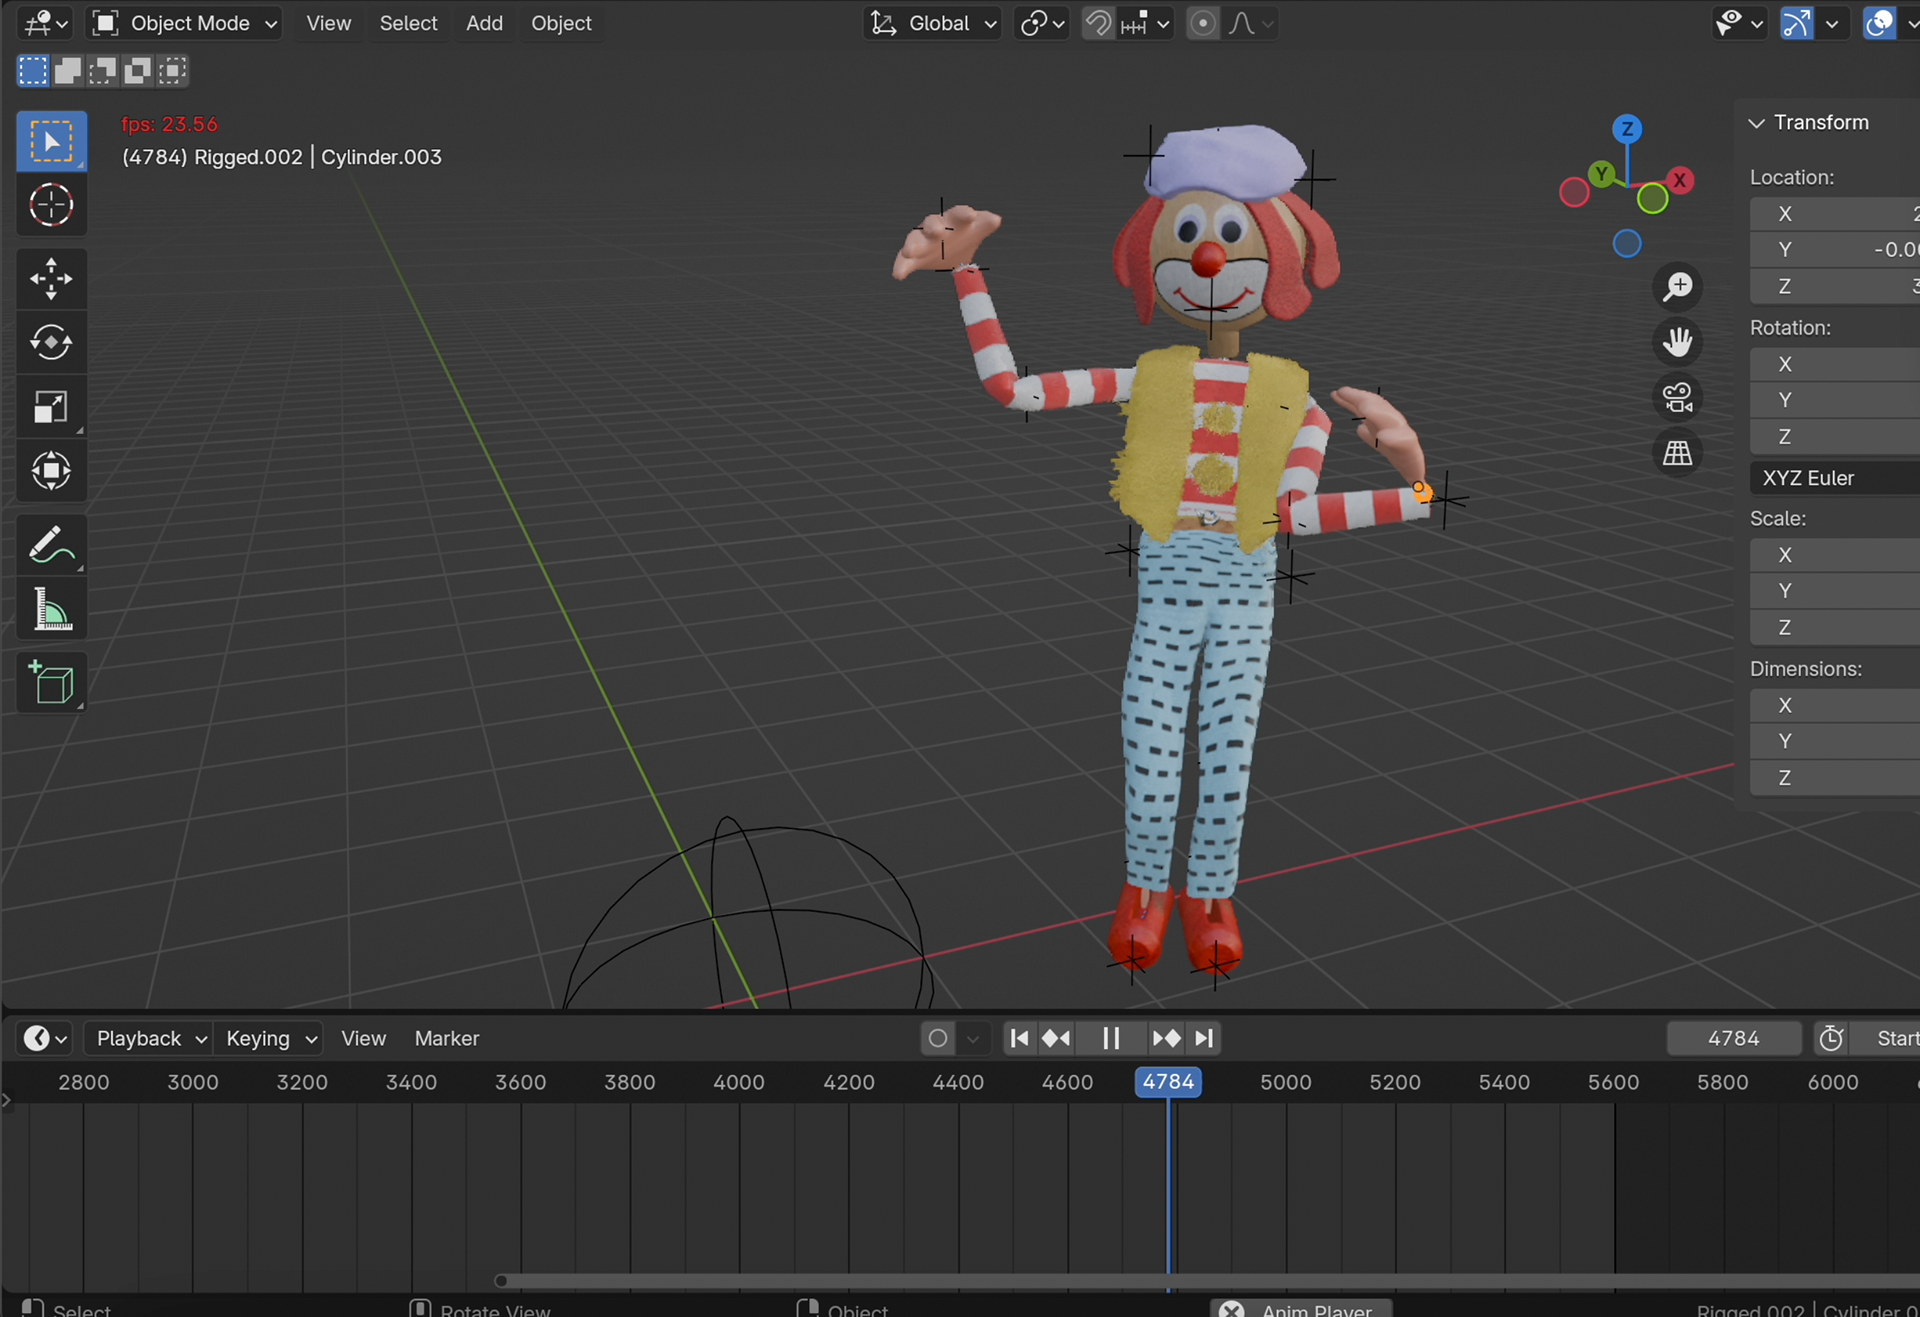
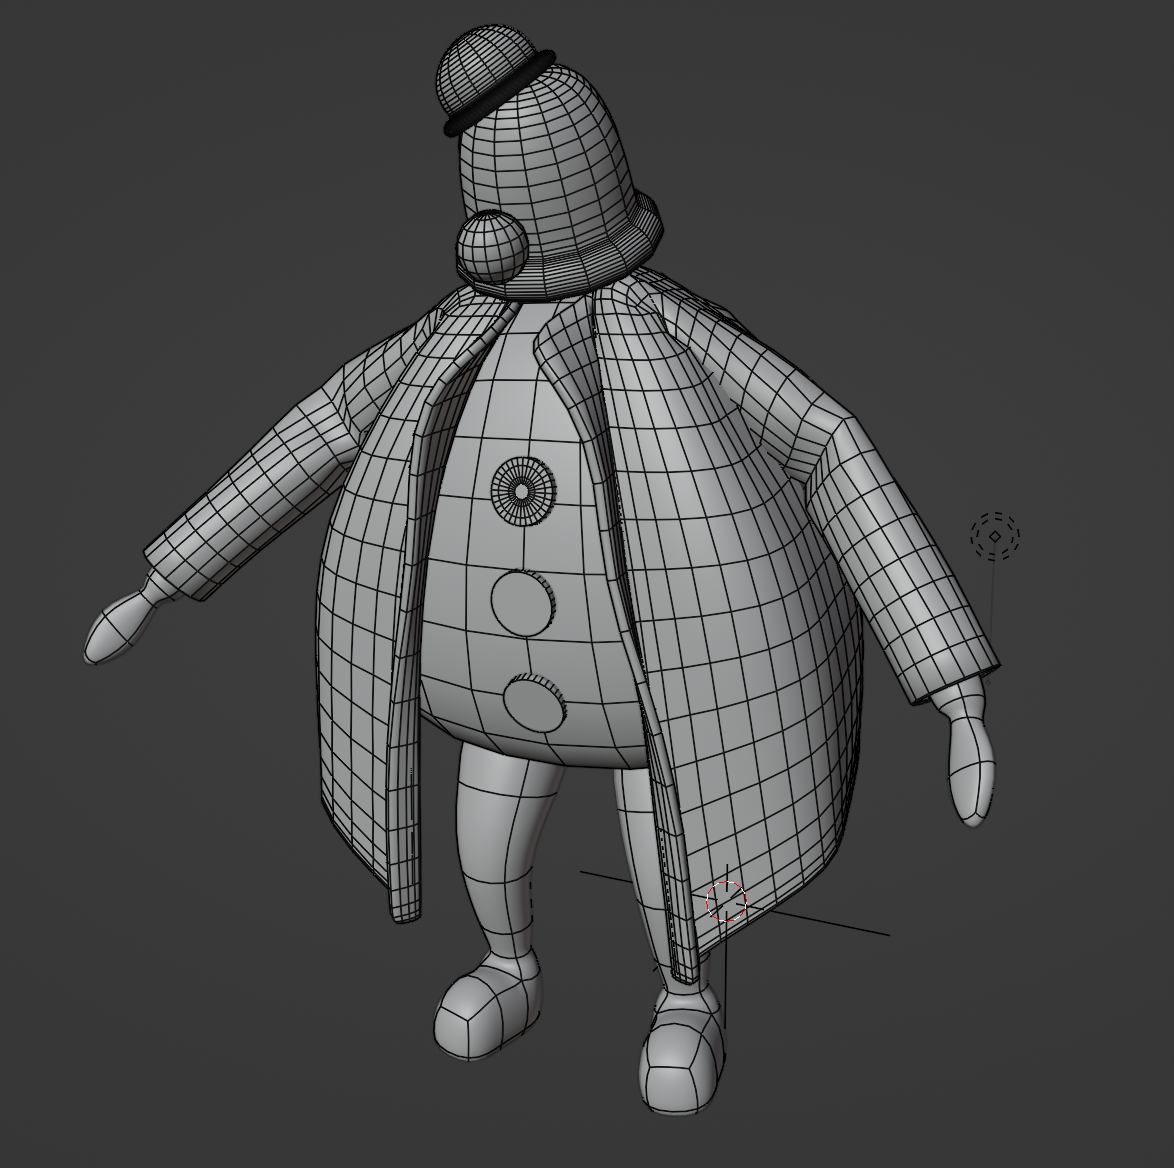
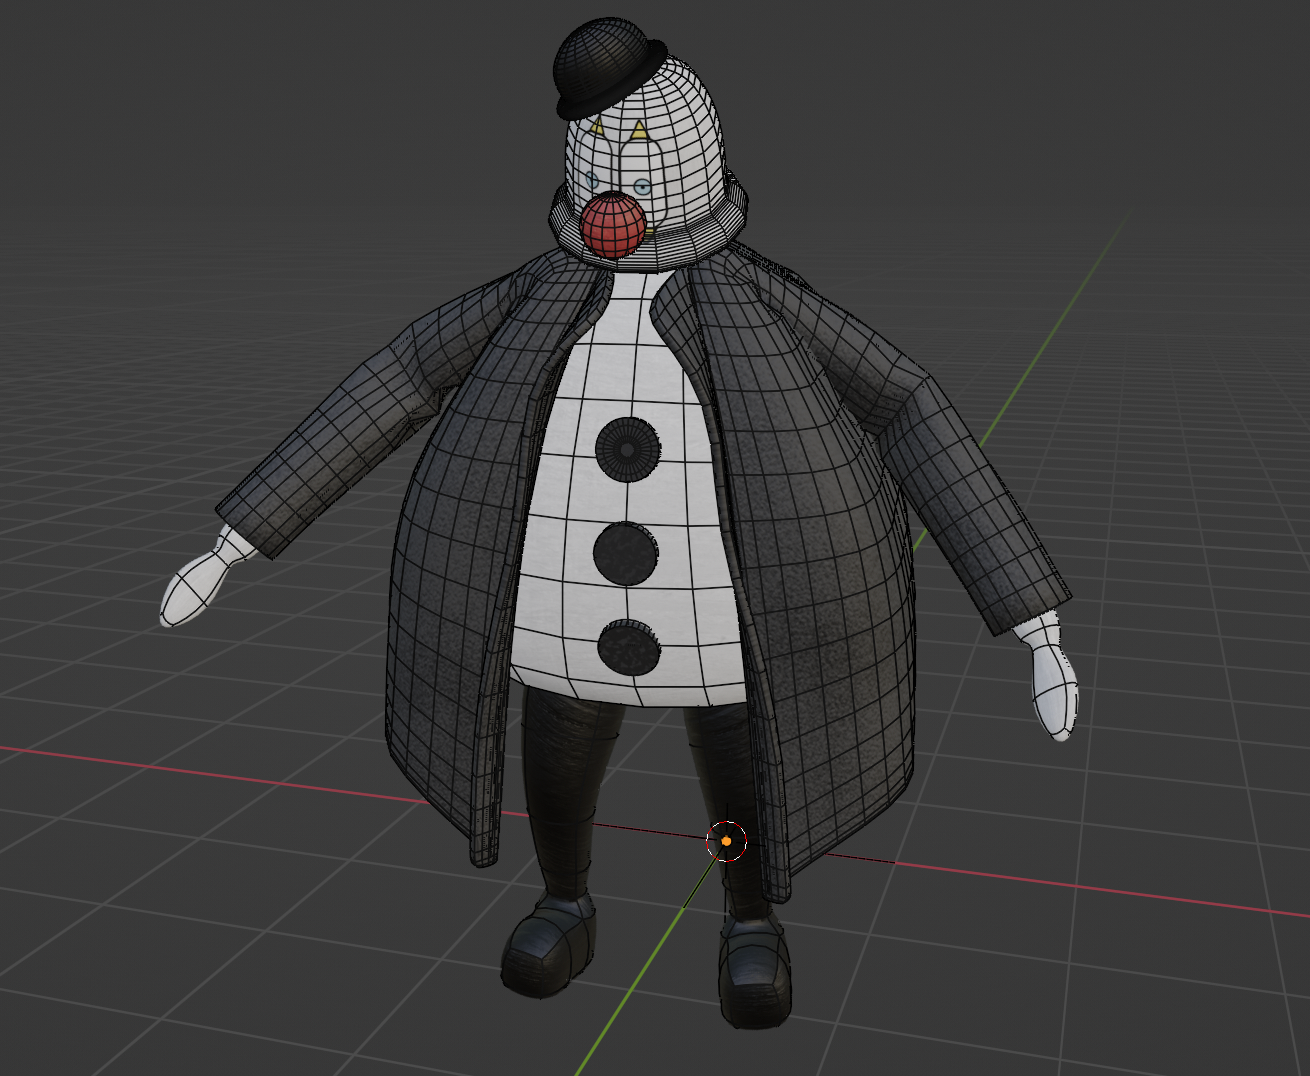
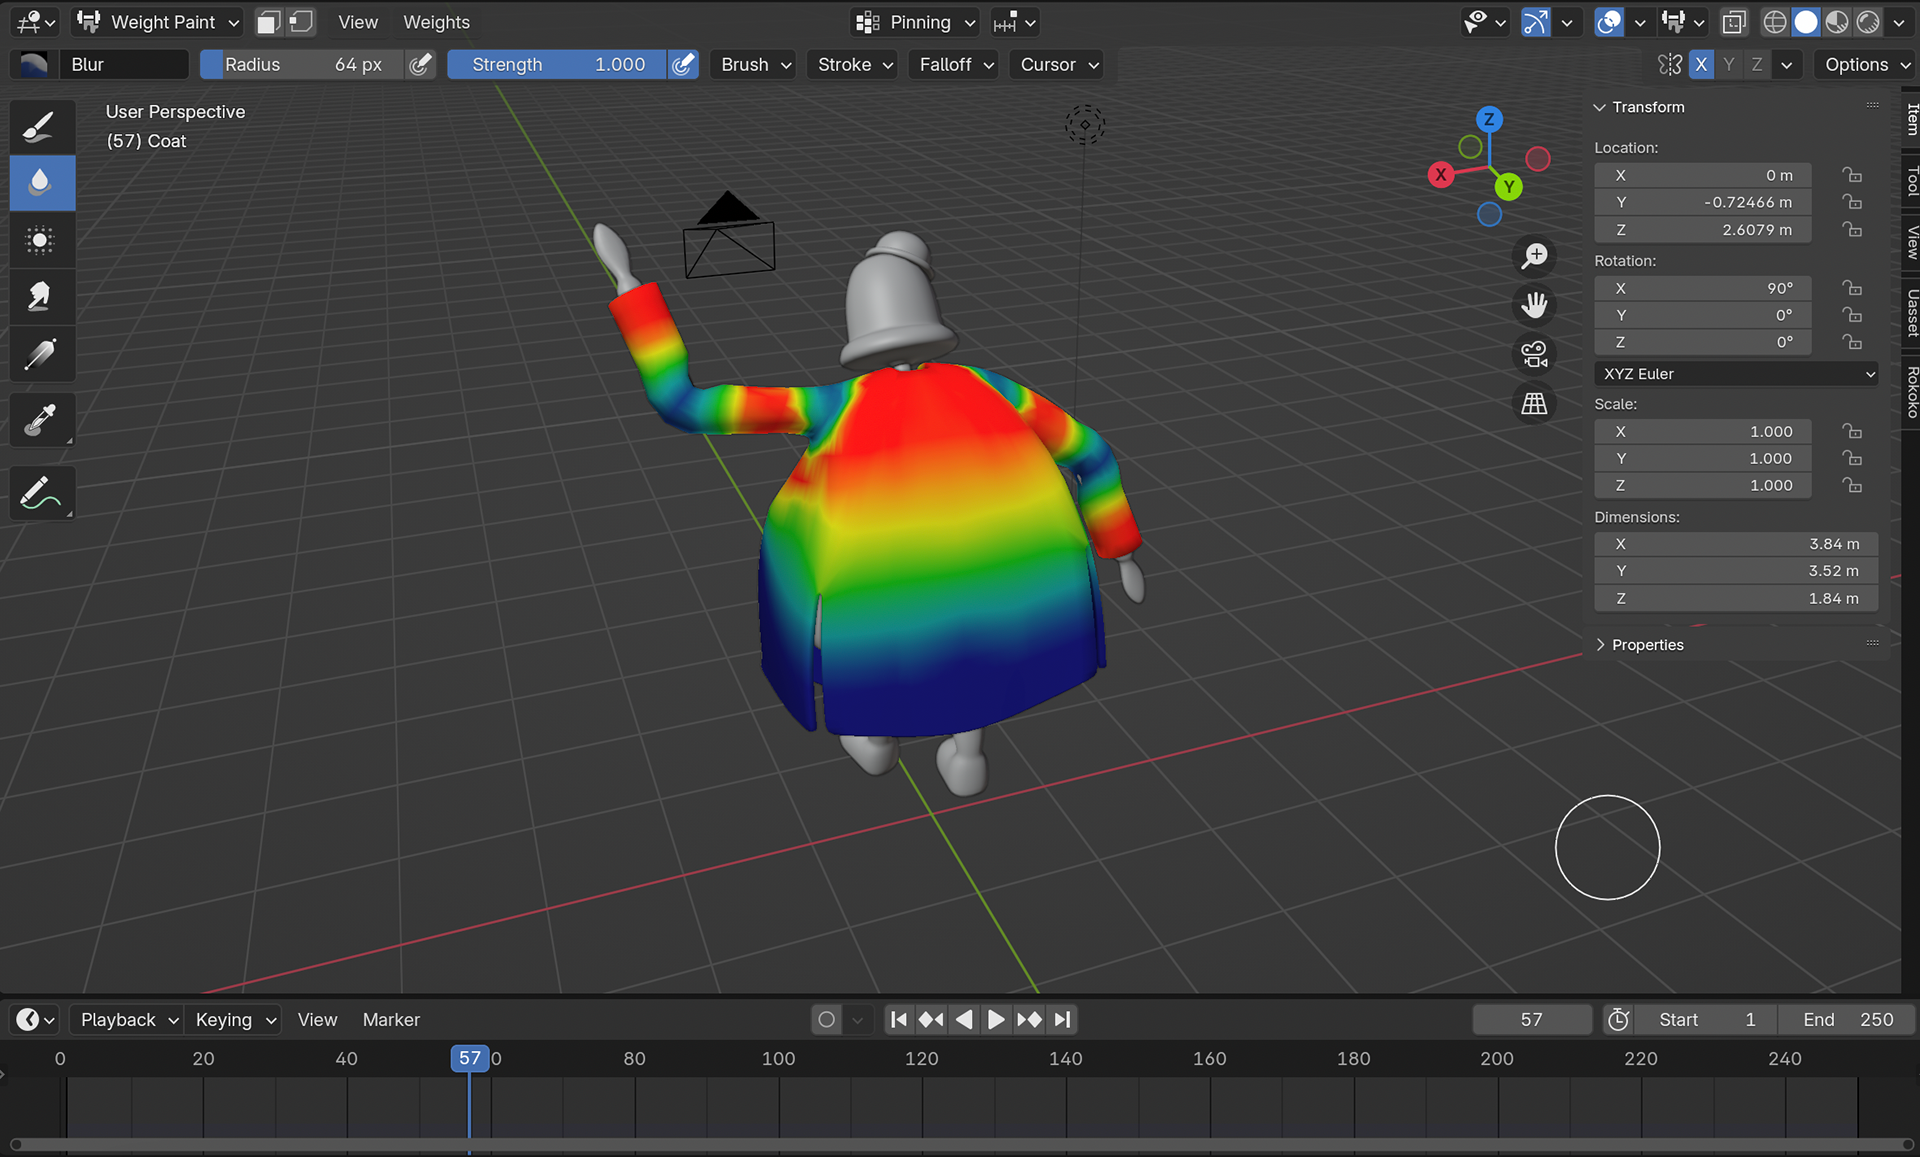
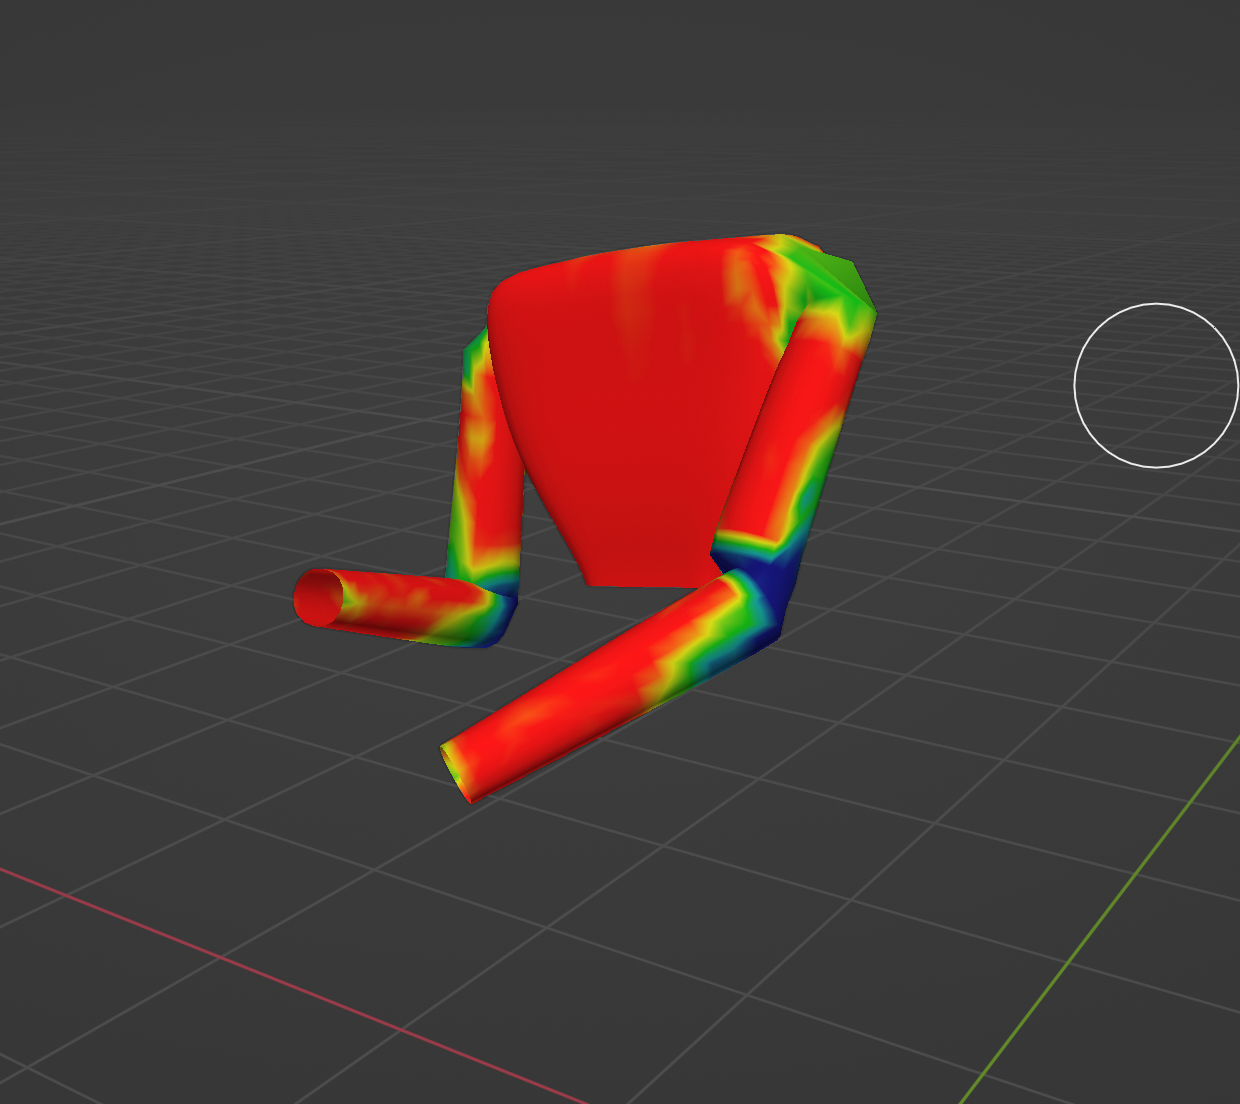
The 3D modelling of the characters involved cloth sculpting, hard surface models and armature skinning and weighting.
Base Model
Textured Model
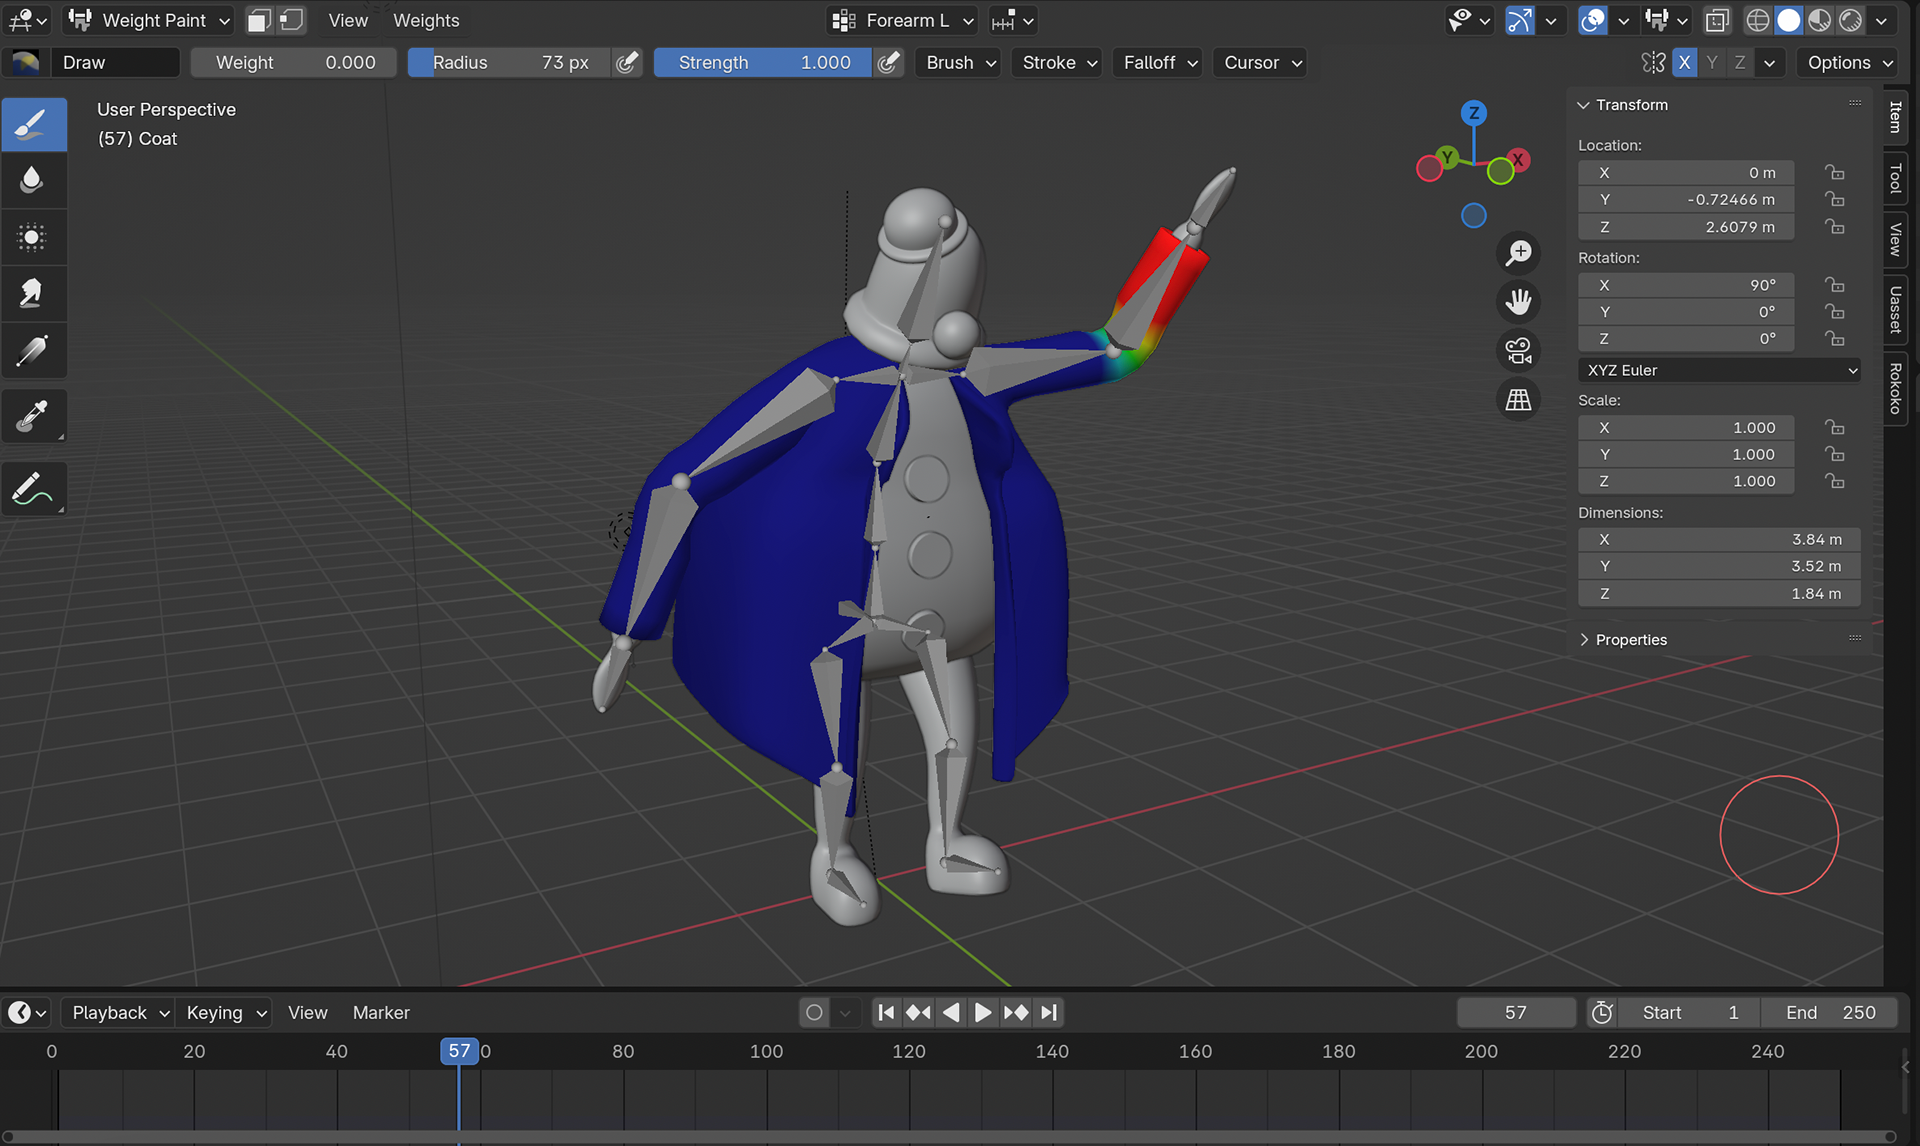
Coat Skinning (forearm)
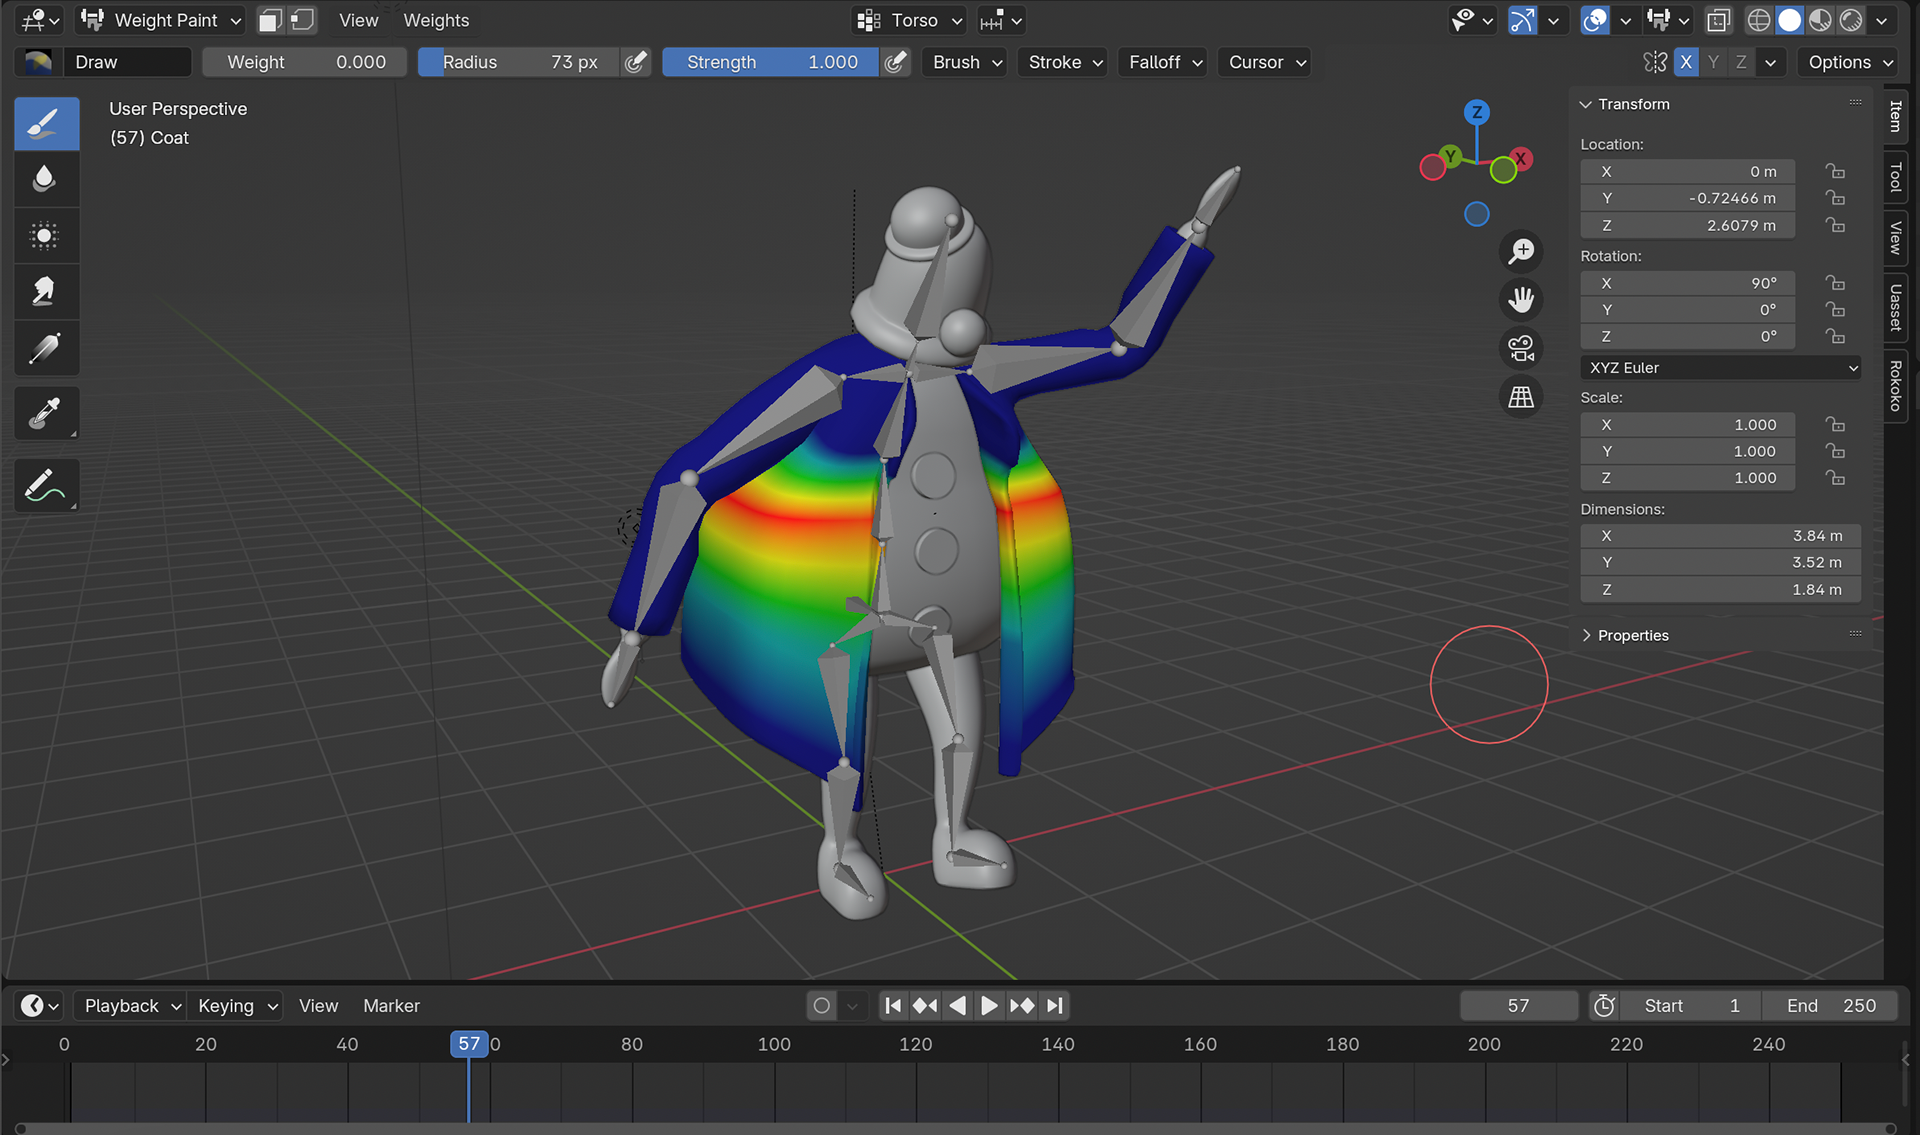
Coat Skinning (ribs)
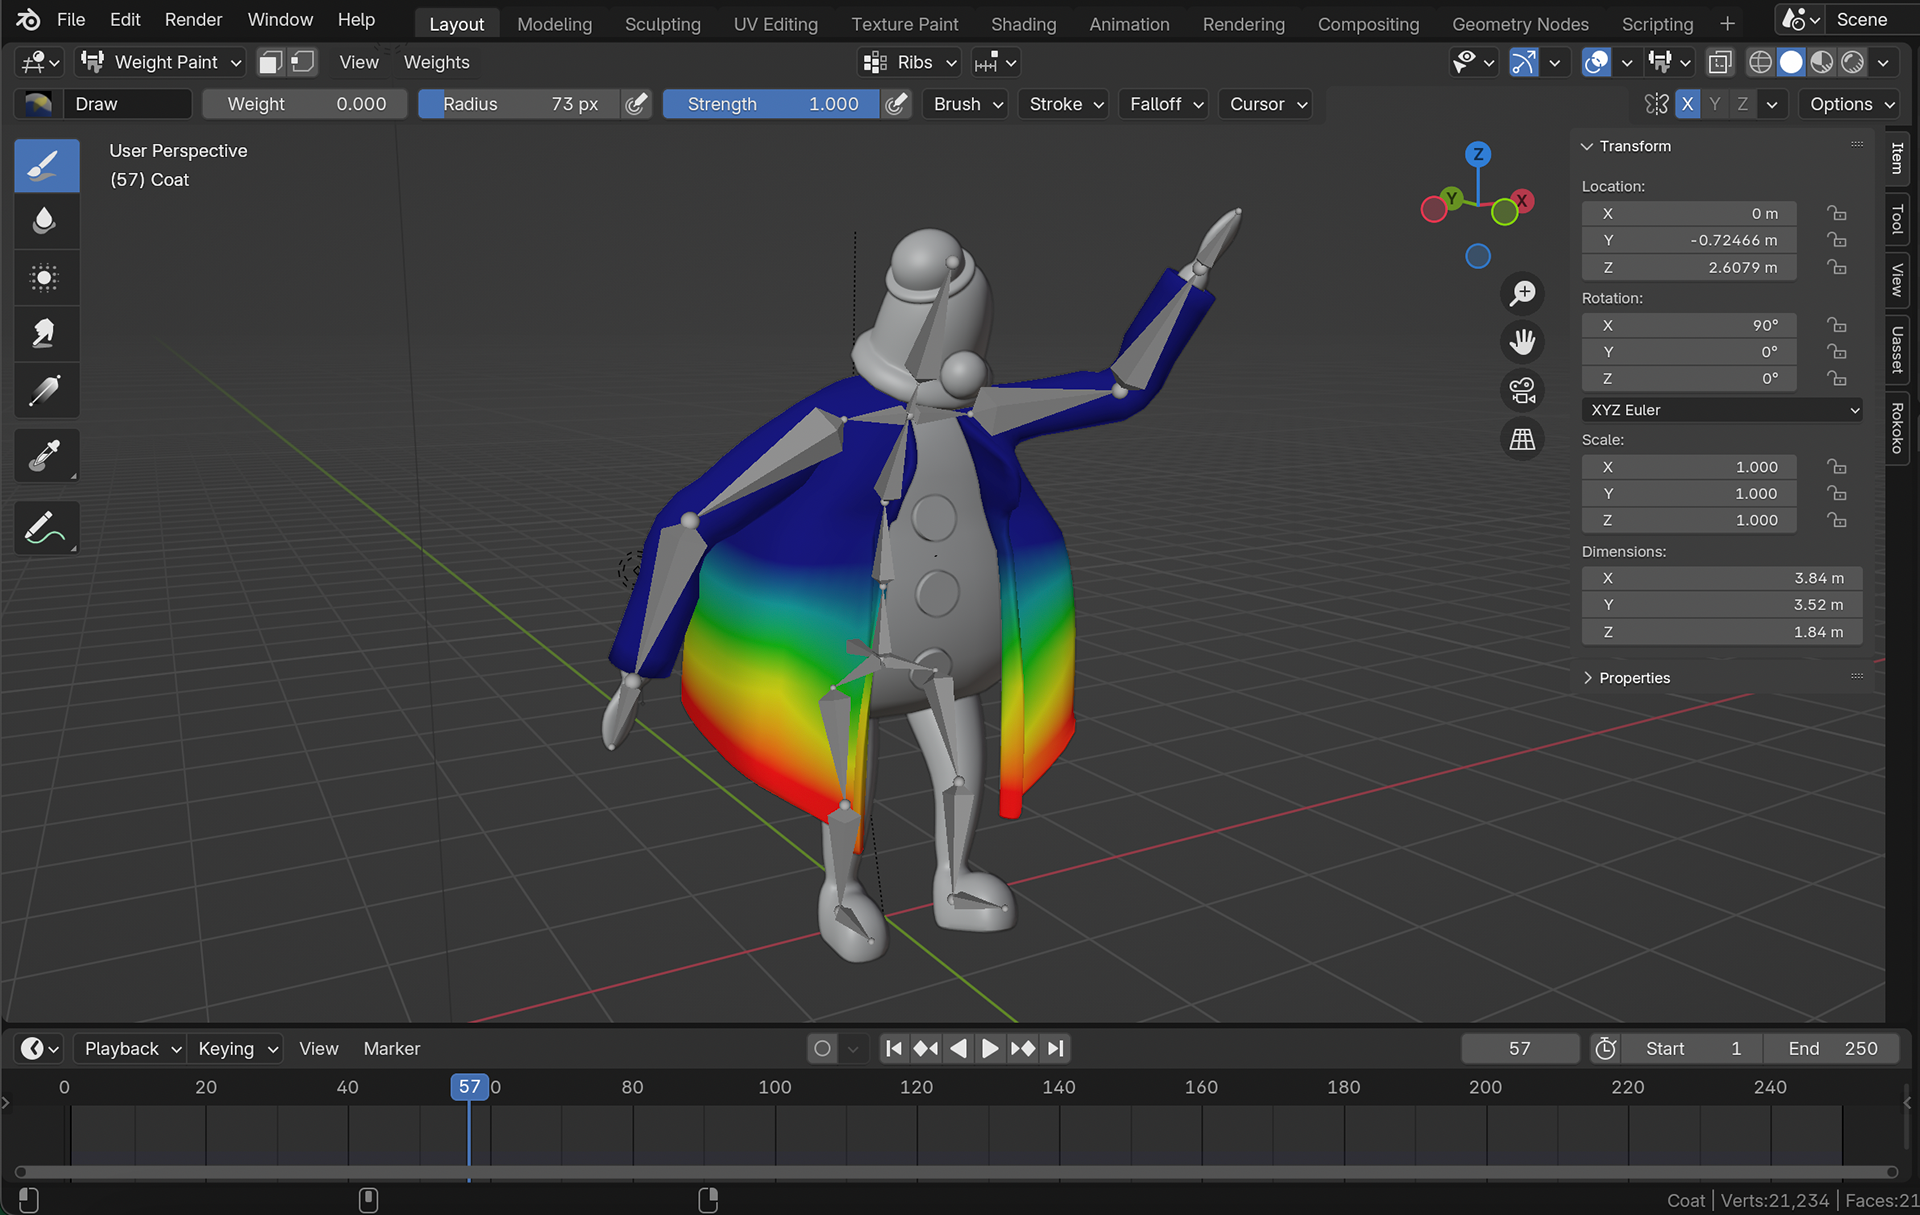
Coat Skinning (torso)

Cloth Pinning Group (front)
Cloth Pinning Group (back)
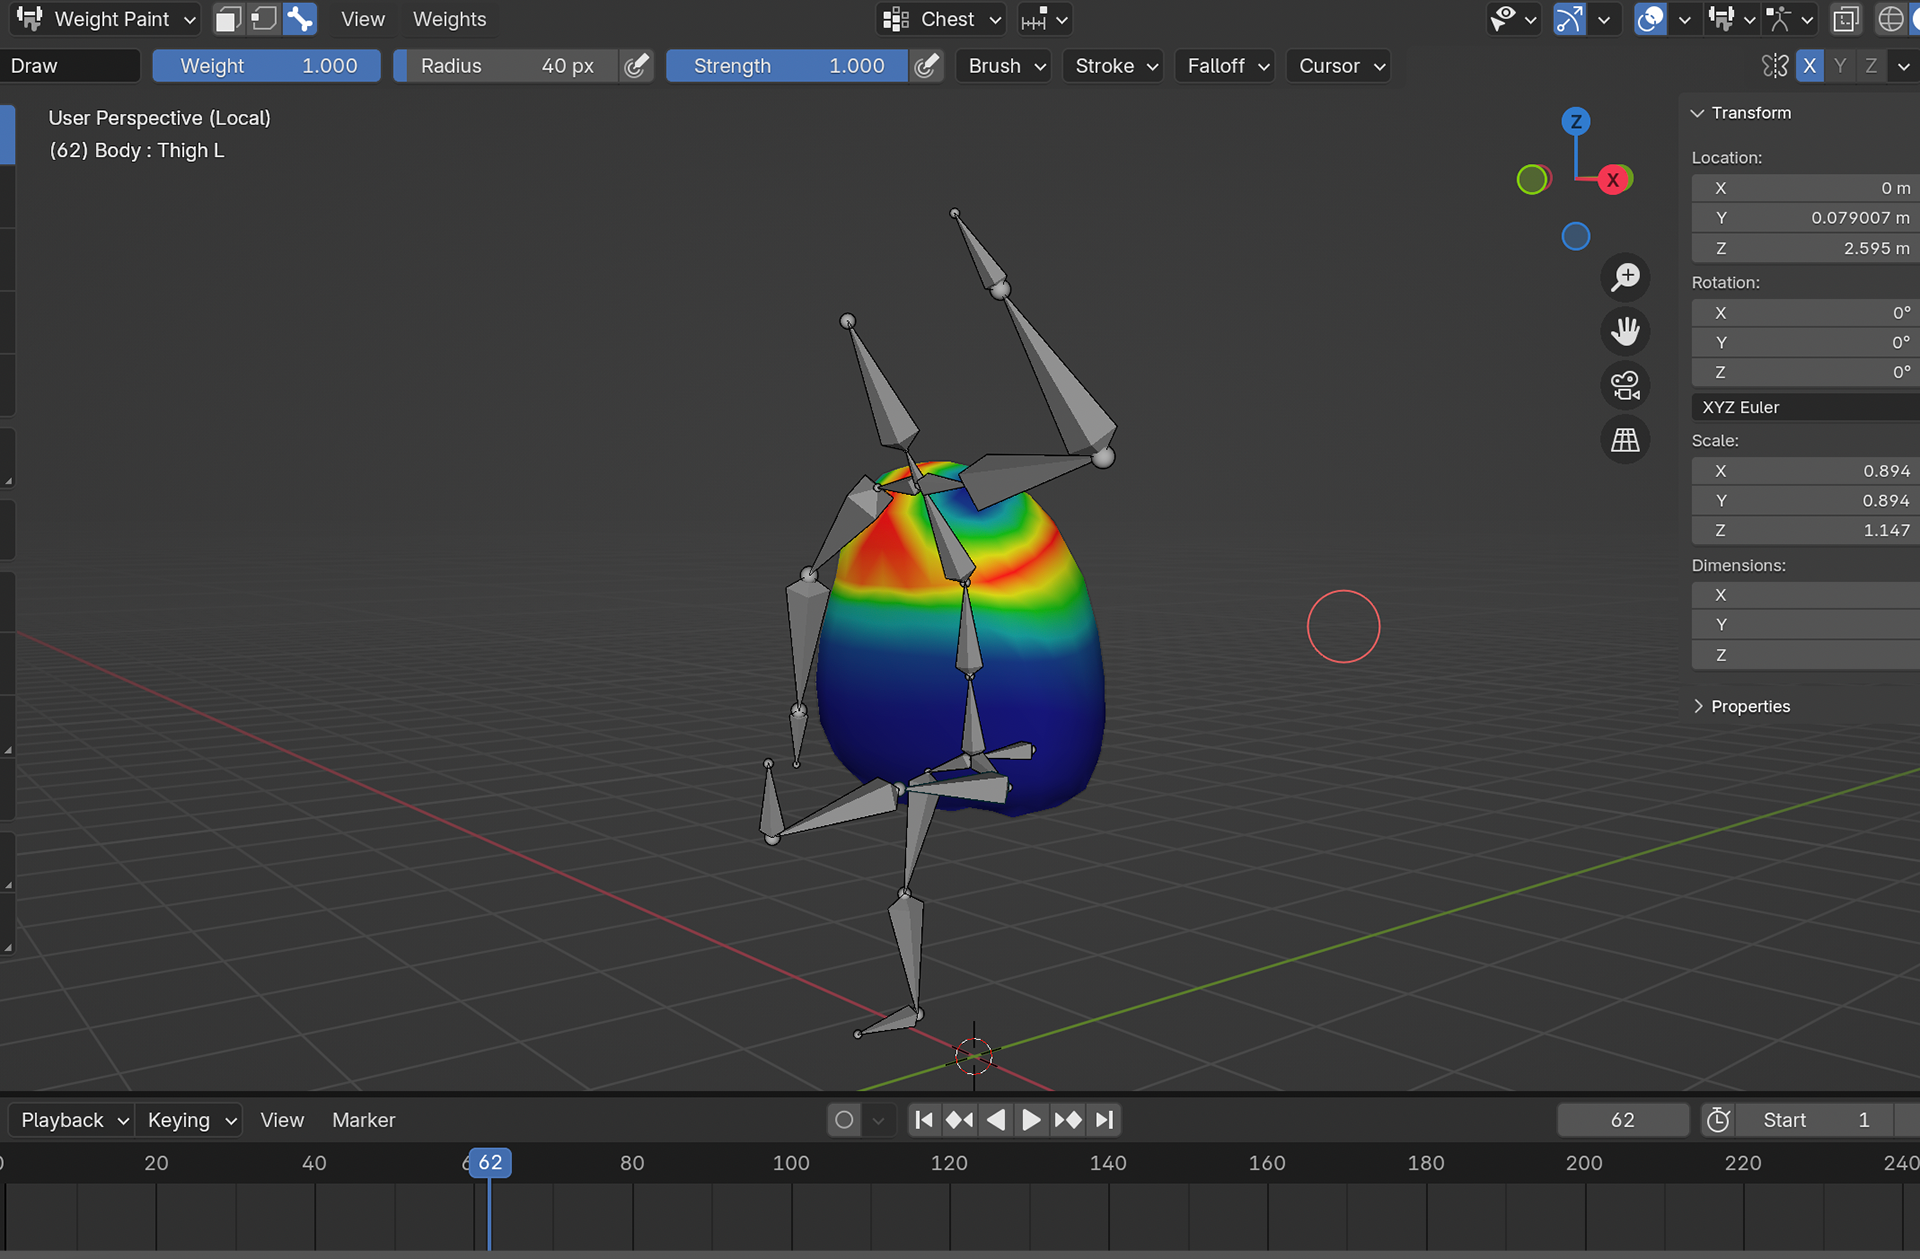
Body Skinning (chest)
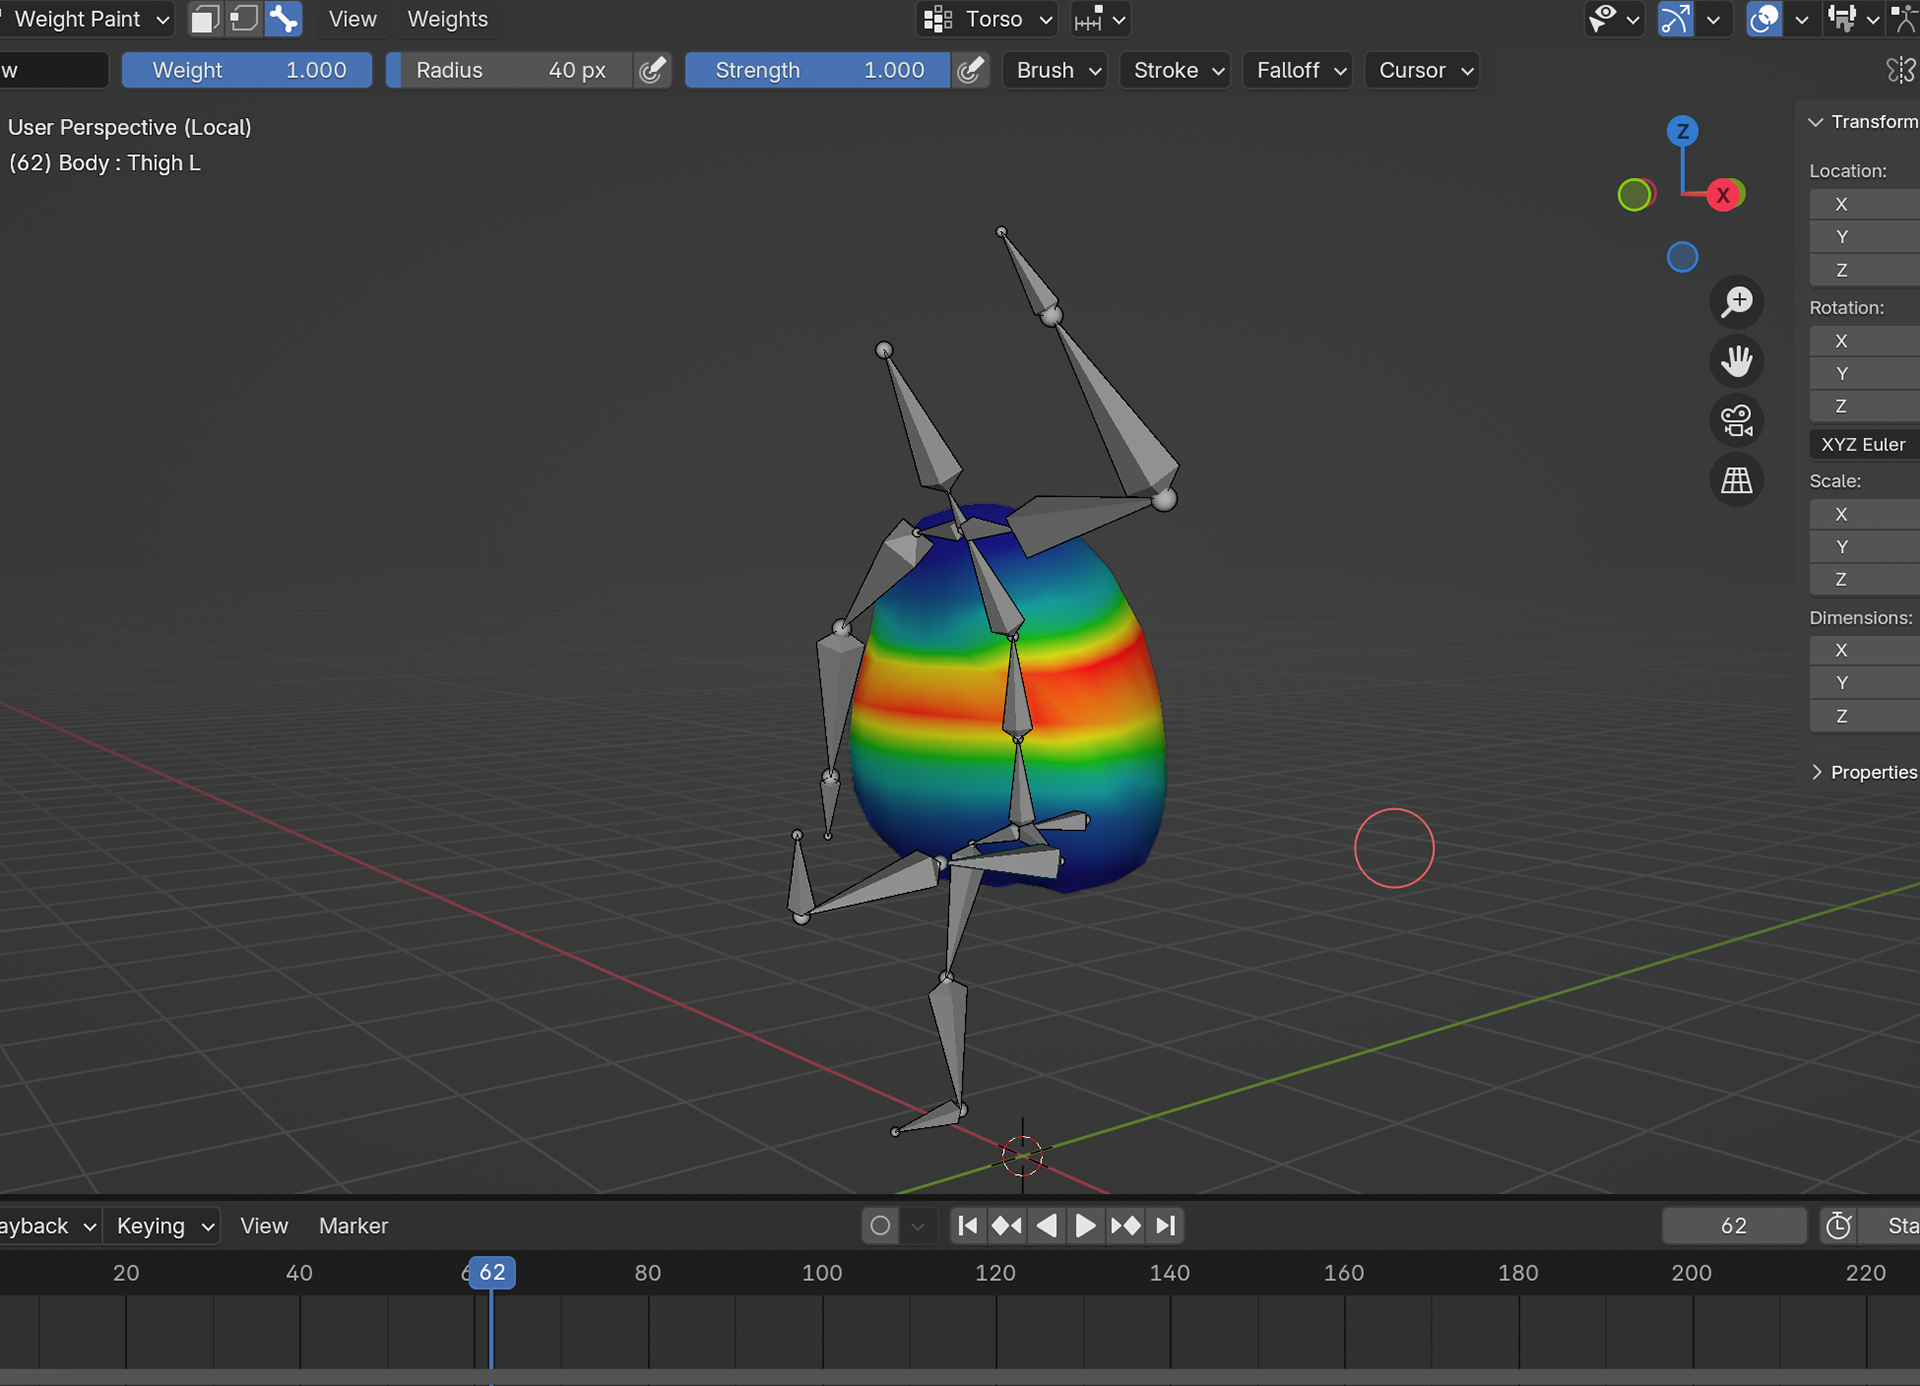
Body Skinning (torso)
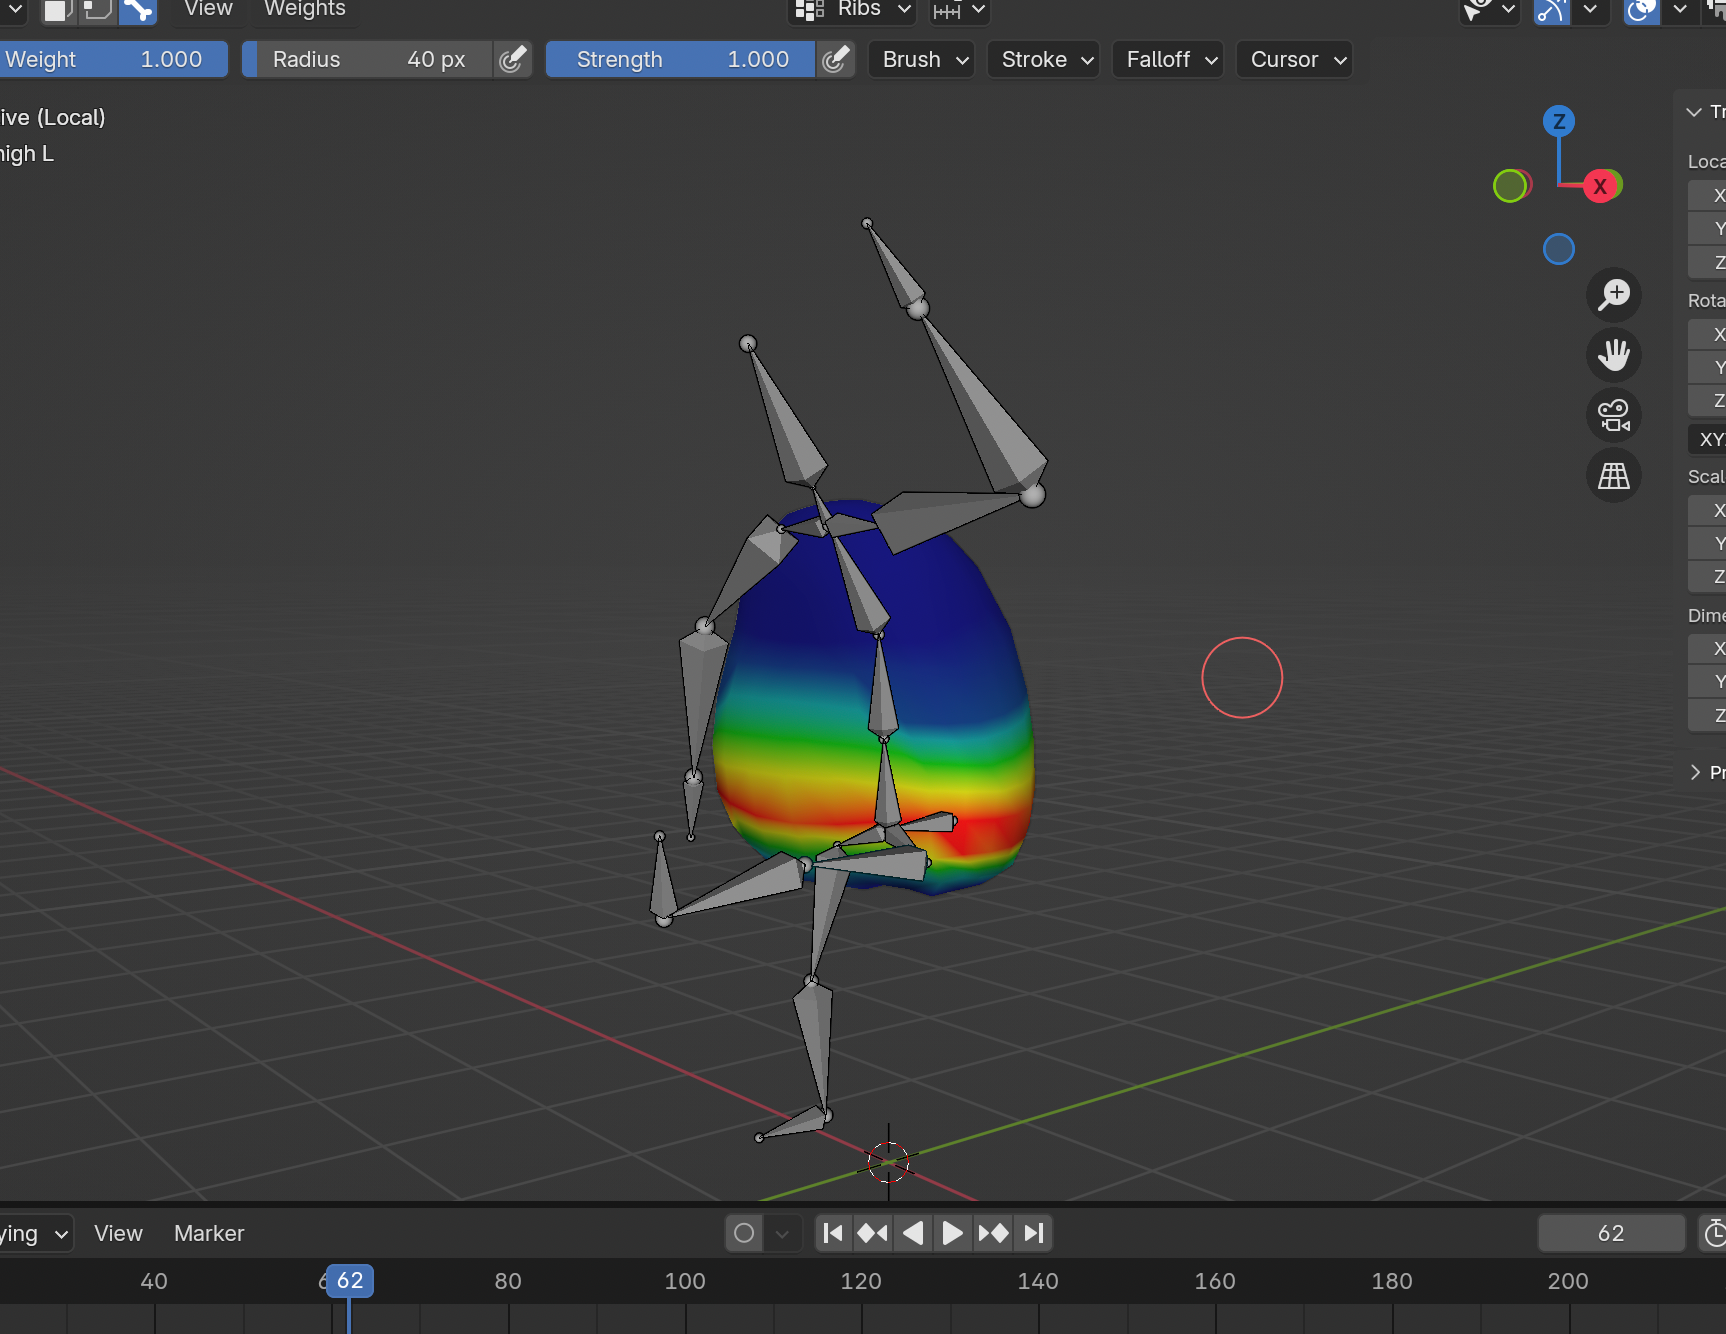
Body Skinning (ribs)
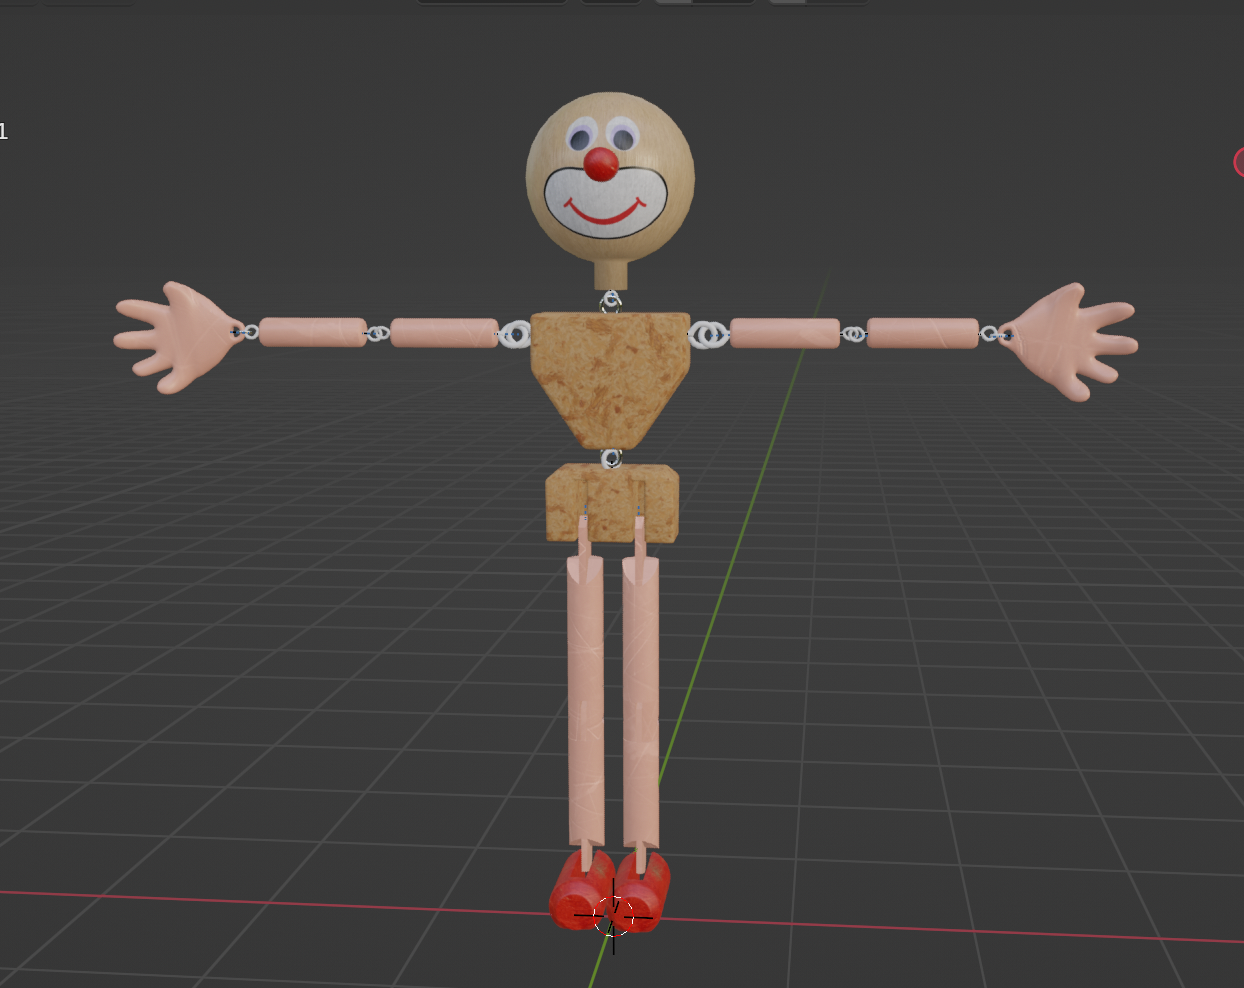
Puppet Model
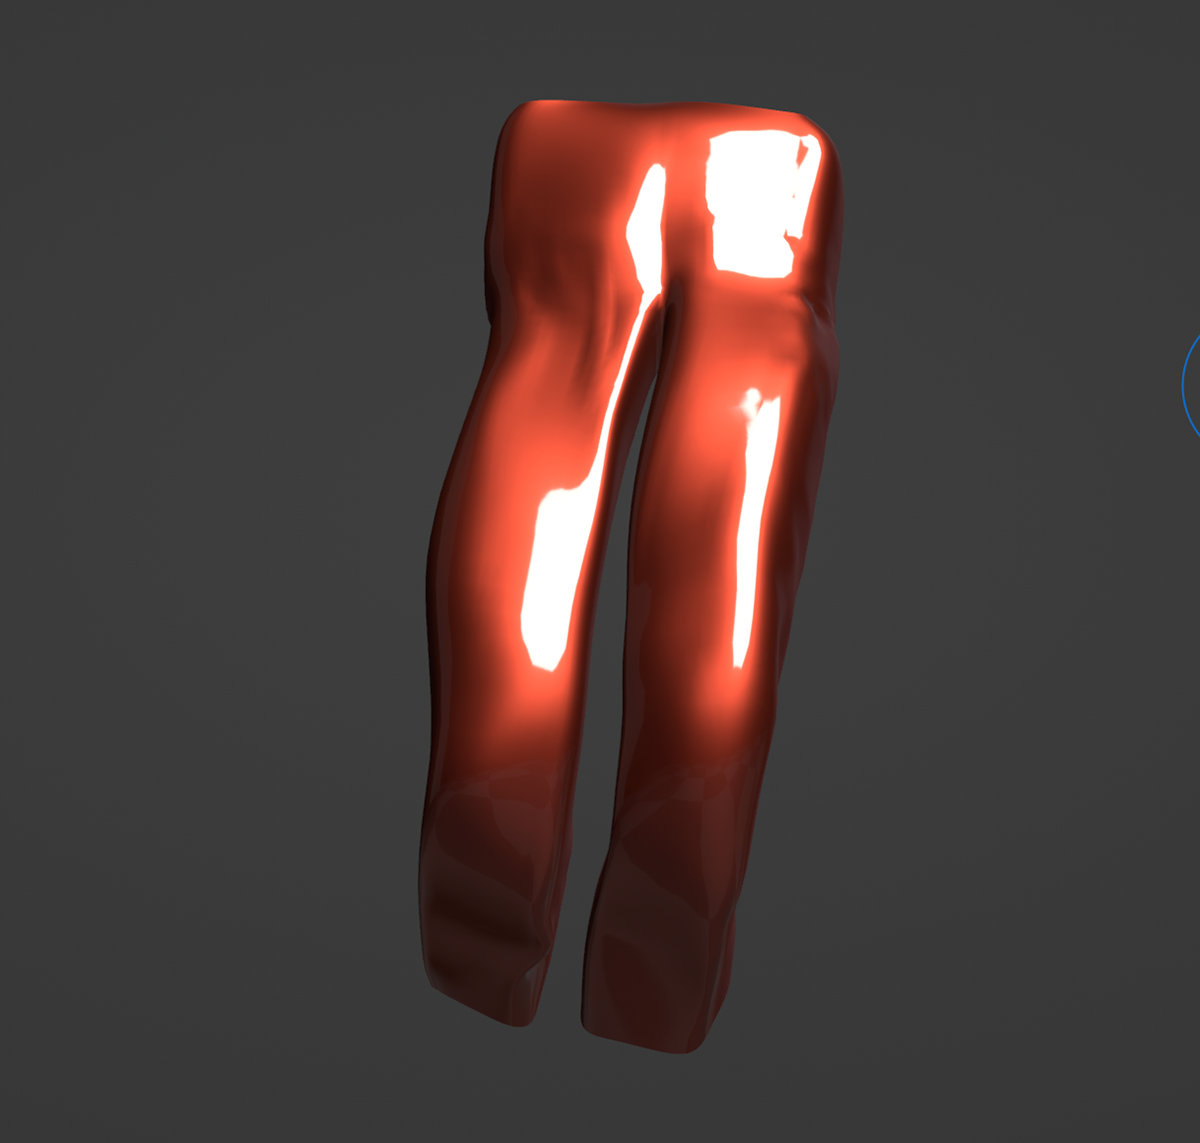
Trousers Cloth Model
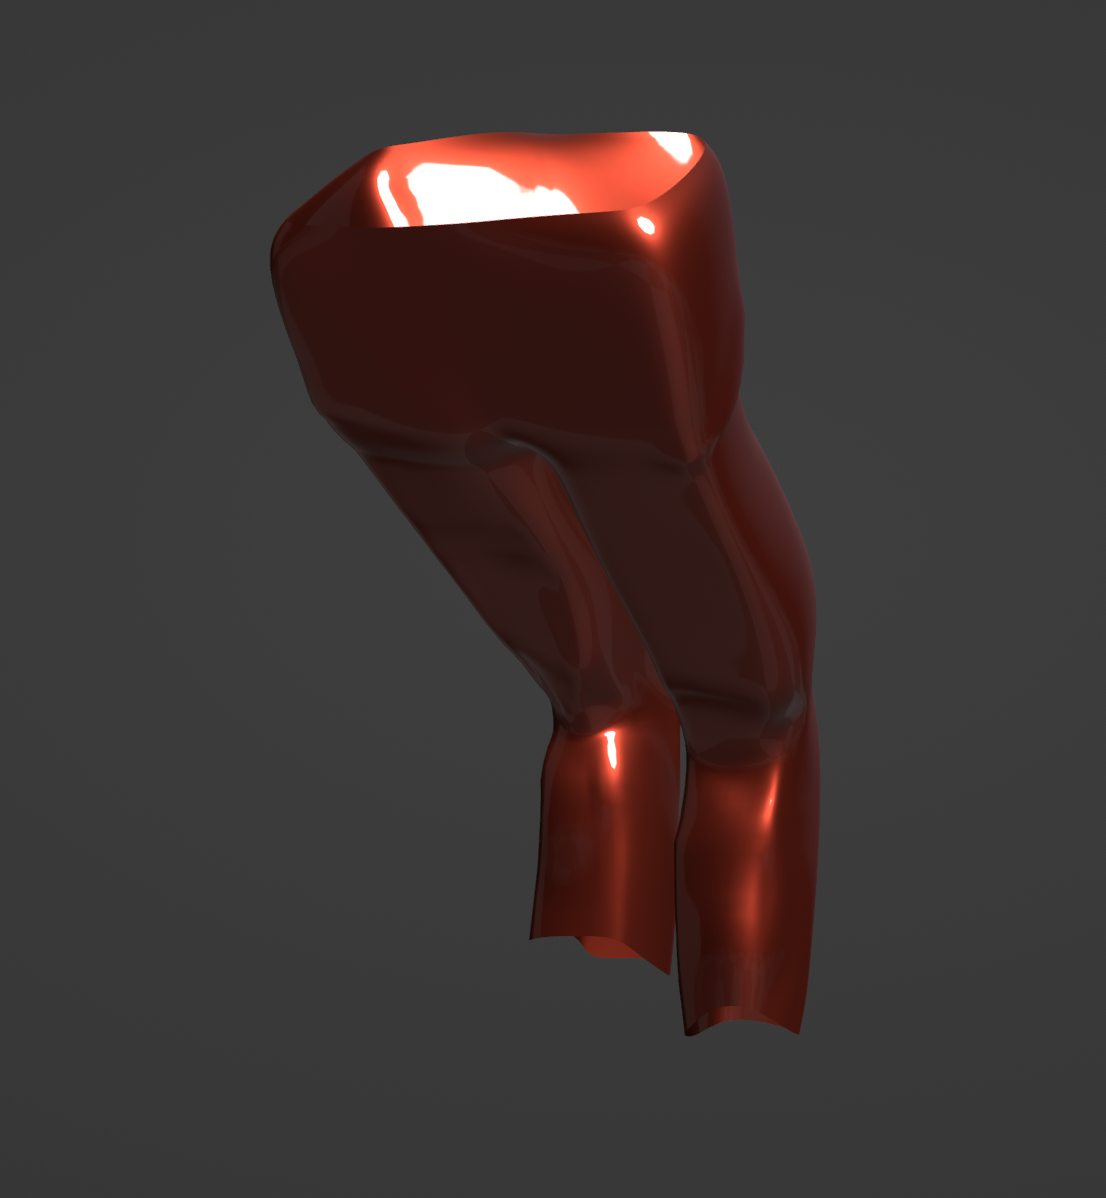
Trousers Cloth Model
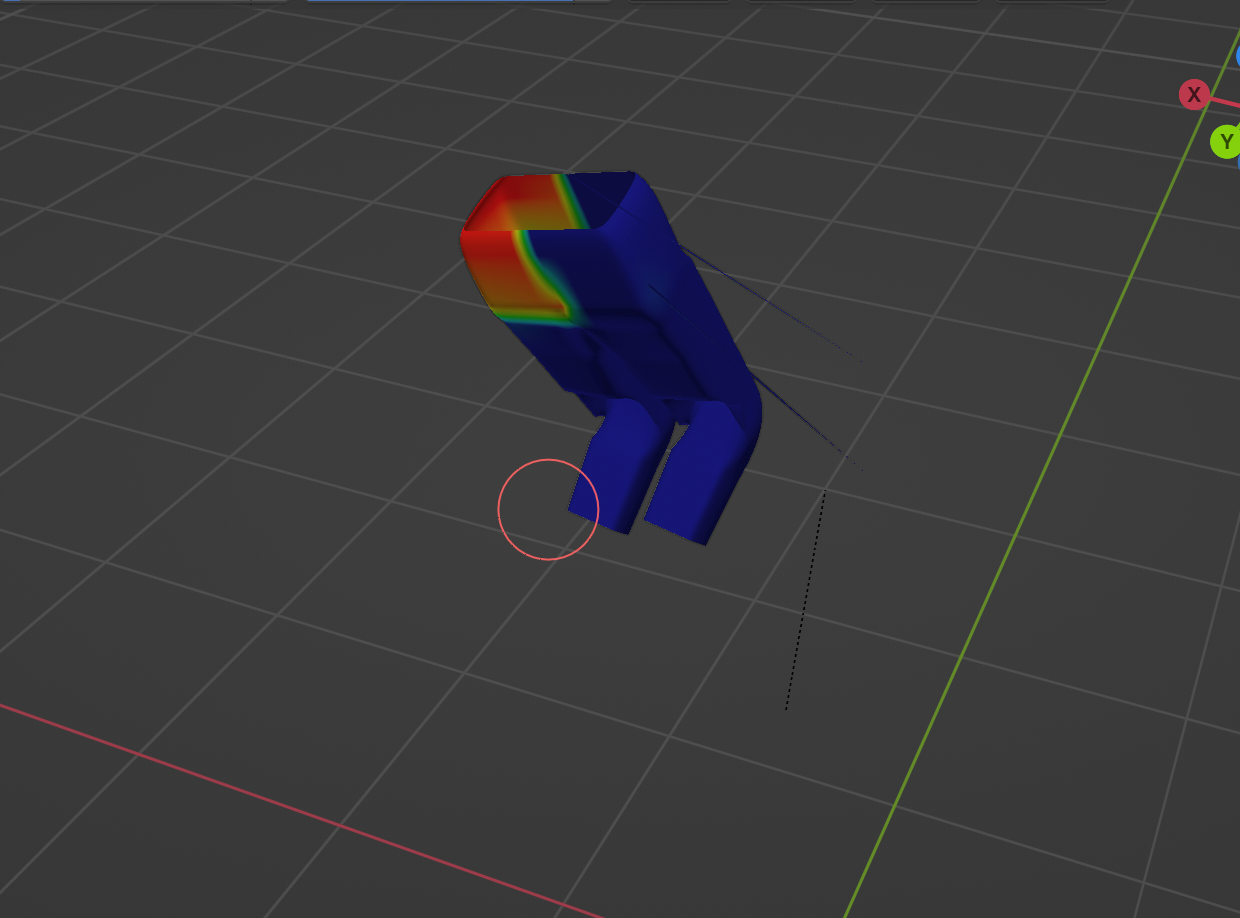
Leg Skinning Left Hip
Top Cloth Pinning Group
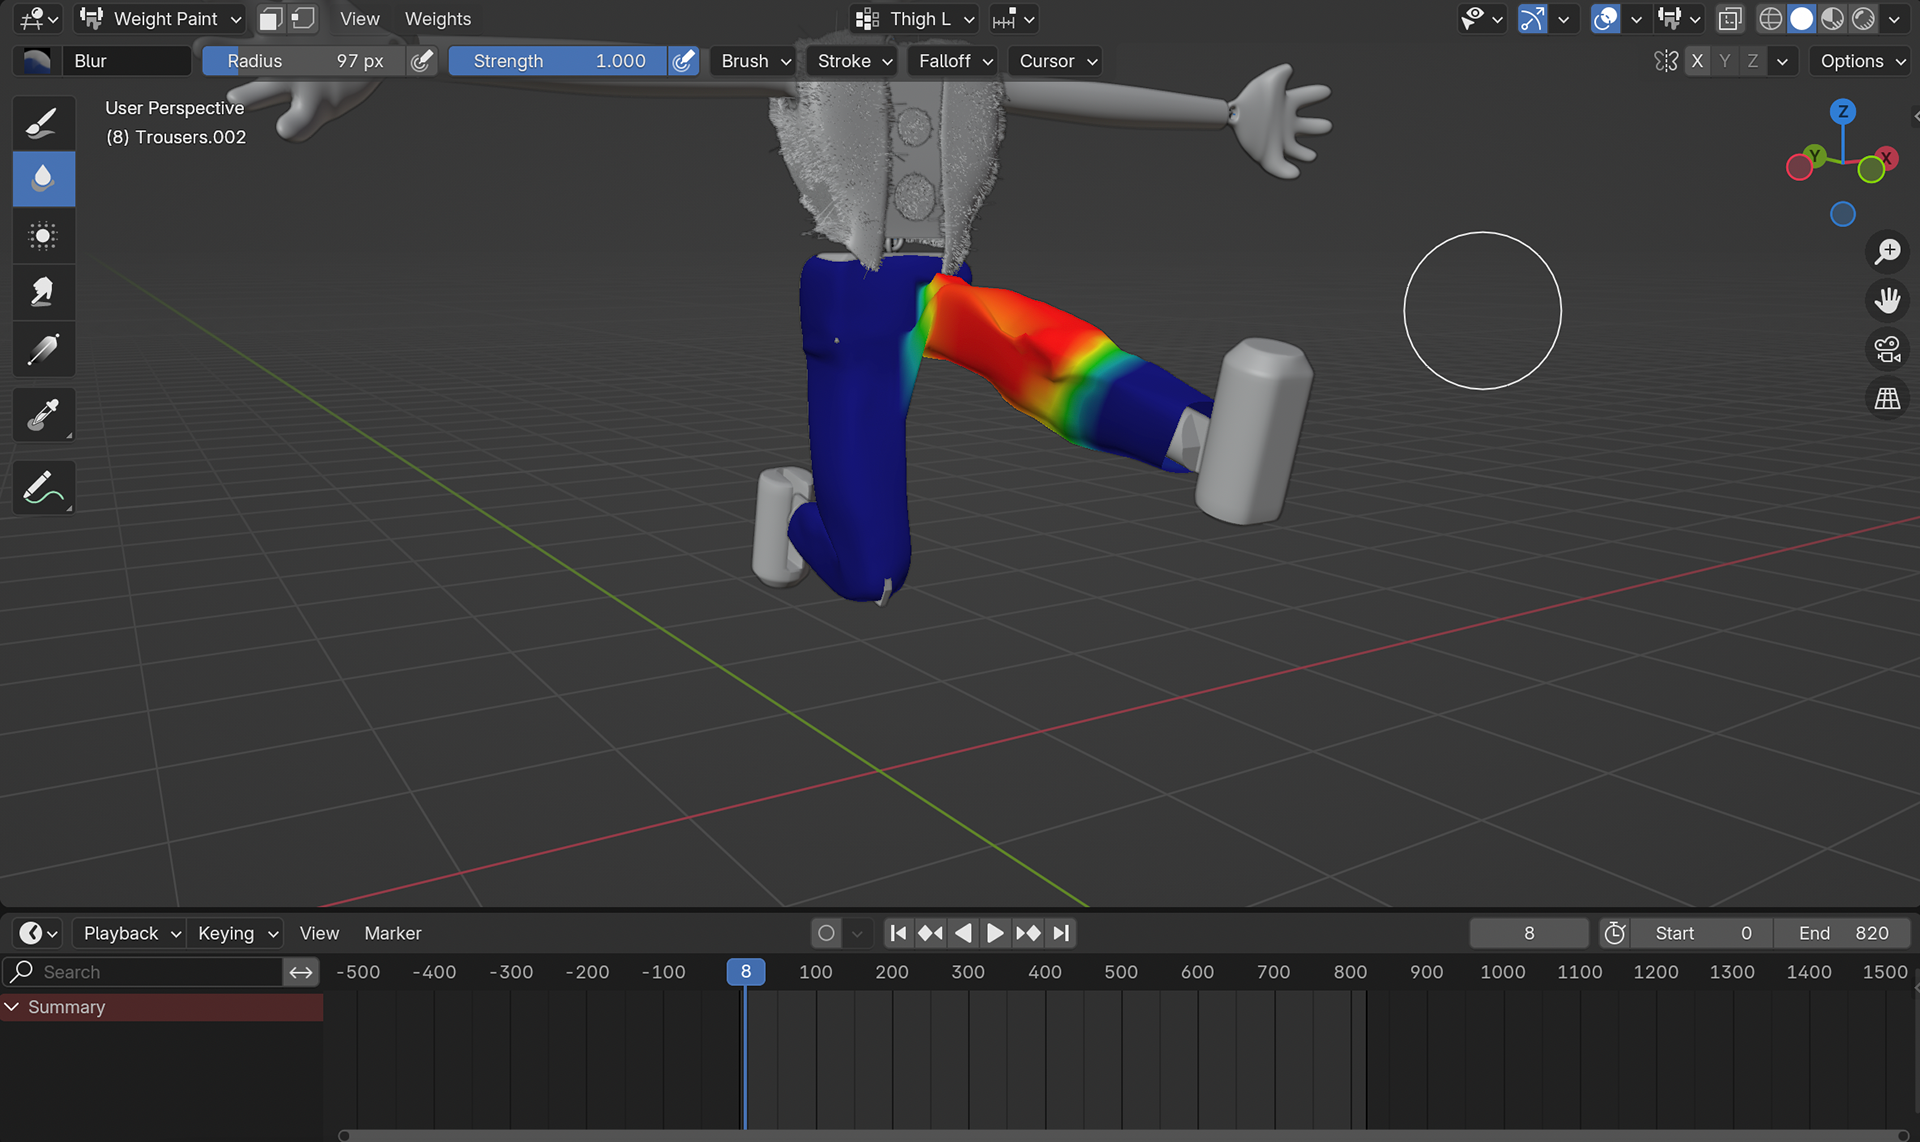
Leg Skinning Left Thigh
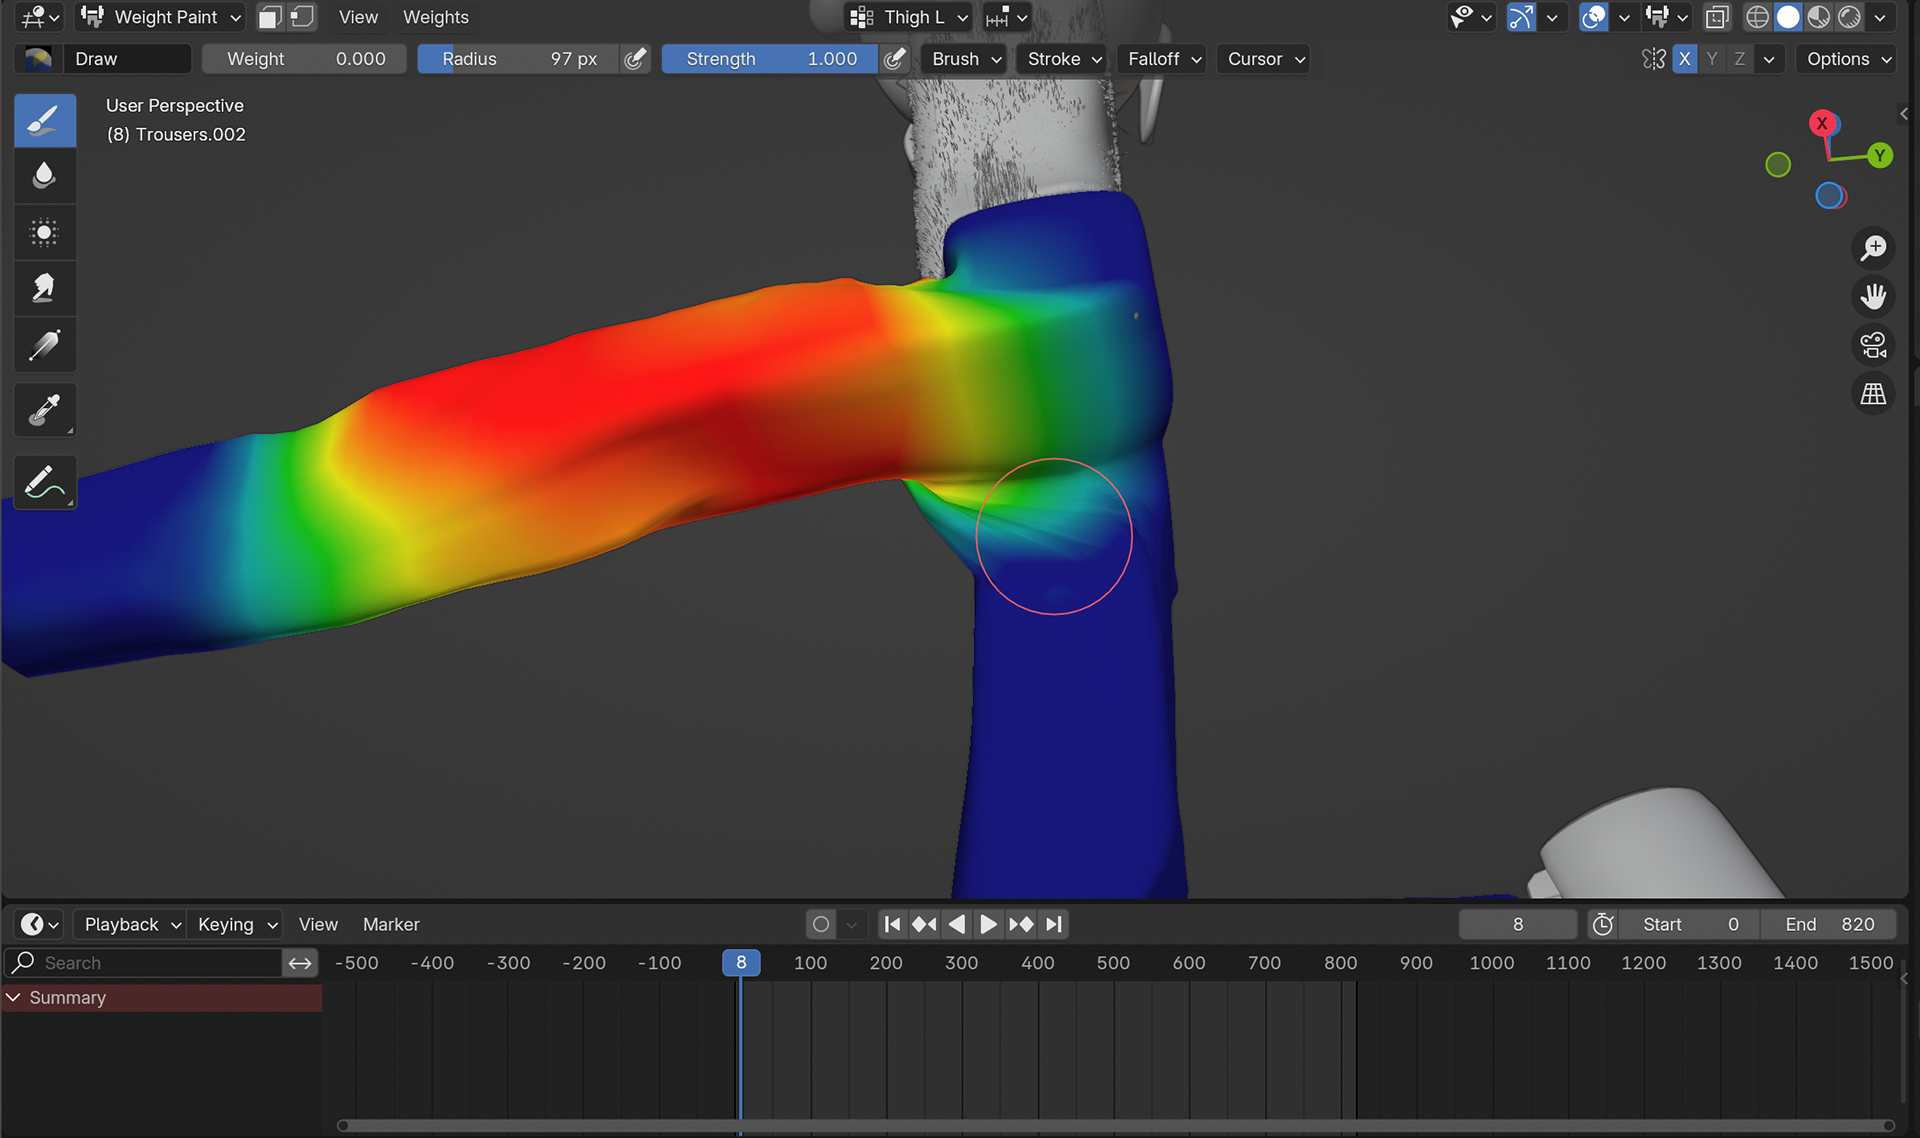
Leg Skinning Left Thigh
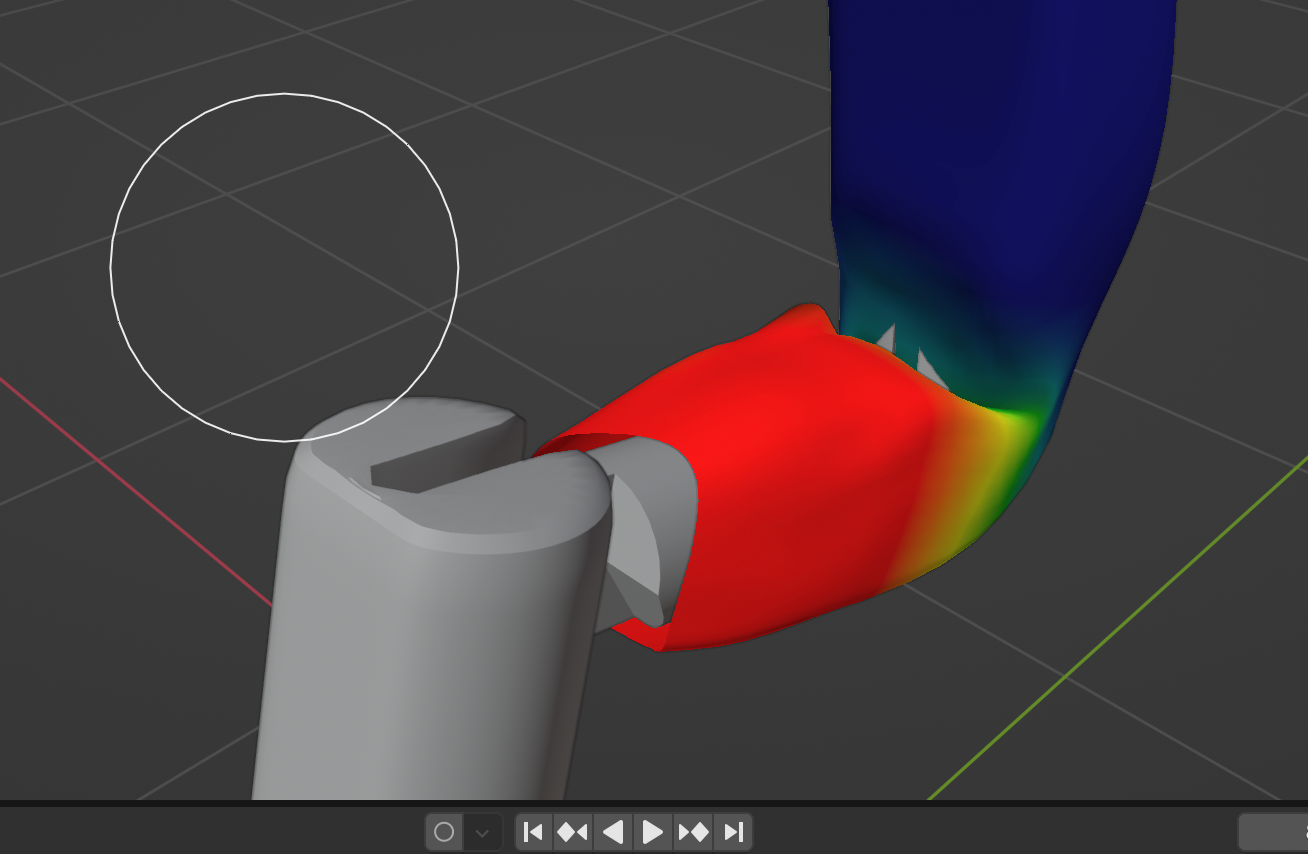
Leg Skinning Left Calf
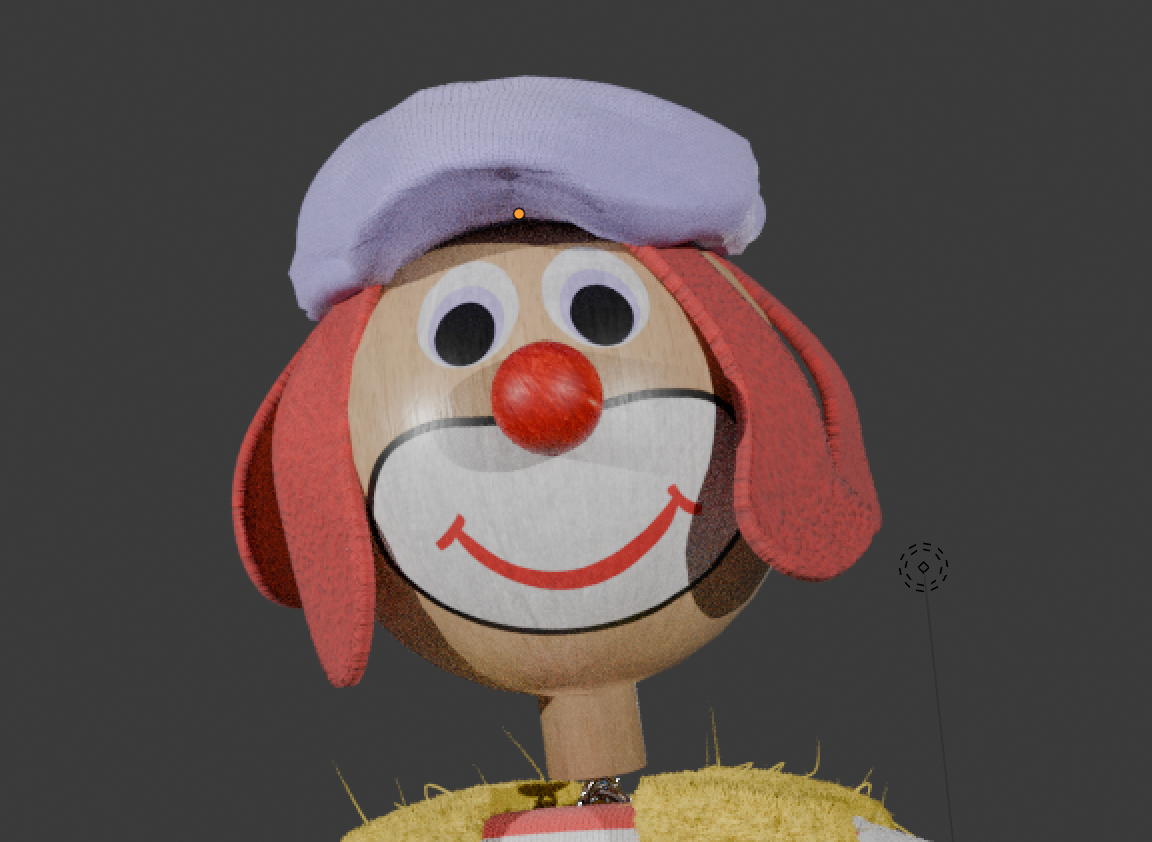
Base Face
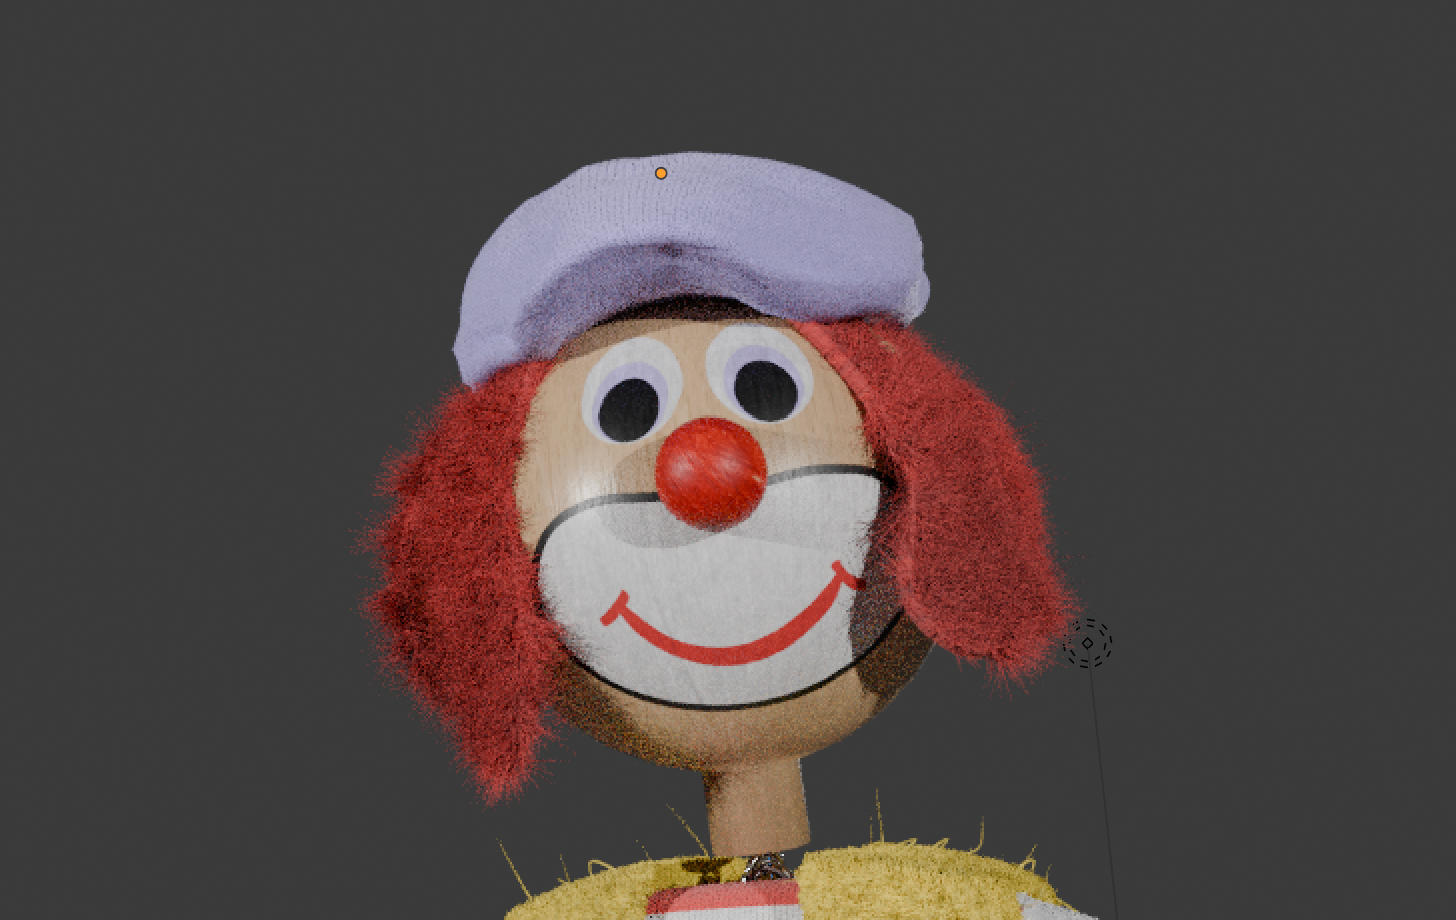
Face with Hair Sim
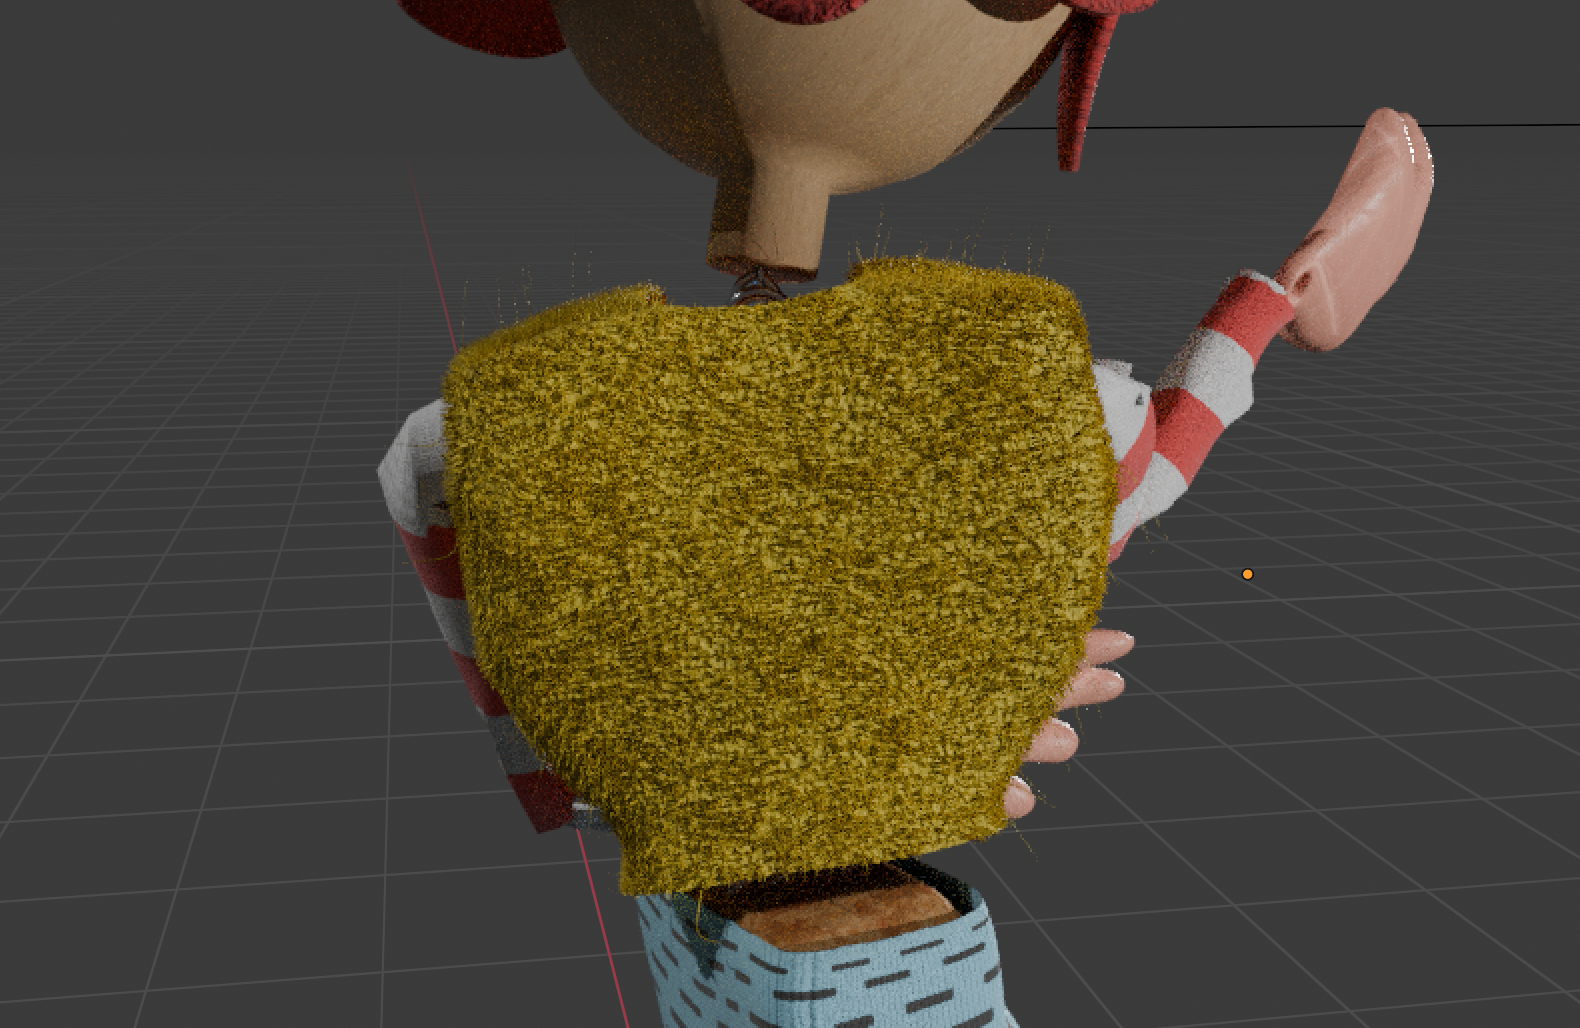
Felt Waistcoat Hair Sim

Fur Coat Hair Sim
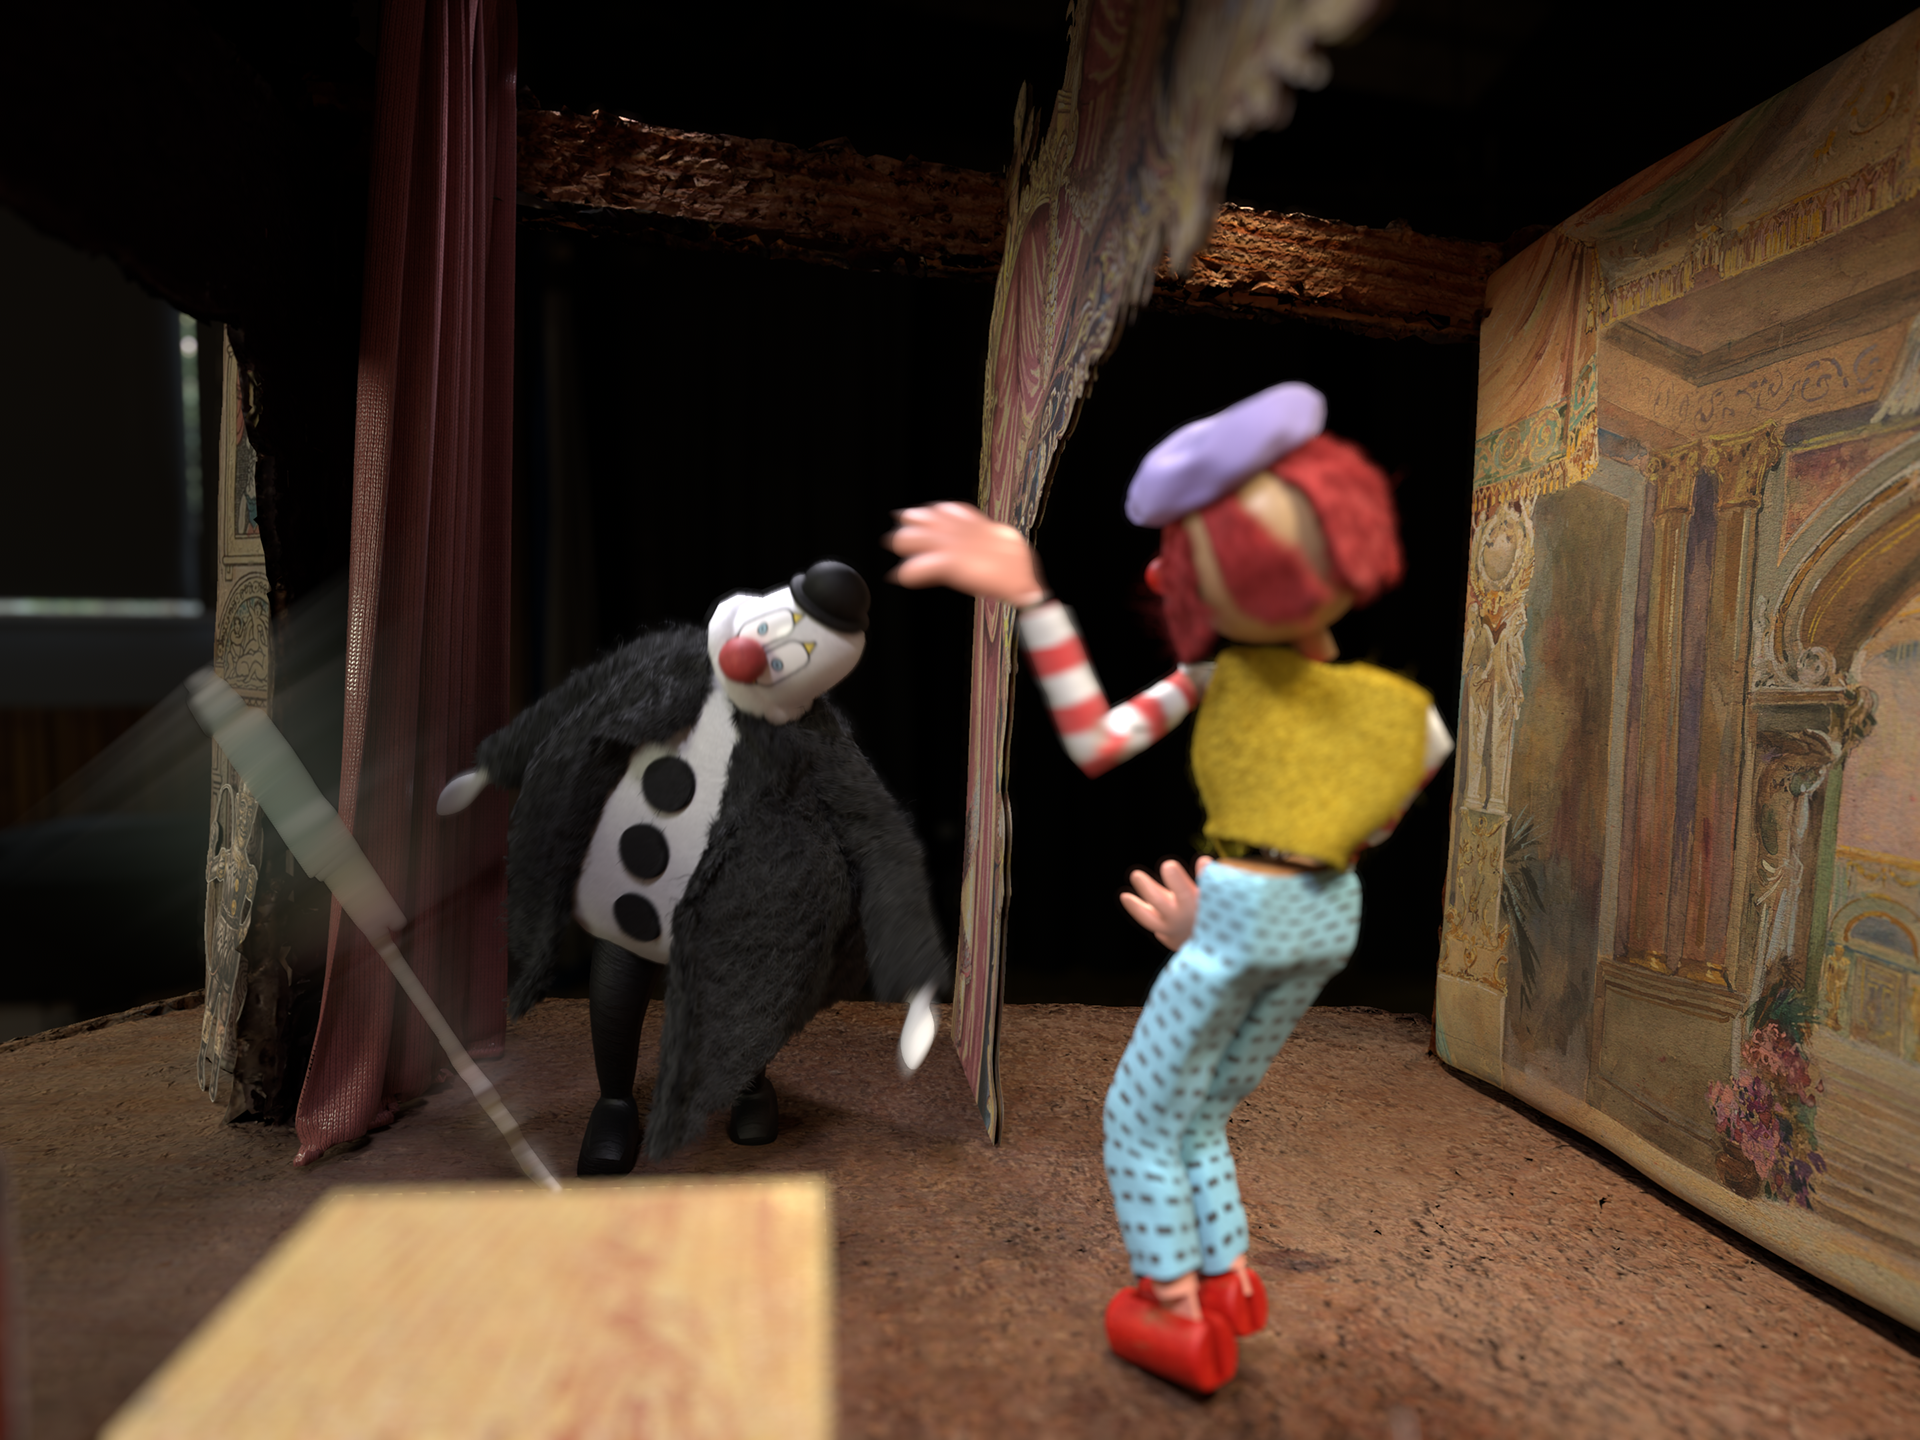
I went through several iterations in my lighting, and used Nuke to add depth of field and motion blur to the final render.
Lighting 1
Lighting 2
Lighting 3
Lighting 4
Lighting 5
Lighting 6

Render
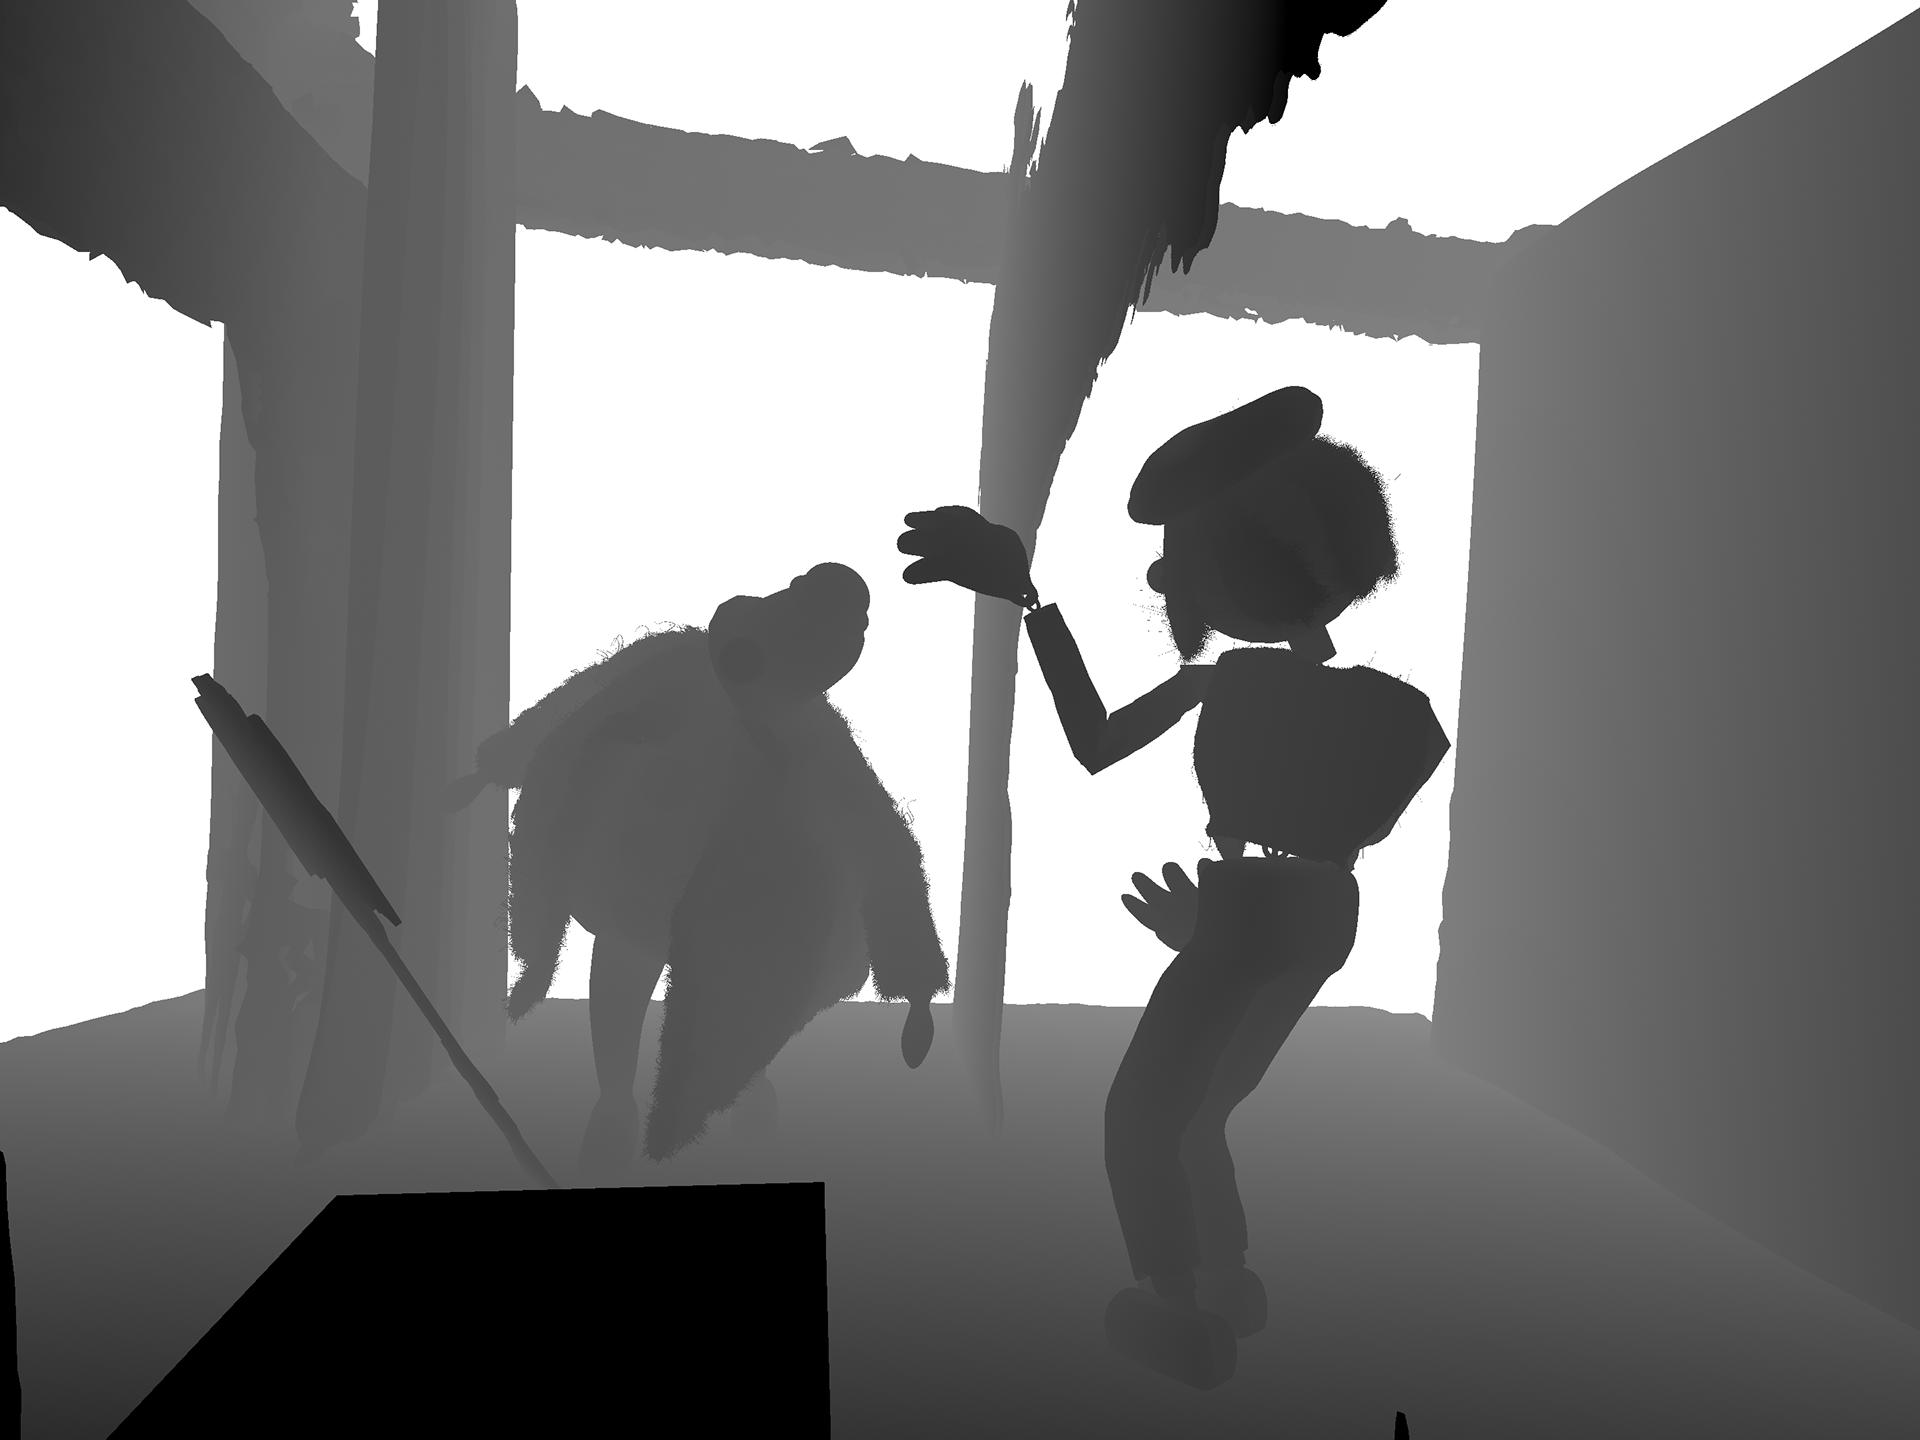
Depth Pass
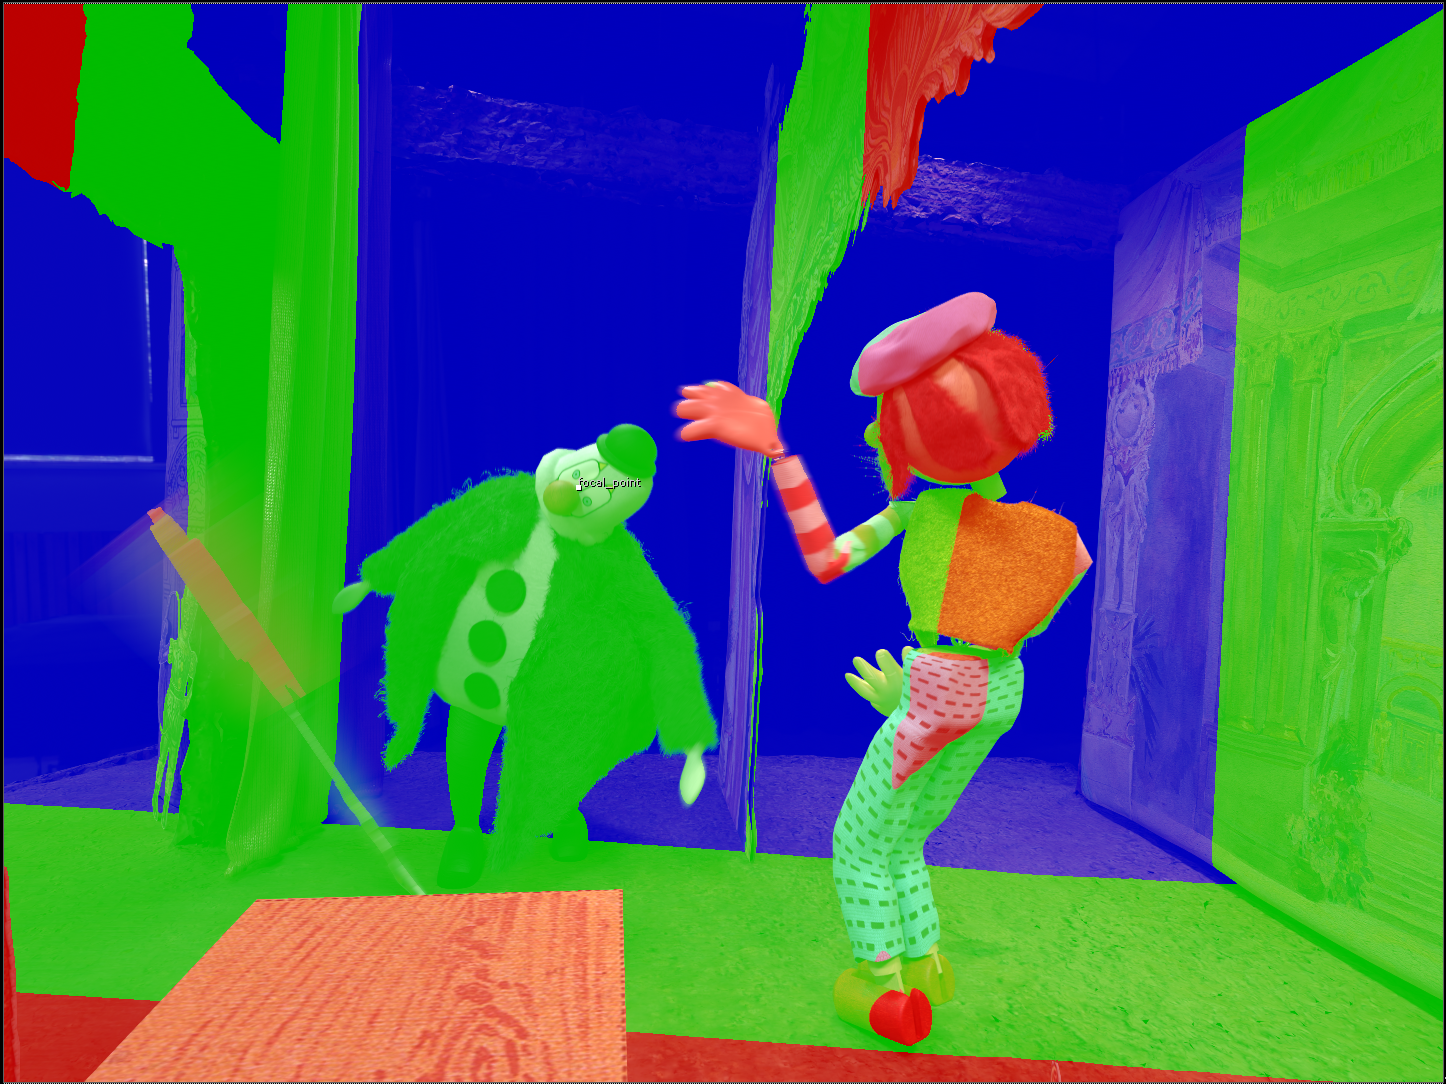
Depth Of Field Set Up

Depth Of Field